Diana
-
Posts
95 -
Joined
-
Last visited
Everything posted by Diana
-
 I see that Bridge is offered for download, but I have no idea what it is. What does it do?
 -
Thank you!
-
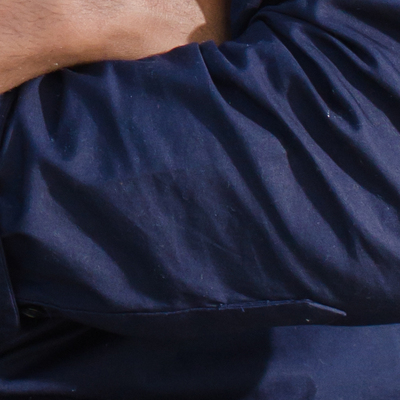
This is a 700x700px crop of an arm/sleeve. I am not so worried about the "large" wrinkles, but would like to slightly smooth in between the large wrinkles. I tried to center the area I was thinking about working on, in the crop. They are micro wrinkles and I thought if I could do a quick sweep of D&S that could take care of it. Thanks for any advice!
-
Would you use the Dust & Scratches filter to take care of tiny wrinkles in clothing...at a low opacity? Or would you use something else?
-
-
Thank you, thank you, thank you! I tried looking around on your blog, but must have missed it or forgotten it as I don't normally do more than 1 pixel editing layer.
-
Oh... I totally missed the "flip layer" option. I guess I really need to LOOK at the whole drop down. I'm sorry.... Thanks for the link above. I will check it out!
-
I got it but I am not sure how I did it...lol... I got just the layer to flip. Maybe I right clicked the image after I hit Control +T and then saw the Free Transform.
-
This is going to be harder then, I am guessing. I only have Elements 13, so no Transform. I tried "control + T" & no go there either. Sorry....
-
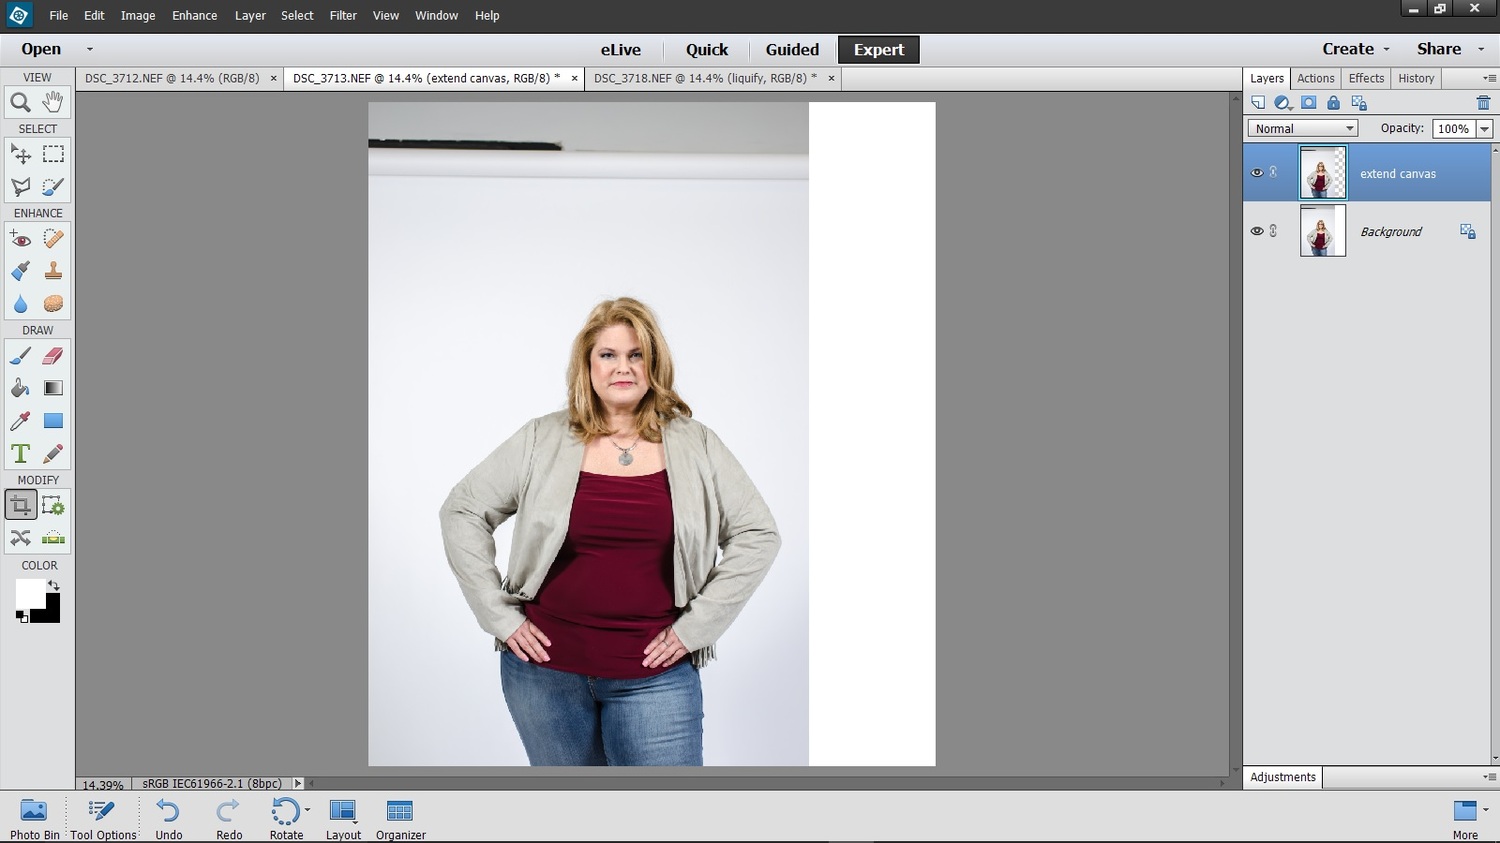
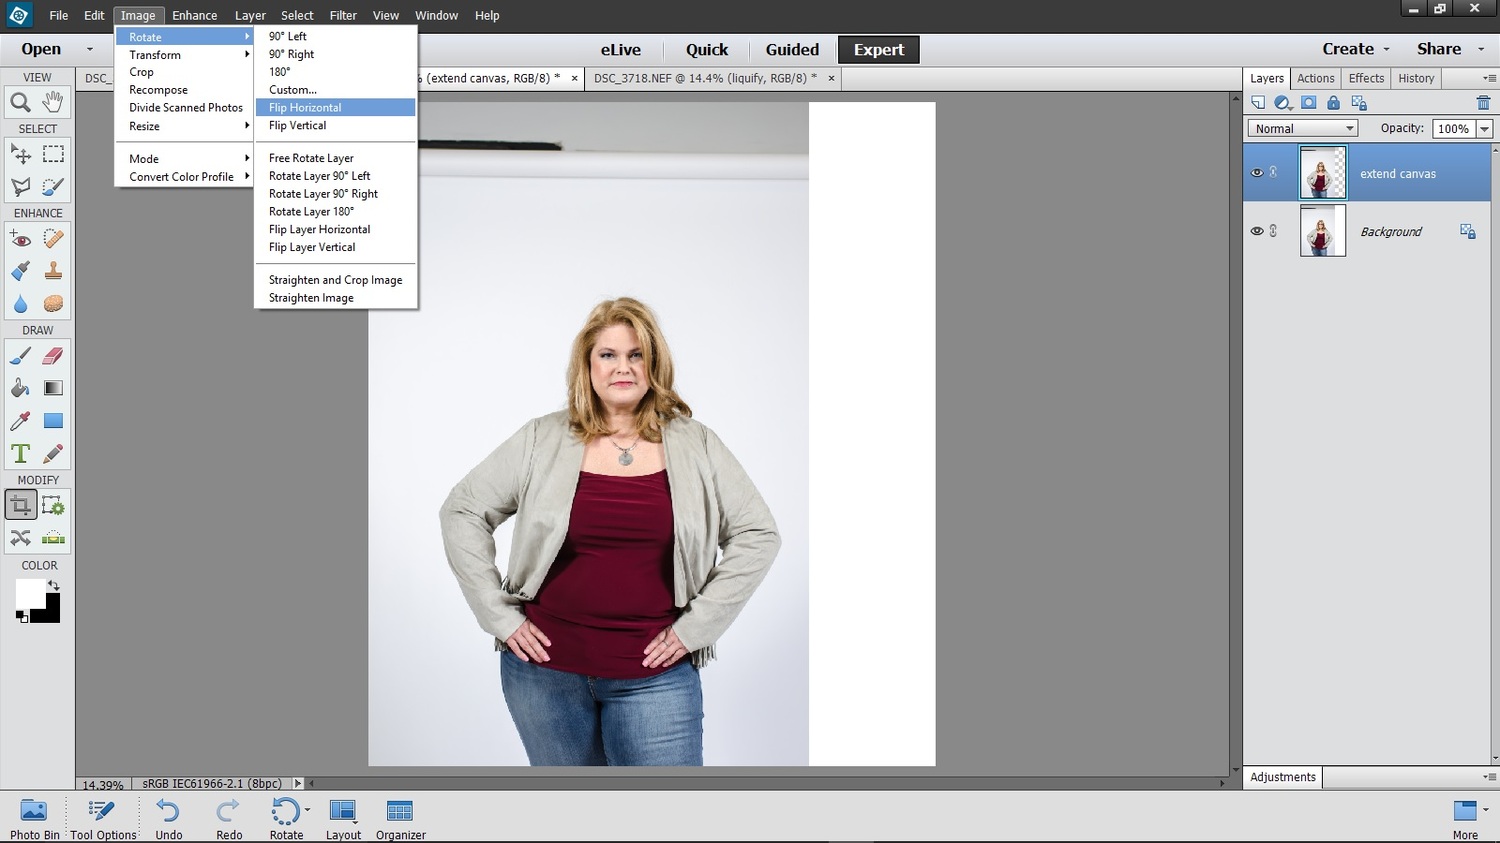
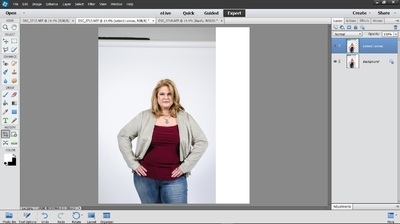
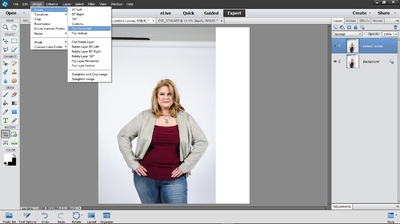
I must not understand something correctly. I duplicated the layer, then staying on that duplicate layer (called extend canvas), went to Canvas Size dialog & flipped horizontally. It flipped my whole image...both layers. I guess I am not sure why I have to flip horizontal, when both layers flip. I will add screen shots of what happened. What did I do wrong? I also looked at the Layer drop-down and did not see anything about only flipping that layer.
-
Once I do this, can I then flatten it down to the background, since I won't need it again? I need to do a small bit of liquefy and I run that on a duplicate background layer as well. I've had issues with doing 2 duplicate background layers, 1 for liquefy & 1 for a dust and scratches layer. They don't seem to play together well. I am not sure which to do first and I don't want to do them on the same layer. I don't need to do it often, but I had a "before and after" photo for my MUA and wanted to slightly smooth out her skin with Dust & Scratches in the "before" photo. I had to move layers around to get both to show up.
-
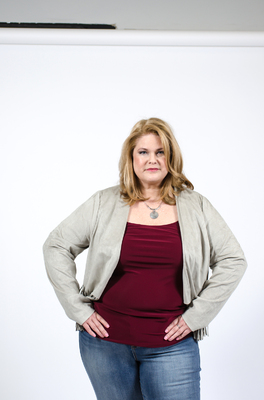
Here it is after I got the white paper backdrop white like it should be. Thanks Damien!
-
Ok... it seems I need to go back to RAW & get that white like it should be. I get uneasy about making portraits too bright so I backed off a bit too much I see. Once I do that, I will not be changing it at all.
-
I did not shoot quite loose enough. I want more space camera right. Is there a way to extend the canvas? I've only done raw edits so far. Thanks!

-
I knew there had to be a simple way, but forgot about the ctrl + J trick. Thank you so much!
-
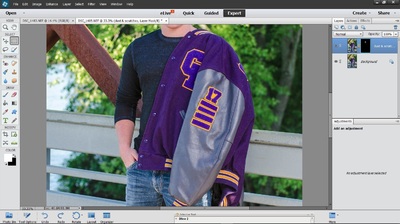
What is the best/easiest way to add 3 more bars to the arm of his letter jacket? They need to be added after the last one. I have 2 photos to do this to. Thanks so much in advance for any advice. I am guessing composite of a duplicate pic.
-
Ah...ok... I did not catch that. Thank you!!!
-
Well Damon said to duplicate it so I did... lol... once I duplicated the the liquefy layer I was ok & when I "dabbed" instead of dragging the clone stamp it worked great. I will have to try your suggestion next time.
-
I just figured out what I did wrong. I should not have gone back down & duplicated the background layer.... I should have duplicated the liquefy layer. That is working because it adds it above and the cloning is working.
-
I did the liquefy on it's layer and then added the the duplicate background layer for cloning and it inserted itself between the liquefy layer and the background layer, not adding it at the top. I tried leaving it where it was and cloning but it did not seem to work. I then tried moving the layer up and it looks like it undid the liquefy layer... What did I do wrong?
-
Ok...thanks so much Damien. She is going to be thrilled...& some am I!!
-
I will have to try this tomorrow morning. Was the tool just a brush? I looked at it & played a bit while waiting for your advice & noticed there was a bloat tool, a pucker tool, etc. Lots of choices of tools in Elements 13.
-
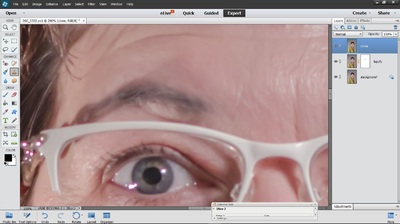
I had decided I needed to do the eyes separate instead of together.
-
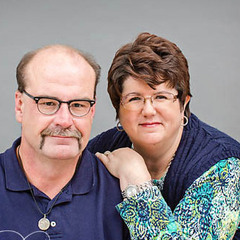
It turned out great! I had a bit of a harder time with the camera right eye because they had to stand at a certain angle & then look back at me...so there was that funny section where it looks like the glasses go out past the head, but I managed after a bit of struggle to get it looking natural.
-
Oh...that looks fantastic Damien!