Ella Heath
Member-
Posts
20 -
Joined
-
Last visited
Member Information
-
Main editing computer
Mac desktop
-
Editing software
Photoshop
-
Monitor Calibrator
Spyder
-
Cameras, lenses and other photographic equipment
D750, D610 (second), Nikon 70-200mm VR II, Sigma Art 50mm, Sigma Art 35mm, Nikon 109mm
Recent Profile Visitors
The recent visitors block is disabled and is not being shown to other users.
Ella Heath's Achievements
-
Hi Damien, I know well (from your class) that to obtain good print sharpening I cannot do a batch, however, I often myself in the situation of having to print proofs (typically 30-40) and I would like to streamline the process by batch sharpening. Right I also use a Script to quickly go from the Master files (.psd) to Jpgs. I would like to run an additional script to do a basic sharpening, "good enough" for printed 5x7" proofs. Then when the client makes the selection, I'd go back to the Master files (psd.), sharpen correctly and send them to my lab for final printing. Is there a way around it? Thank you!
-
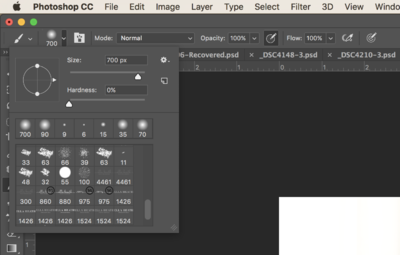
Hi Damien, can you please help me figuring out what I am doing wrong? I took your Layer & Mask class 2 years ago and do head swaps all the time but sometimes *mysteriously* my brush do not work properly and while I try to paint back and forth I can see the shadow of the original image in the background. It's faint but it's there! This is the workflow I follow: raw processing for both images in ACR > Open both in PS > copy and past a portion of image no. 1 unto image no. 2. > covert layer to Smart Object > then add Mask > then paint with both white and black brush to compose the image. The brush is a soft brush, 0% hardness and is set at 100% opacity and flow. Here is an example at 100% crop. Please help me before I lose my mind! Thank you, Ella
-
I hope these work! https://s-media-cache-ak0.pinimg.com/736x/79/cd/2e/79cd2efd6a728fbde38f277fbe4b4e32.jpg or https://s-media-cache-ak0.pinimg.com/564x/c9/14/63/c914637a93367b2e75f1236664be2f4a.jpg I like the feel of the first one although I am not sure if the sun down enough. Thank you! ps: I am reattaching it because I had messed around with it. this is a little cleaner.
-
Writing Actions for ourselves
Ella Heath replied to Ella Heath's topic in Questions about tutorials and articles
Never attempted before. Great! Cannot wait to try. It would truly save me at least one hour each day. Thanks Damien! -
Hi Damien, I find myself repeating something over and over in my editing workflow and I wonder if I could save time by writing an action instead. Do you recommend any specific tutorial for that? Thanks!

