lsin
-
Posts
358 -
Joined
-
Last visited
Everything posted by lsin
-
Ok i will try again this evening. no i dont want the blue towel in the pic, was just cloning it to fill in the blank area left when i rotated the image and to practice- will be doing blanket fade so that area will not be seen
-
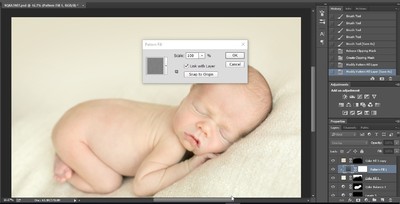
ok, here goes... cloning attempt # 1.... please bear in mind that this is the first time i have ever used the clone stamp and was really struggling with it. I had to abandon my tablet (wacom intus pro) as it was not picking up areas that i wanted it to pick up and would not let me select from different areas so was forced to use mouse on my laptop.... can you tell me please what are the correct settings for the clone stamp? e.g. you normally set your brush tool to hardness 0% but for the clone tool i found that even though i selected a clean area of cream blanket, when i cloned it i was getting pieces of skin, blue wrap etc etc. if i increased the hardness of the brush, this reduced a bit but not entirely. you will see in the left background where there is a blue towel visiible, when i tried to clone it it became very blotchy as my selection point seemed to pick up areas of dark wood even though i clearly selected the blue towel....Anyways, not too bothered about the background as i will be doing blanket fade, but still want to know how to use clone stamp properly. thanks! Also, do you keep "aligned " ticked or not?

-
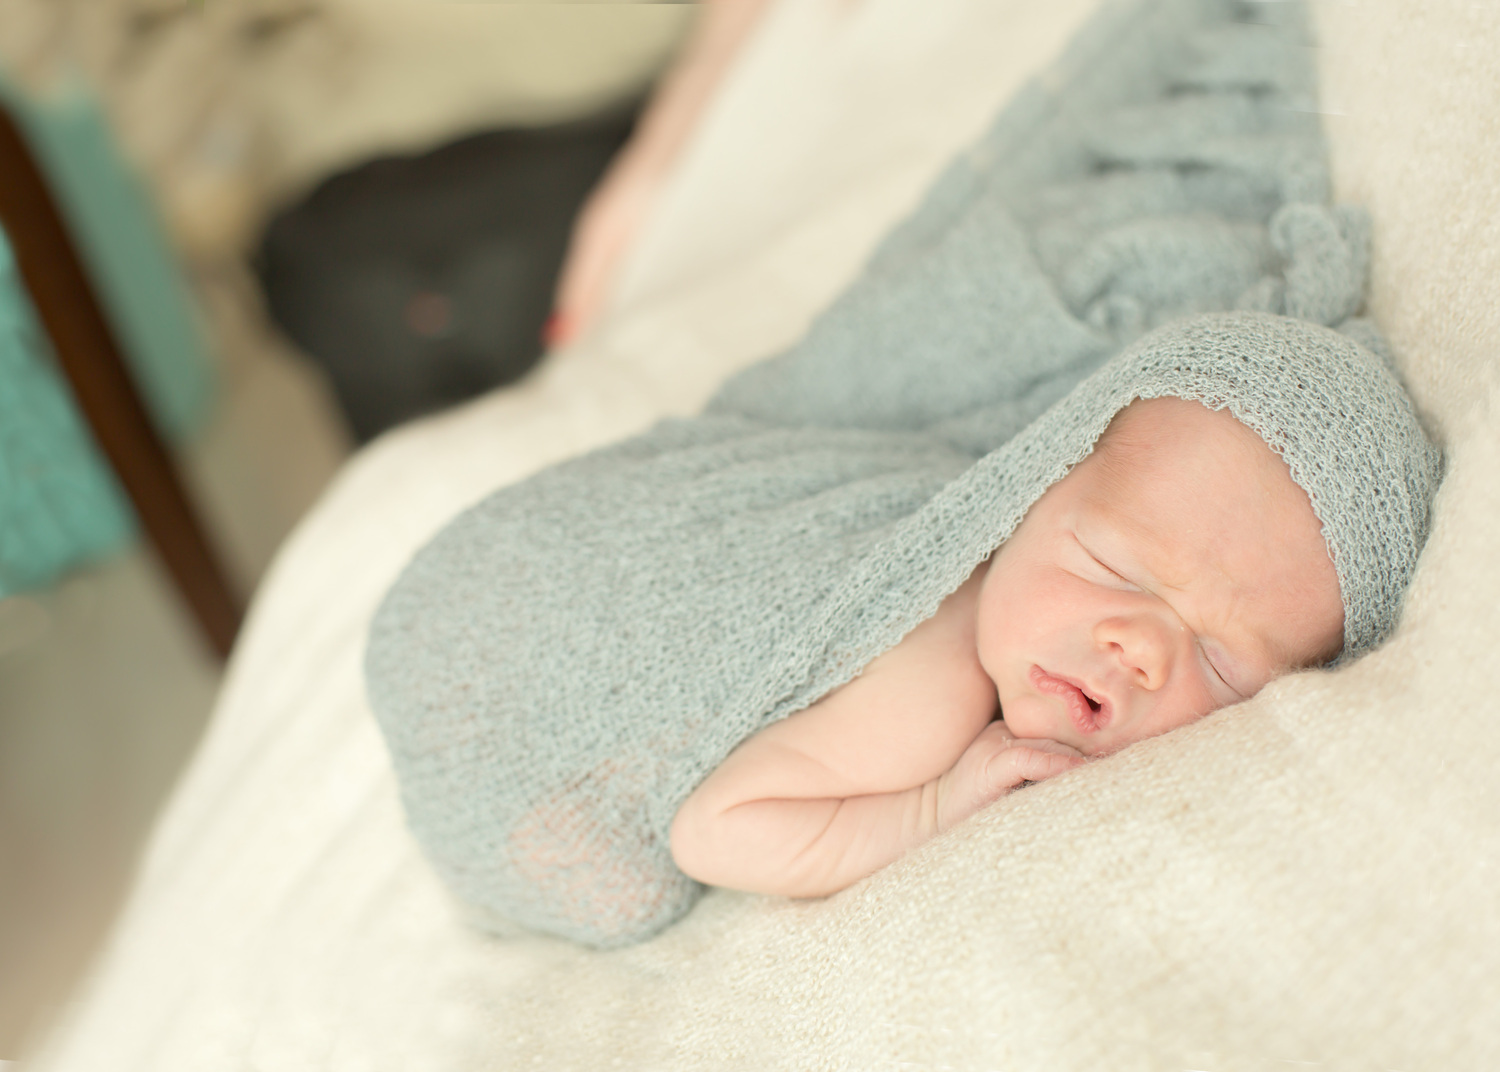
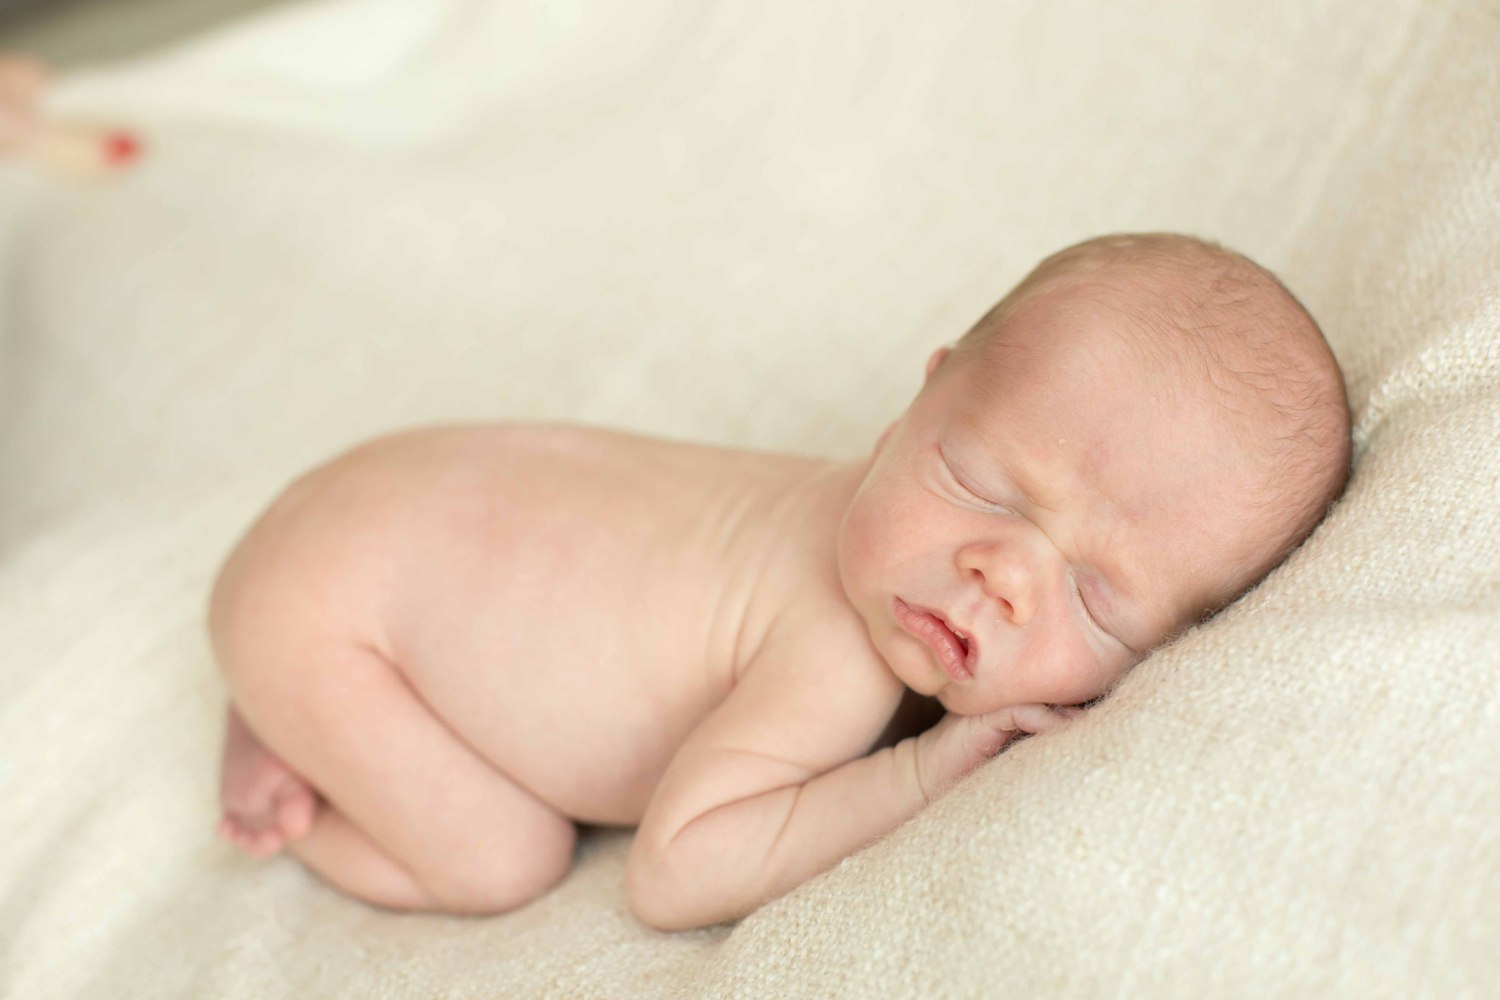
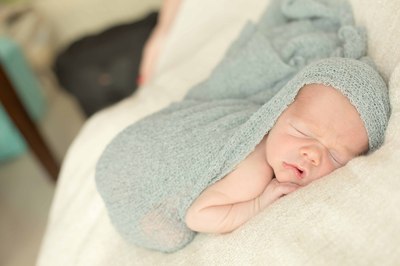
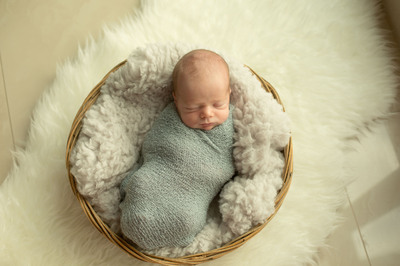
Yes this is SOOR. I have not done any PS work yet as the lack of space around the baby was bugging me and i want to see if i can fix it first
-
Hi Damien, can you please tell me (or show me) the best way to rotate this picture slightly to the right so that baby is not as slanted and also to add a little bit more foreground and blanket to the right? (i.e. make the baby more centred in the picture) I think you need to use the clone tool for this, but am really not sure how to use this and have not really used it at all. Below picture is SOOR. thanks
-
brill thanks! i will look at skin again later and post in levels class! thanks
-
great, what about the whole blanket fade method. does it look ok or should i try a different method?
-
i only saved it at low quality - here is it at high qaulity

-
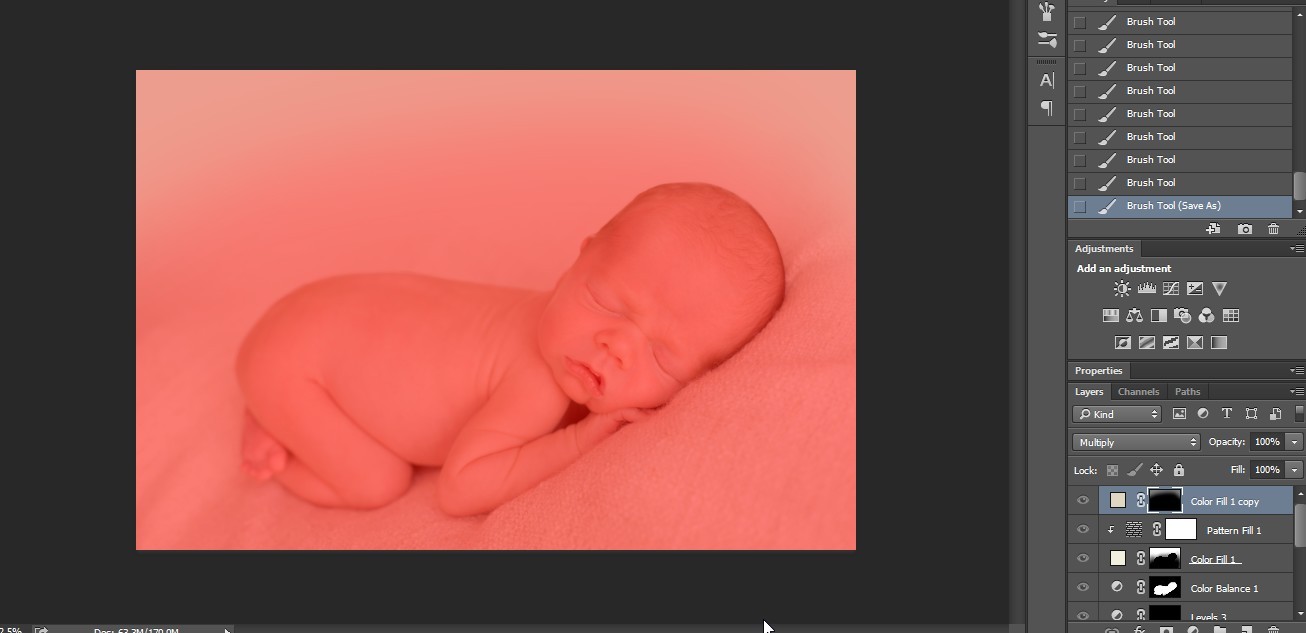
i have no idea where those awful lines in the top picture came from?? i cannot see it in any of the adjustment layers? is that banding that i keep reading about? here is the screenshot of the vignette i added but there doesnt seem to be any lines?? Does it have anything to do with the noise pattern? in the thumbnail in the layers panel it looks like the noise patter is rectangle lines, but when i open it up (2nd pic below) it is the actual correct noise pattern which you mentioned in the tutorial

-
Hi Damien. I tried to follow your blanket fade tutorial (http://www.damiensymonds.net/2011/10/blanket-fade-tutorial.html) but dont think i have gotten it right. There seems to be no "depth" or shadows in the pics. Maybe this wasn't the best method to use to extend the blanket background - what would you suggest? (SOOC is 2nd pic and is taken from RAW class)


-
how can i improve the edit on the first attempt picture i posted? i dont think it looks right, difficult to keep the natural shadows

-
ok,, first attempt - its awful isn't it?? i lost all shadows - how can i improve it?? i also tried to insert the full rug to replace the background instead of inserting 4 corners separately (see 2nd picture) - is that a big no no?? does it look like the basket is just floating above the rug.. its alot more difficult than i thought...
-
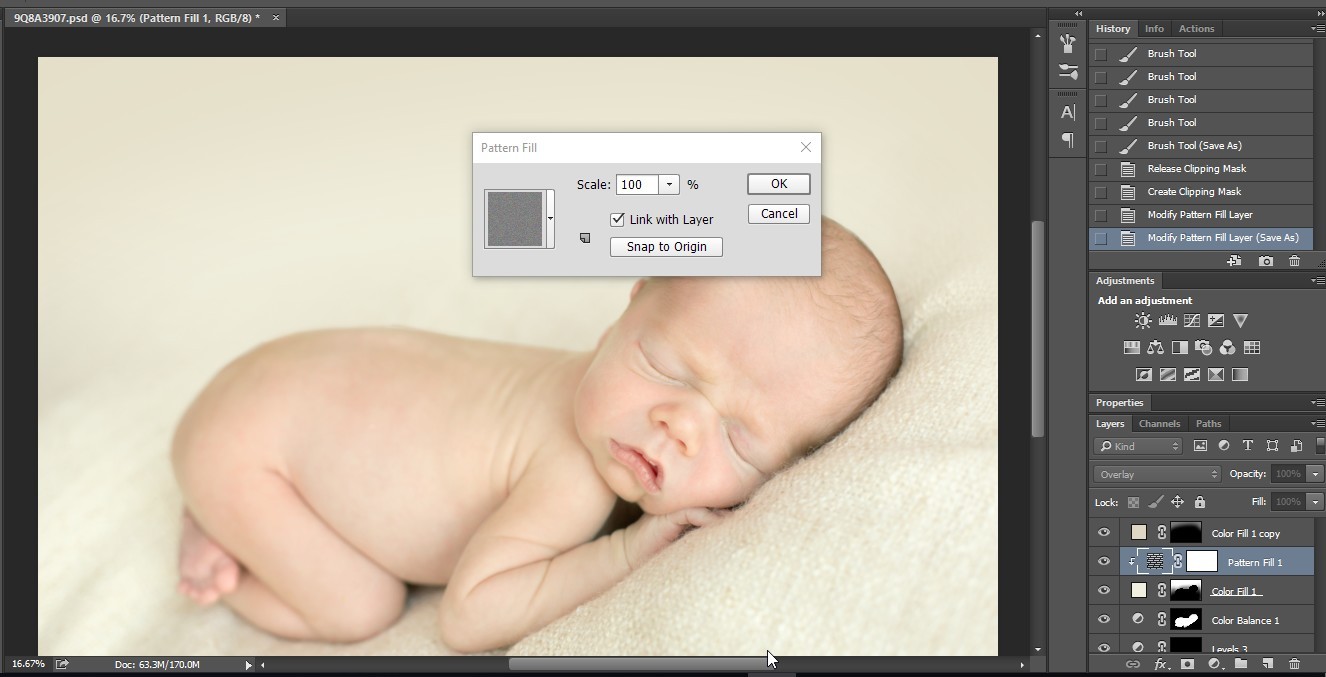
Can i ask what settings you used for the guassian blur? Also, i see in the screenshots, that the gaussian blur is inserted via smart filter - how do i do this? i cant see any option for smart filter (photoshop cc)
-
OK, Silly question, how to i turn "free transform" off? i cannot deselect. i cannot add a mask as i am unable to get rid of the handles ok, never mind, just got it
-
quick question, when you extend the canvas size. do you use a fixed ratio size that is suitable to printing later (like 5x7, 10x8 etc) or do you just extend the bottom half and resize later for final output?
-
ok, sounds doable enough, i will give it a go! Never used File > Place before! to blur the rug, did you use lens blur or gausian blur? Can i see the PSD file please? thanks!
-
wow that looks amazing! can you tell me how to do this please? can you also share the PSD file? thanks!
-
Here are the pictures with the raw adjustments (taken from raw class). I have no idea how to combine pictures but really want to learn! thanks!
-
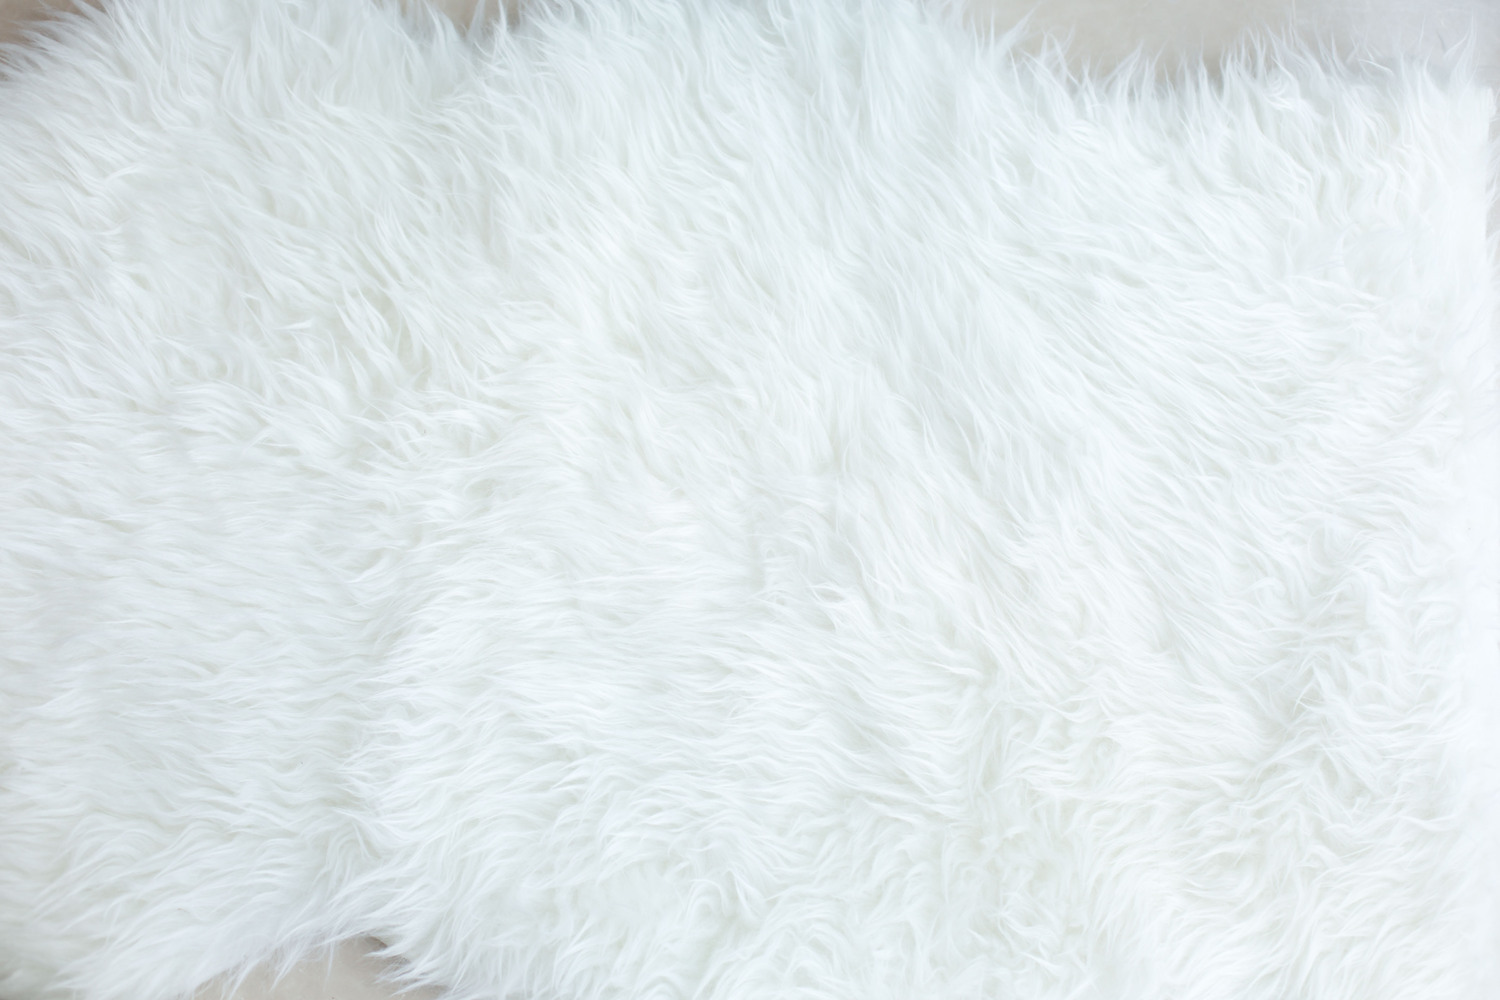
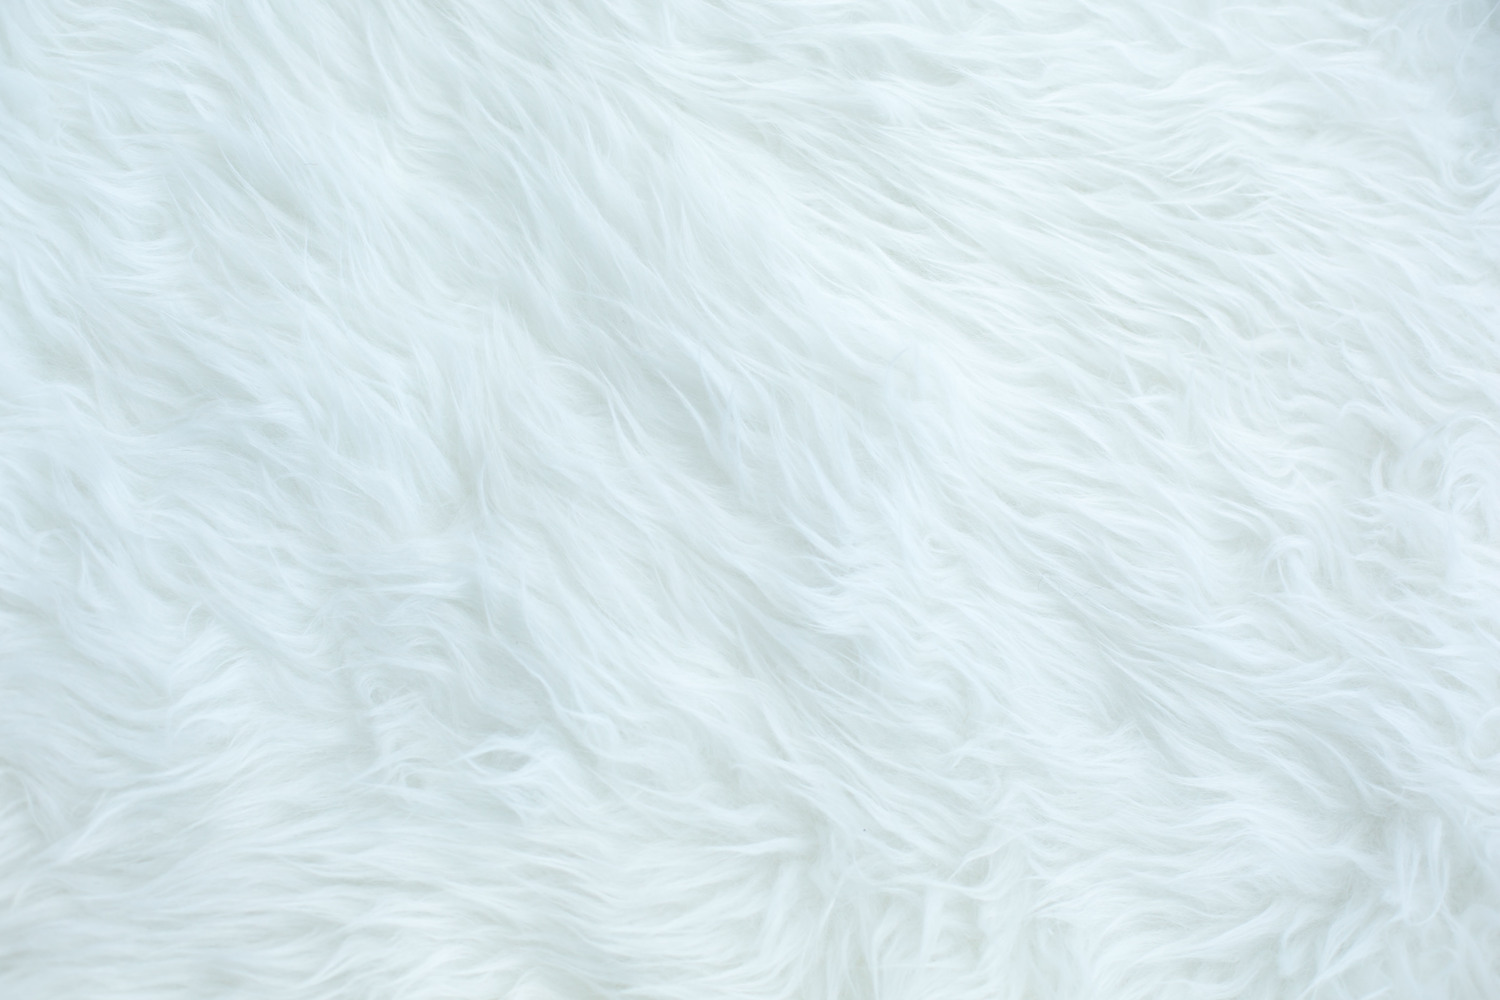
are any of these any good? the rug is quite small and has jagged edges so quite hard to fill the frame without going too close
-
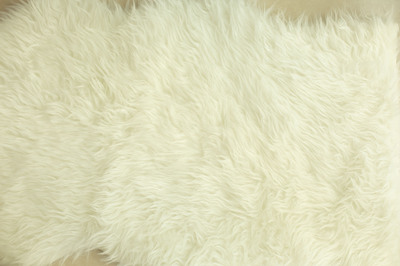
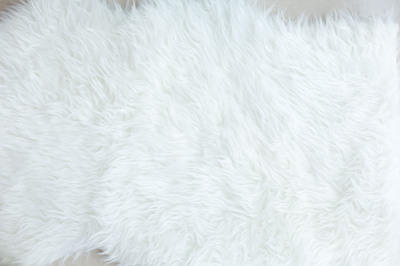
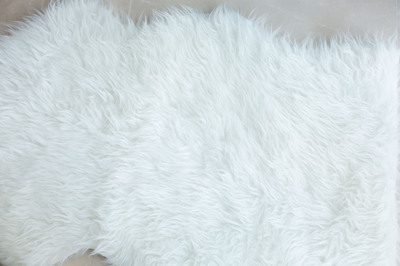
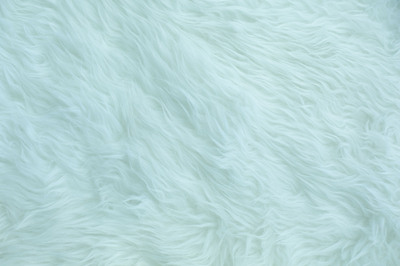
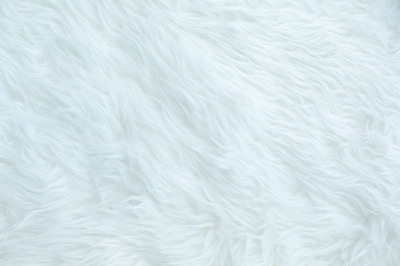
Hi, sorry for delay, time difference plus had to work! here is the rug. I have attached the SOOC (1st pic) and the one with the WB adjusted to match the picture (2nd pic)
-
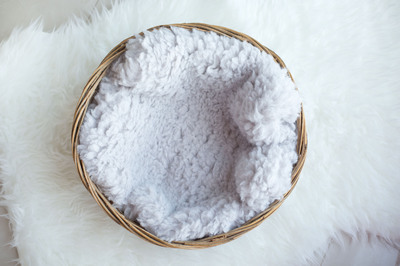
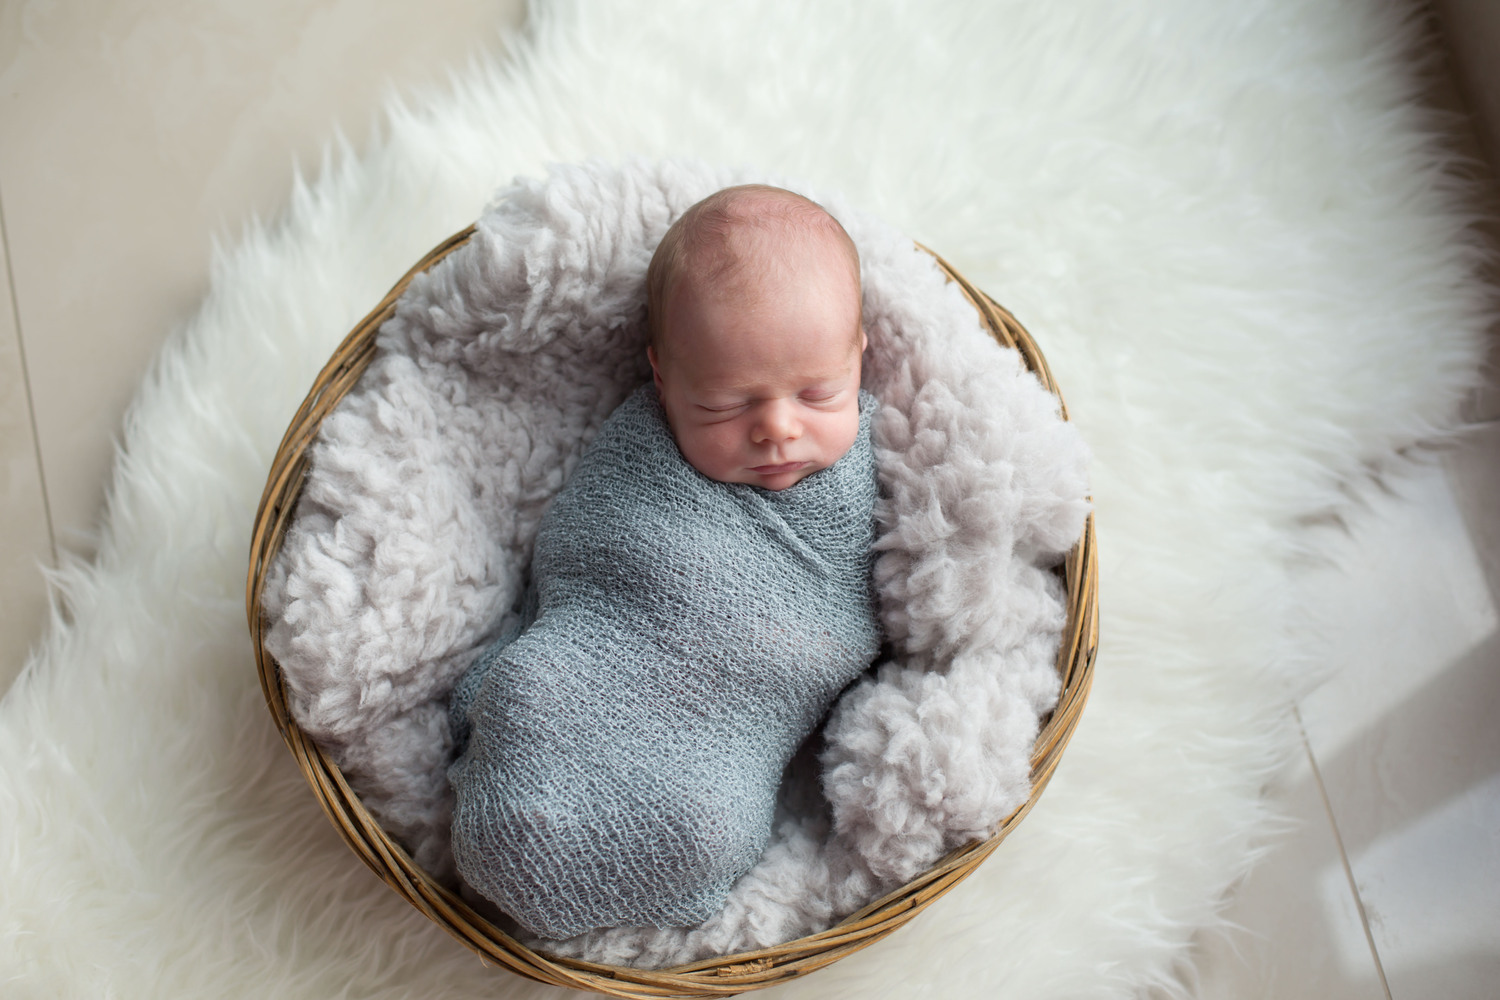
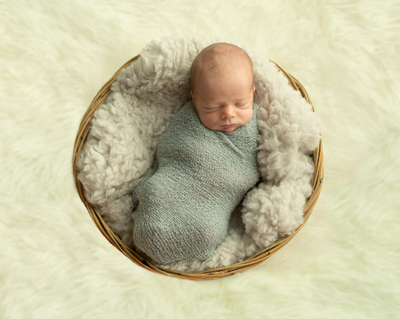
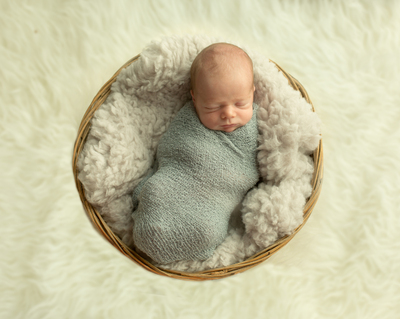
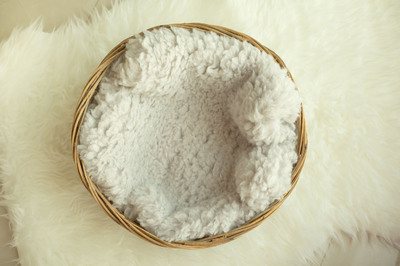
Hello, i am trying to extend the background of this picture, and have tried cloning but i have 4 issues, 1) the end of the basket is slightly chopped off, 2) i seem to loose all texture in the rug and 3) the shadows in the rug are killing me - one side ends up really bright and the other really dark! Is it better to replace the background completely or how can i go about fixing this? I have also attached a photo of the basket without the baby but it is not chopped off (even though it was taken at same time, lighting is slightly off)