CanonGirl
-
Posts
26 -
Joined
-
Last visited
CanonGirl's Achievements
-
"100% crop" trips me up, I guess. To me "100%" is uncropped image, and "crop" is cropped; put them together, and you got me. Thank you!
-
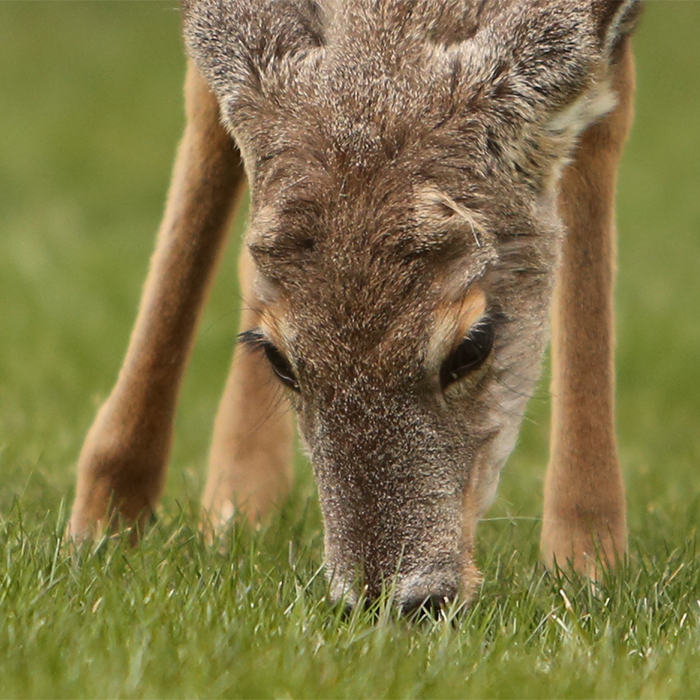
That deer was pretty close to me, and his eyes just looked black, there was no black pupil, and colored iris. I guess studying anatomy of the deer eye will be on my list now LOL
-
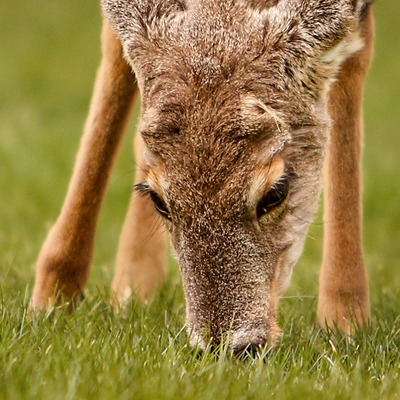
I didn't see the last 2 posts, I must have been typing while you posted them. This is after ACR. There is somebody without a model release in the picture, that's why I can't post the whole picture.

-
ok, I am still slightly confused, would this work? This is SOOC, no ACR work at all, no cropping, no resizing, just blacked out the rest of the image
-
just to clarify, you want the uncropped image? or the cropped, but straight out of camera?
-
I would prefer not to post 100% resolution publicly, can I email it to you?
-
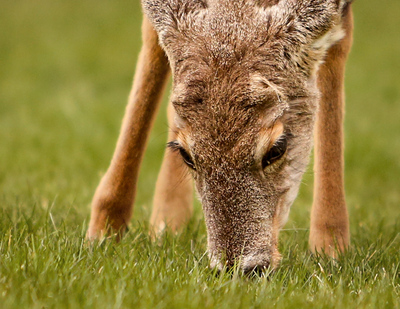
it's pretty much a finished image (ACR and Photoshop)
-
ok
-
it's a crop out of the full size image
-
Just wondering how I would add catchlights to a deer's eye? I never had to do it on a deer, I am not sure how it even supposed to look like. The eye looks dead without the catchlight. It's the eye on your right (deer's left eye) that needs it.
-
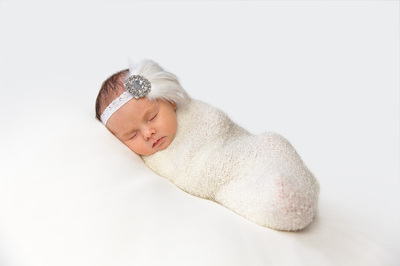
I actually had the one with more steps already made into an action. And now I made the "pattern" way into an action too, so I have both methods available at one click of a mouse :-) I think originally I was not using enough noise to break up the banding, I was only applying it at 2% And I was painting in front of the baby too, so it made it look more fake-ish. Keeping the front of the blanket untouched really makes the difference. Thank you for helping out, and clearing up my questions!
-
Yes, I saw it, this tutorial is what actually prompted my question. Damien answered it, so I am good. Thank you!
-
Maybe I didn't state my question properly. I am wondering why add noise via pattern rather then adding noise to the grey layer (like you would have done in the creation of the noise pattern)? In other words why "edit>fill>pattern" instead of "edit>fill>50% grey", and then "filter>noise>add noise"? Is there a difference between the two methods, or is it just another way to skin the cat?
-
OK, so this is pretty close to what I was trying to do, and does produce some banding, but the suggested amount of noise does help break it up. Now when I try to add a bit of a vignette, I end up with a lot of banding, and have to add a lot of noise to get rid of it. I guess I'll have to do some test prints to see if the noise will be visible. I do have another question though, is there a reason you create and use pattern to add noise to the grey layer, instead of just adding noise via Filter>Noise>Add Noise?
-
I have not, it looks like this would work. I will try it when I get home.