SharonMHall
-
Posts
16 -
Joined
-
Last visited
SharonMHall's Achievements
-
I have a 2017 iMac. Installed Ventura and it has PS has some bugs, but I wonder if it's the OS or Photoshop. Thinking it's the OS. I've had it for about a month. I can't select more than one thing even pressing command. It's like that in PS too, shortcuts have changed, can't use the clone stamp tool because it doesn't recognize the option key. I'm on PS 2024. Should I go back to Monterey, and you help me get there? Or is there another option? Can't go on like this! 🤯
-
Yes, ok. That is what I have been doing, but hoping there was a technique I did not know about to make it easier and faster. Thank you!
-
Yes, the background is transparent, I can drop an image behind the frame.
-
ok, this was all pre-damien work.
-
I have it in psd, 85 mb file. I have my own wide format printer, Epson 9800 and have printed from Adobe RGB for 10 years. I really don't want to go through and change all of my files to srgb because they will print differently. But I can start with this one.
-
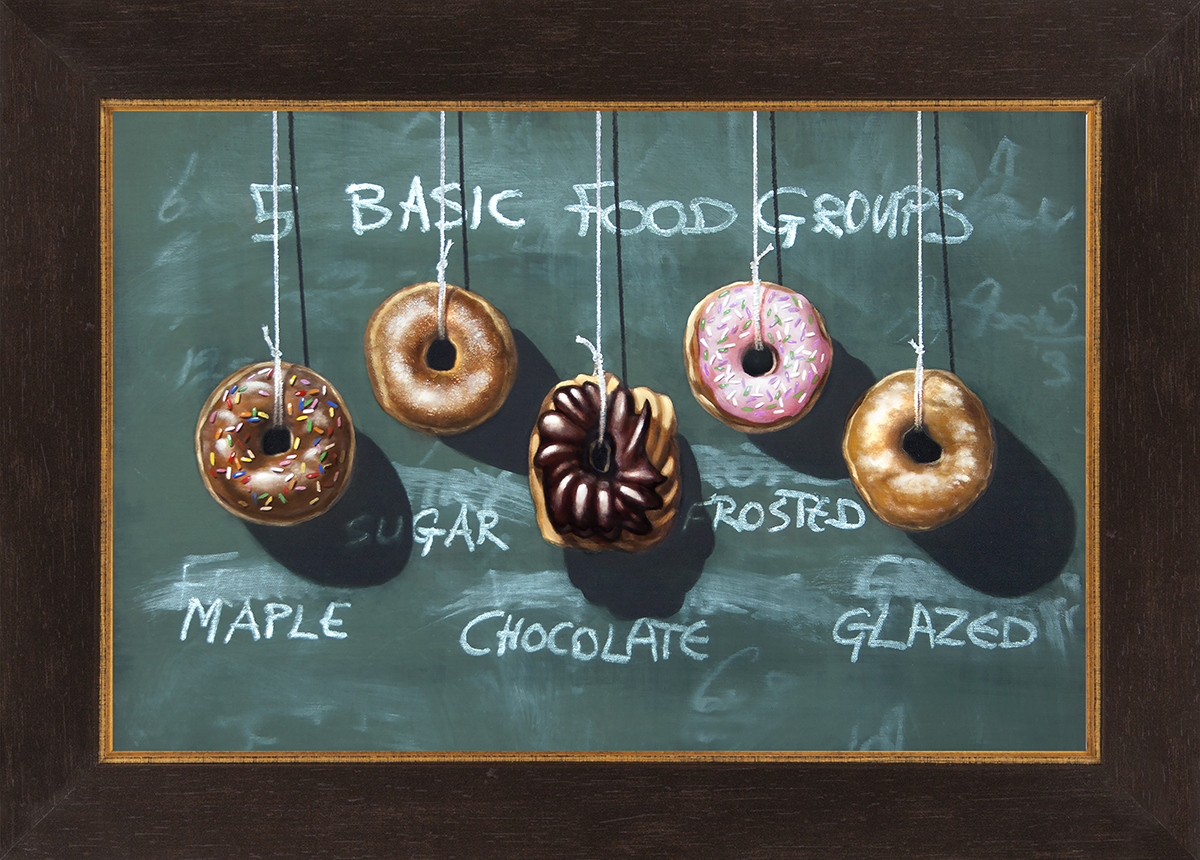
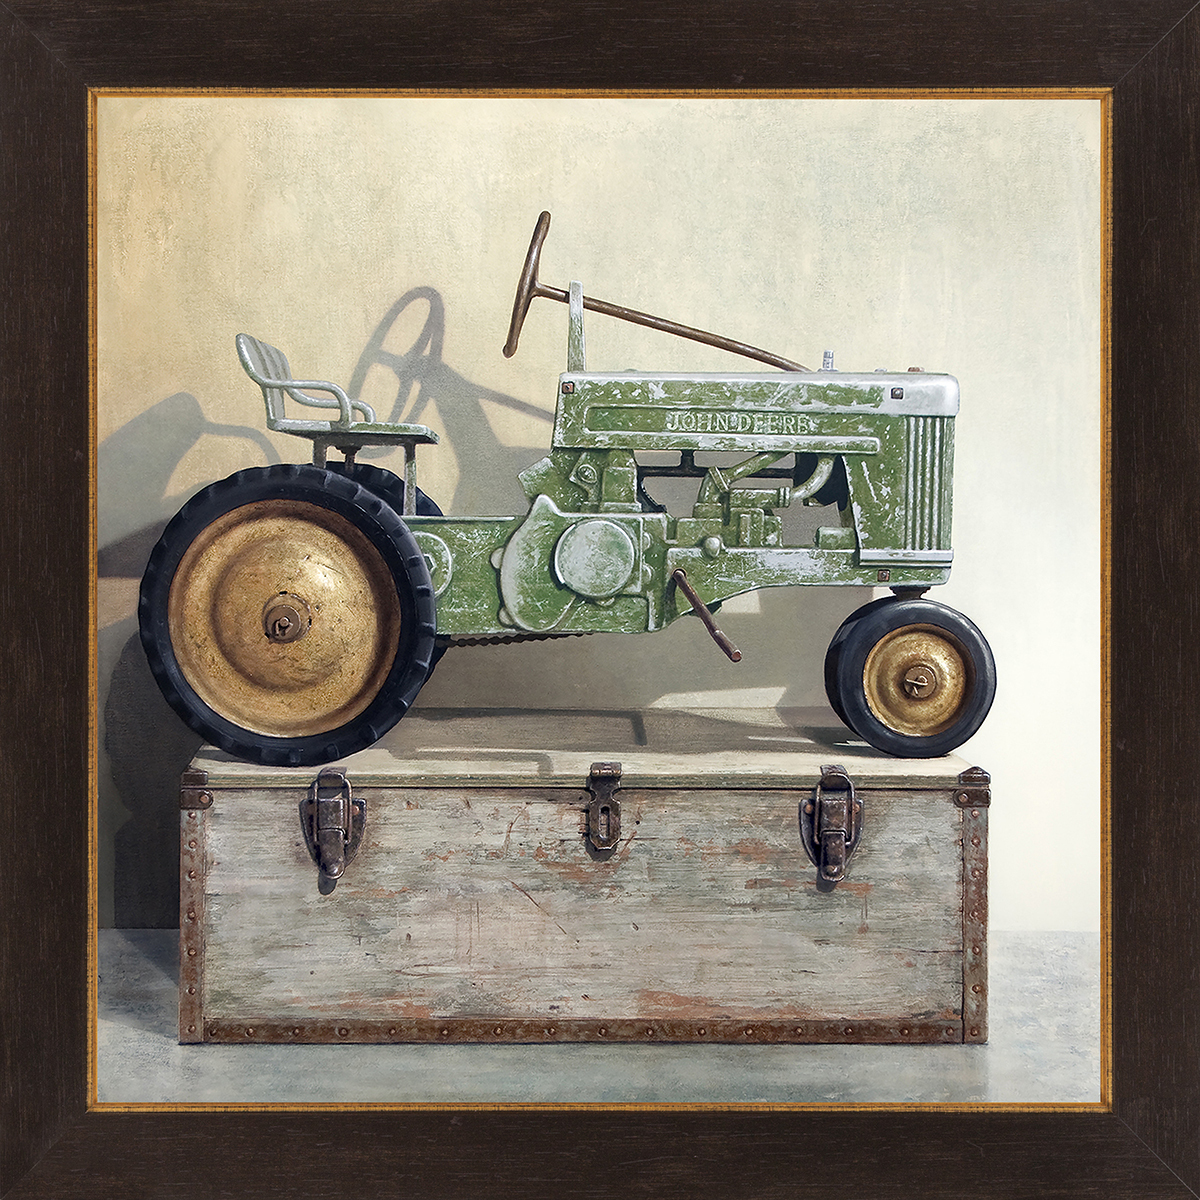
Hi Damien, My task is to take a "blank" picture frame and install images in the frame. The images are different sizes, so I need to change the size of the frame, but without distorting the frame. The frame should always be 2" all around. Is there a way to adjust the size/shape of the frame without distorting it? The 2" frame will need to fit around these image sizes: 12x30, 13x30, 13x22, 20x30, 24x30, 20x24, 12x16...and others. I'm trying to start with the image size and place the frame around it. I have about 140 images to do, in probably 16 sizes/shapes. Images below have inside frame dimensions of 24x24 (squares) and 11x17 (donuts) Cheers!


-
Blurry after calibration & error?
SharonMHall replied to SharonMHall's topic in Monitor calibration questions or problems
ok, thanks for your help. I will ask my husband what he sees. Probably recalibrate. As soon as the message popped up I thought, "This is blurry." -
Blurry after calibration & error?
SharonMHall replied to SharonMHall's topic in Monitor calibration questions or problems
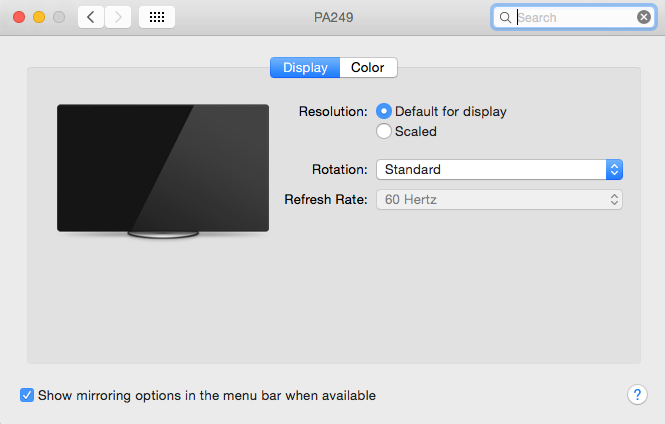
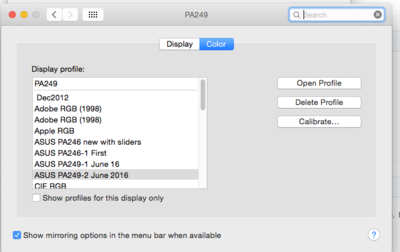
Seems to be the PA249Q version according to the serial number. When I calibrate it, it just says PA249 Images: Peeled off serial number. Display Preferences p. 1&2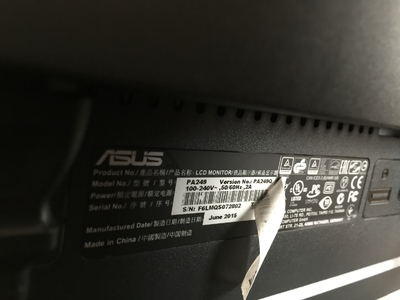

-
Blurry after calibration & error?
SharonMHall replied to SharonMHall's topic in Monitor calibration questions or problems
Crap, hang on. Something is odd. OK, this is interesting. THere is a sticker over the original model # and info. Need to dig a bit more. -
Blurry after calibration & error?
SharonMHall replied to SharonMHall's topic in Monitor calibration questions or problems
ok, sorry, I couldn't find anything either. The "about" says PA249. The RMA email says it's the: AS PA248Q BK/ZBD/6MS/NA https://www.asus.com/us/Monitors/PA248Q/ -
Blurry after calibration & error?
SharonMHall replied to SharonMHall's topic in Monitor calibration questions or problems
That's what it says in the computer. I'm going to look through some emails though to see what I can find about the replacement.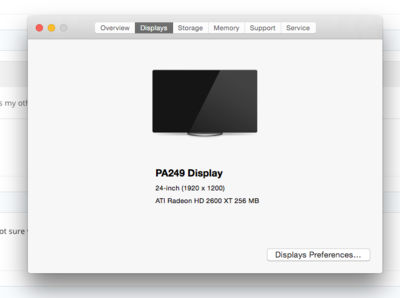
-
Blurry after calibration & error?
SharonMHall replied to SharonMHall's topic in Monitor calibration questions or problems
Not quite. This is PA249 the other was PA249Q. Not sure what the difference is -
Blurry after calibration & error?
SharonMHall replied to SharonMHall's topic in Monitor calibration questions or problems
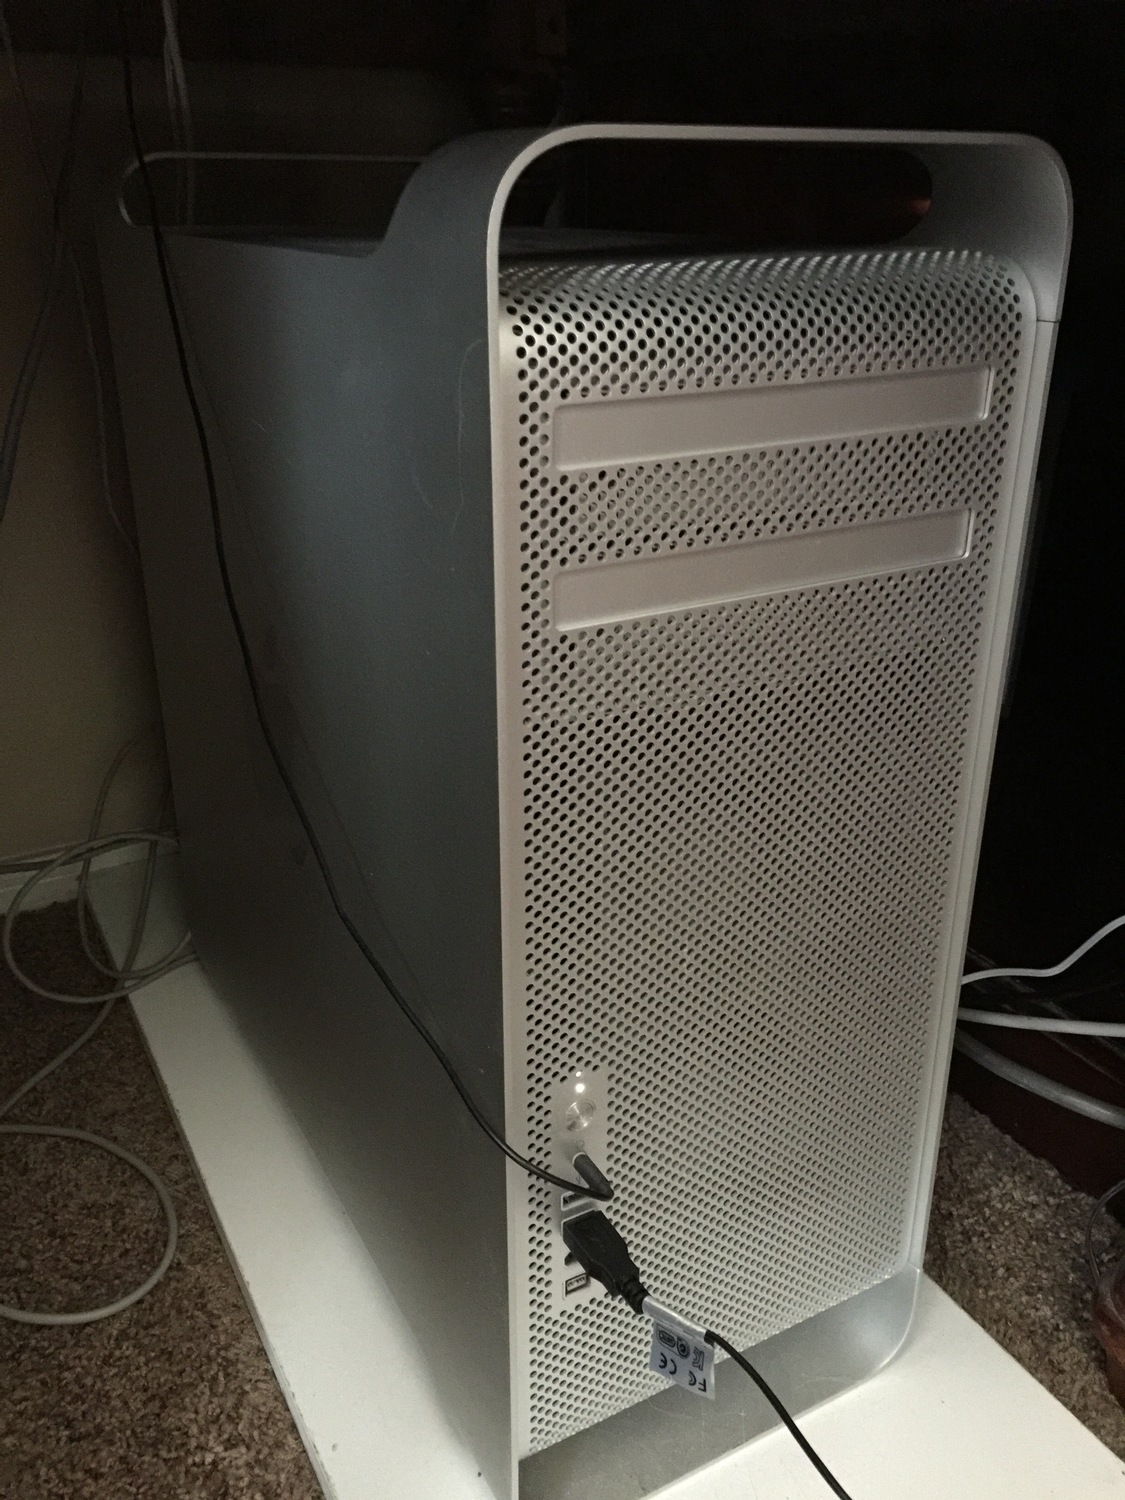
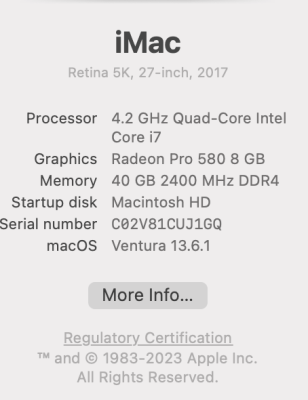
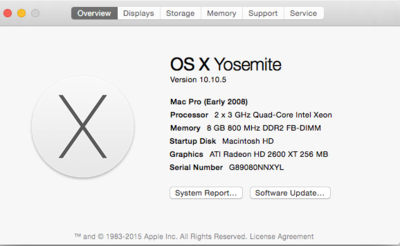
It is old, but it was rebuilt when I bought it a few years ago. It just came back from the shop a week ago with a new SSD. Ran diagnostics and it got a clean bill of health from a mac shop. Here's the front. Do you need to see the back? Good Question about when it seemed blurry. It seemed different after calibration. The monitor is a new (refurbished) from Asus as my other went down under warranty. First calibration for this monitor.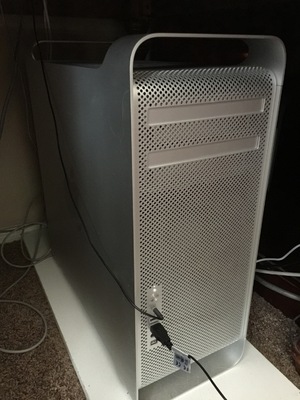
-
Blurry after calibration & error?
SharonMHall replied to SharonMHall's topic in Monitor calibration questions or problems
-
Blurry after calibration & error?
SharonMHall replied to SharonMHall's topic in Monitor calibration questions or problems
Mack desktop