Tina R.
-
Posts
10 -
Joined
-
Last visited
Tina R.'s Achievements
-
Digital File Size small!!
Tina R. replied to Tina R.'s topic in Output - print, websites, Facebook, email, client disk, etc
WHEW!!! Thank you so much, I was seriously having a panic attack! First 'paying' client and all...didn't want to screw up!!!!! -
Digital File Size small!!
Tina R. replied to Tina R.'s topic in Output - print, websites, Facebook, email, client disk, etc
The few I checked were all 5476 x 4016 px - maybe they are all the same because of the 11:15 crop? Are those big enough to print big with no problem? -
I am seriously feeling panicky!! A client's images - the images were taken on a Nikon d610, edited with no cropping done until the end (11:15 ratio like you recommend since it will be full res digital files for them), and I am looking at the file sizes, as I'm sure they may want to purchase canvases or prints on their own...and the file sizes are like 3 and 4mb!!!!!! I feel like I've read before that anything less than 5 or 6 is too small!! So I feel like I'm having a heart attack now wondering what I did and if this is going to be an issue. When I saved the jpegs, I save at a quality of 10 (like you recommend also) for full resolution files. I'm so confused, and don't know what to do! This is like 130 files with half of them being b&w conversions that takes a lot of time to save a certain way. Did I do something wrong here?
-
I do have that set up but for whatever reason, that I can't remember when I set it up, I ended up doing something else that I *thought* was easier at the time. Don't ask me what it was, I honestly can't remember! But I'm going to go back to that link and read about it again. Thank you much!
-
I guess I thought the unsharp mask was supposed to be the very last thing you do before you save, but if I can leave it, all the better! Yes, that's the one I watched, it was very helpful. I created an action to do the other things, and that sped it up a bit, and then batch saved again for the web-sized ones, but it didn't give me an option to change the name or somehow 'mark' them as web-sized so that they wouldn't be lumped together in the same folder as the full-res. Is there a way to do this that I'm just missing? Image processor is a bit new to me also.
-
Hi Damien! I did try searching through the tutorials you've written as well as the boards, so I'm hoping that maybe you can help me here. I have GOT to speed up my workflow here and am wondering if I am going about this in a really roundabout kind of way and if there is a faster way, and if so...what would you suggest. I am selling digital files to a client - full resolution files, as well as the web-sized watermarked files for social media. So say I have an image, and I finished my edits in PS. This is what I've been doing to save for both files: flatten image, crop to the 11x15, unsharp mask, save as jpeg. Then Edit-step backward (to undo the unsharp mask), resize to the 2048 for FB long edge, watermark, unsharp mask, then save again for the social media files. This is taking a LONG LONG time to do each of these steps and constantly be stepping backwards because of the unsharp mask. I feel like there has to be a faster way! And then if that image is also converted into b&W...even more steps. I saw your file on batch saving, and I did that for the initial jpegs, but I'm not even sure how to quicken up the next steps. What I'm thinking is that I will still go to edit-step backwards, and just create an action that does the resize, watermark, AND unsharp mask in one swoop (can the 'step-backwards' be put in there also, I wonder?). And if I DO that...is there a way to 'batch' that same action to all of the images and not have to go through one at a time to do it? I'm sorry if this sounds confusing, it's confusing in my own mind!! I'm still kind of learning my way through PS and how to get more efficient in it once I pull my images into it. Thank you for any and all feedback/guidance you can give me!!
-
Settings for Image Processor
Tina R. replied to Tina R.'s topic in Photoshop / Elements / Bridge / ACR questions or problems
Thank you much! I'm dying to take the Image Sharpening Class! I'm in your other 3 right now and going through the RAW class again since the update. Also trying it through Bridge and ACR...trying to finally make the jump from LR. Thank you for your help! -
Settings for Image Processor
Tina R. replied to Tina R.'s topic in Photoshop / Elements / Bridge / ACR questions or problems
ok, ok, I know...I get it, but let's just say that it IS for immediate print, hypothetically, what quality would be best for that through Image Processor? -
Settings for Image Processor
Tina R. replied to Tina R.'s topic in Photoshop / Elements / Bridge / ACR questions or problems
Good question! Likely for future print, probably just some 4x6s maybe 5x7s (of my own kiddos, when I get to printing them!) -
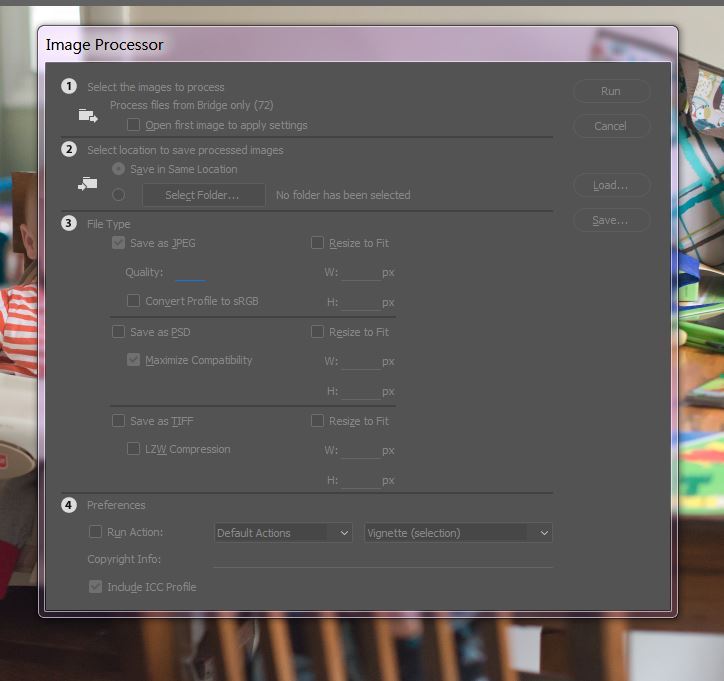
I'm trying to give Bridge CC a go and export through Image Processor to jpegs. However, there is space to fill in the 'Image Quality' - what number would I put here for best quality? And I'm assuming I convert the profile to sRGB (check off that box, right?)? Thank you! Screenshot included.