

Gabriela
-
Posts
304 -
Joined
-
Last visited
Posts posted by Gabriela
-
-
-
oh thank you - this was soooo tricky!! Im sooo happy
ok Im gonna try re edit the photo
-
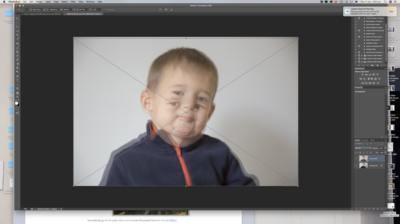
its similar to original one, this was the first thing I choose - that's why I was confused with the transparency ,because I didn't need do big adjustment with the size of the photo
but can you see the line 2cm from his right hand?
-
I think I got it...
here it must do everything very close to the original I mean even clothes? I have struggled with the clothes....
and on the right site of the photo I still can see like shadow , and doesn't go away with the brush

-
aaa I got the transparency issue
-
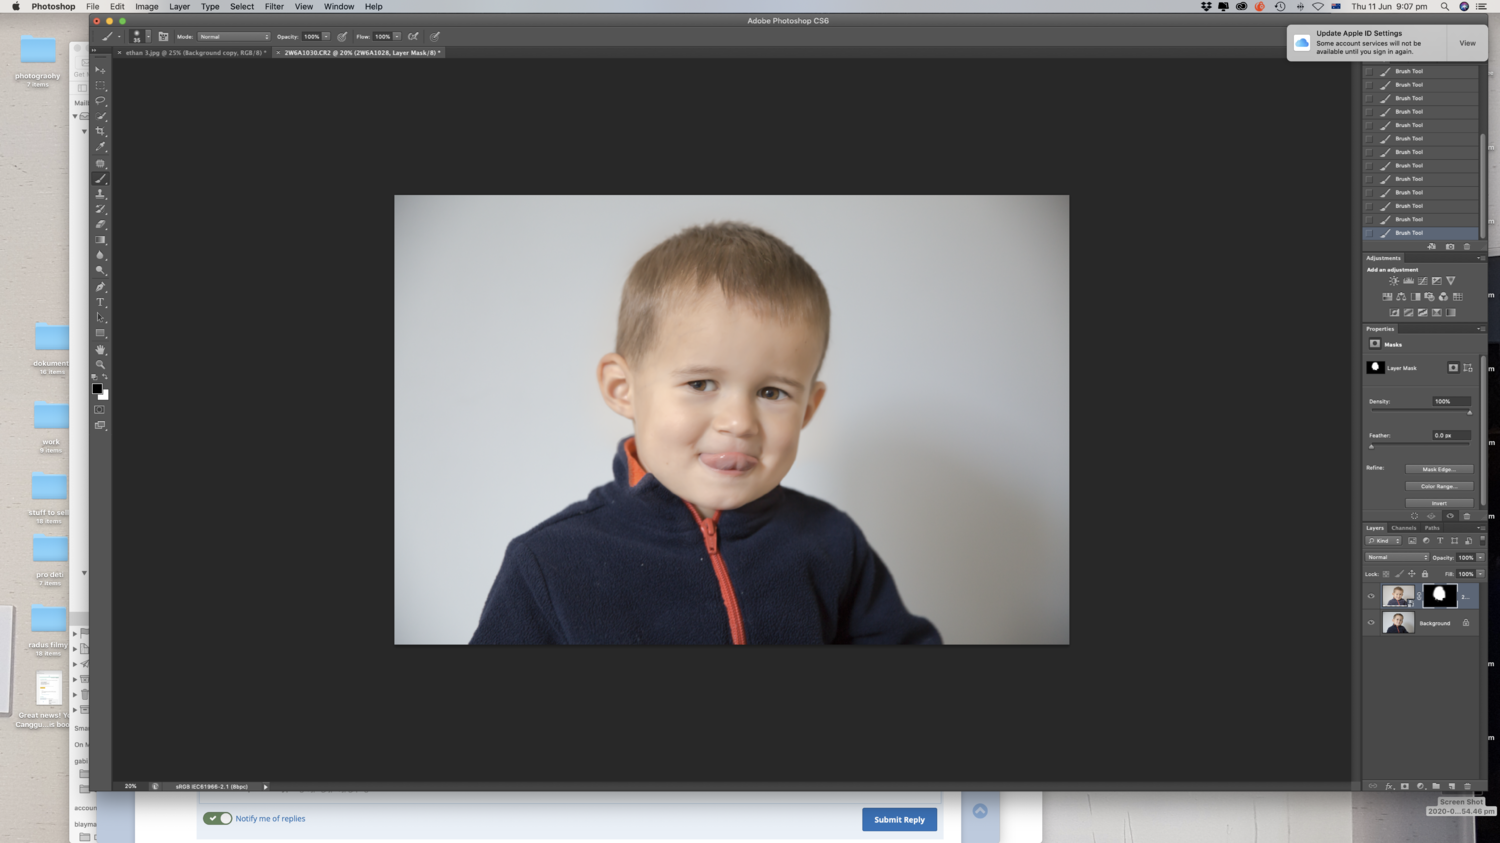
ok , but when I confirm he yes button above the photo , I end up with double photo...
and your one is transparent and my one not how I end you at the screen shot
-
Im sorry I wrote it wrong I did the step 2 and thought I will do the alternative after just to try....
 but don't know what to do after because the step 3 its from the STEP 2 alternative
-
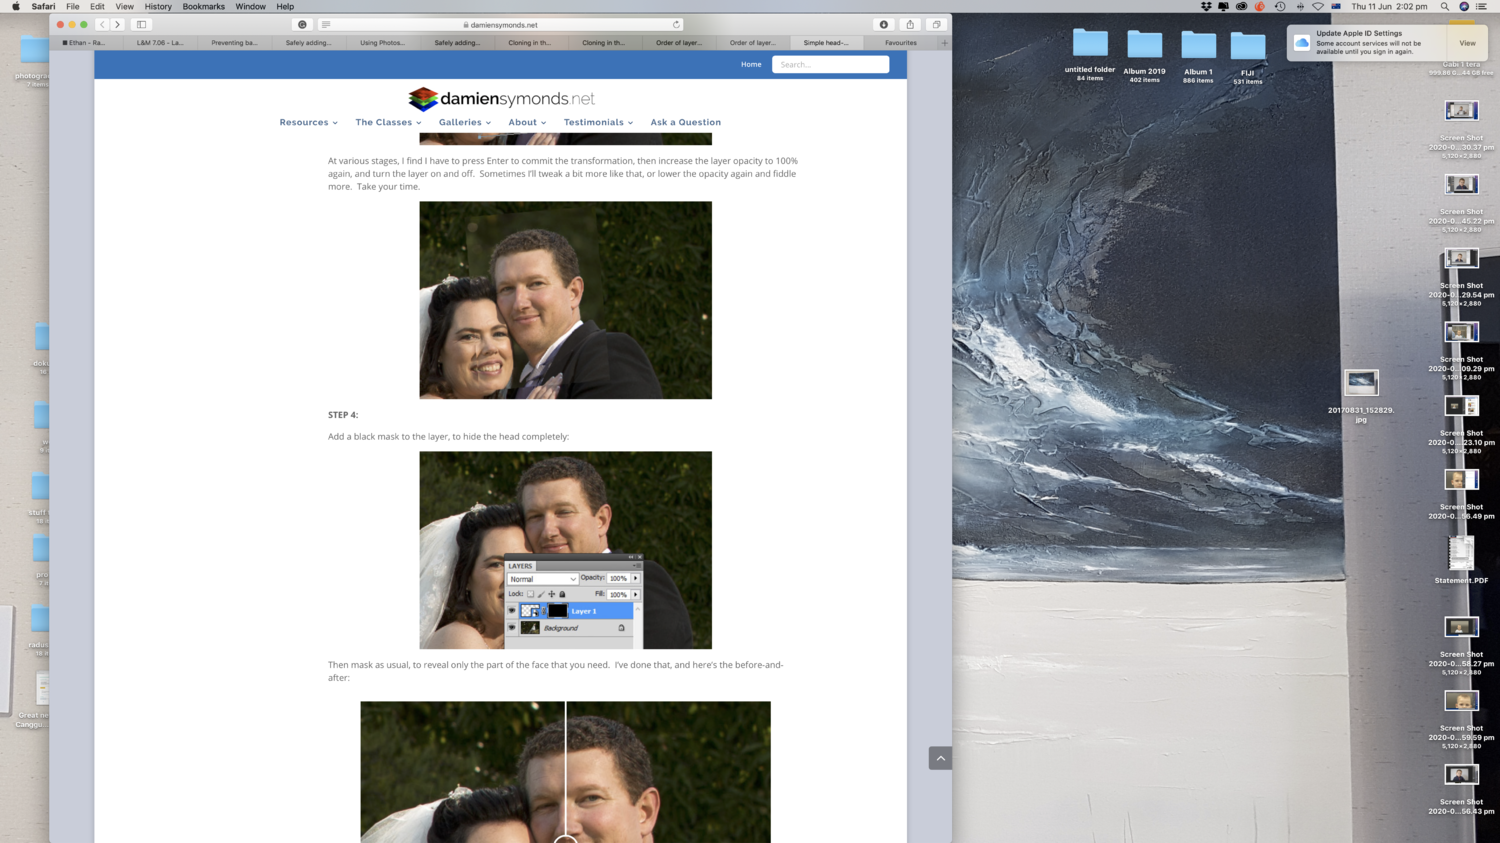
Im at the headswaping....
so I tried swap a head , but Im lost here...
there is STEP 1, than alternative STEP 2 and than STEP 3...... so I have started the step 1 { skiped the step 2 as I thought I will do it second photo after I finish version} but the STEP 3 is following the step 2 , so I don't know how to continue after the STEP 1 - do I make sense?
and you have transparent and black lay
 er I actually see the photo why?

-
someone else
-
I think its just gonna be on top off the page small 5cm x 4cm
-
not for print its for {compatibility} statement - we gonna send to clients {not sure how to spell the word} via internet
-
and now if Im happy with the photo how do I crop it? and than just save as jpg? thank you
-
because Im an idiot ?? yes TB
gonna do clean up tomorrow like in the house
")
-
not real
-
I have a Mac desktop running Mojave and Photoshop CS6. It is under 2 years old, and has 8GB of RAM. Its hard drive has 1.83GB free out of 2.12GB. The last time I shut down was more than a week ago, because I'm an idiot. I have never run a cleanup program.
weirdly too perfect you made my day! I learn. that watching Sue Bryce when she had the free 1 week - that ppl over due and than face looks flat and real!
-
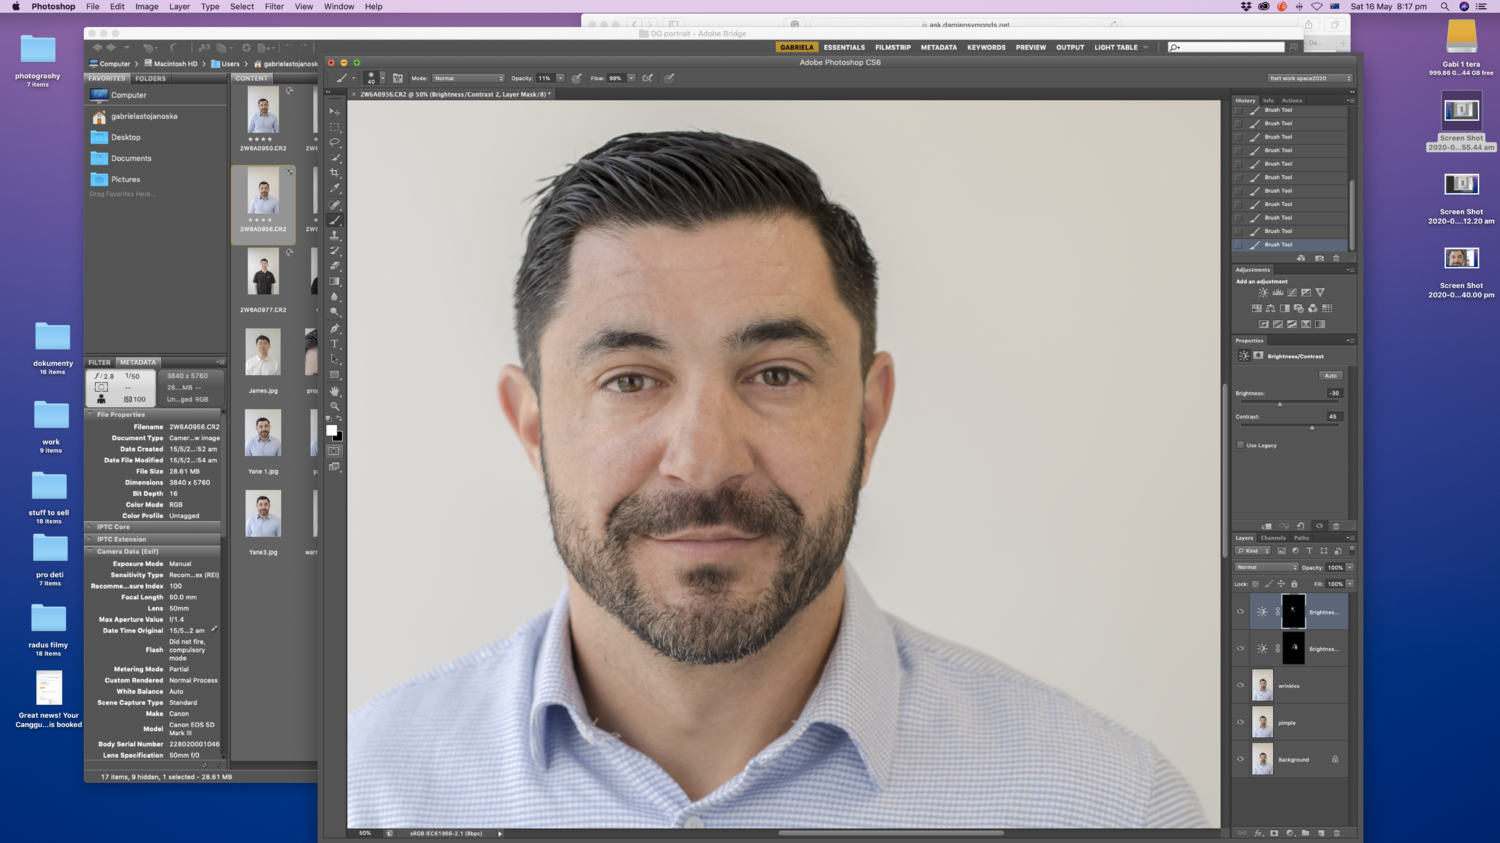
and I have question...
when I use the brush with layers...... I see the cyrcle and when I draw it change to like syncing mode ( rotation dots) I that moment I don't know if Im to fast and the brush is working or I have to stop what I do ...
-
what about that? I have played even with the layers

-
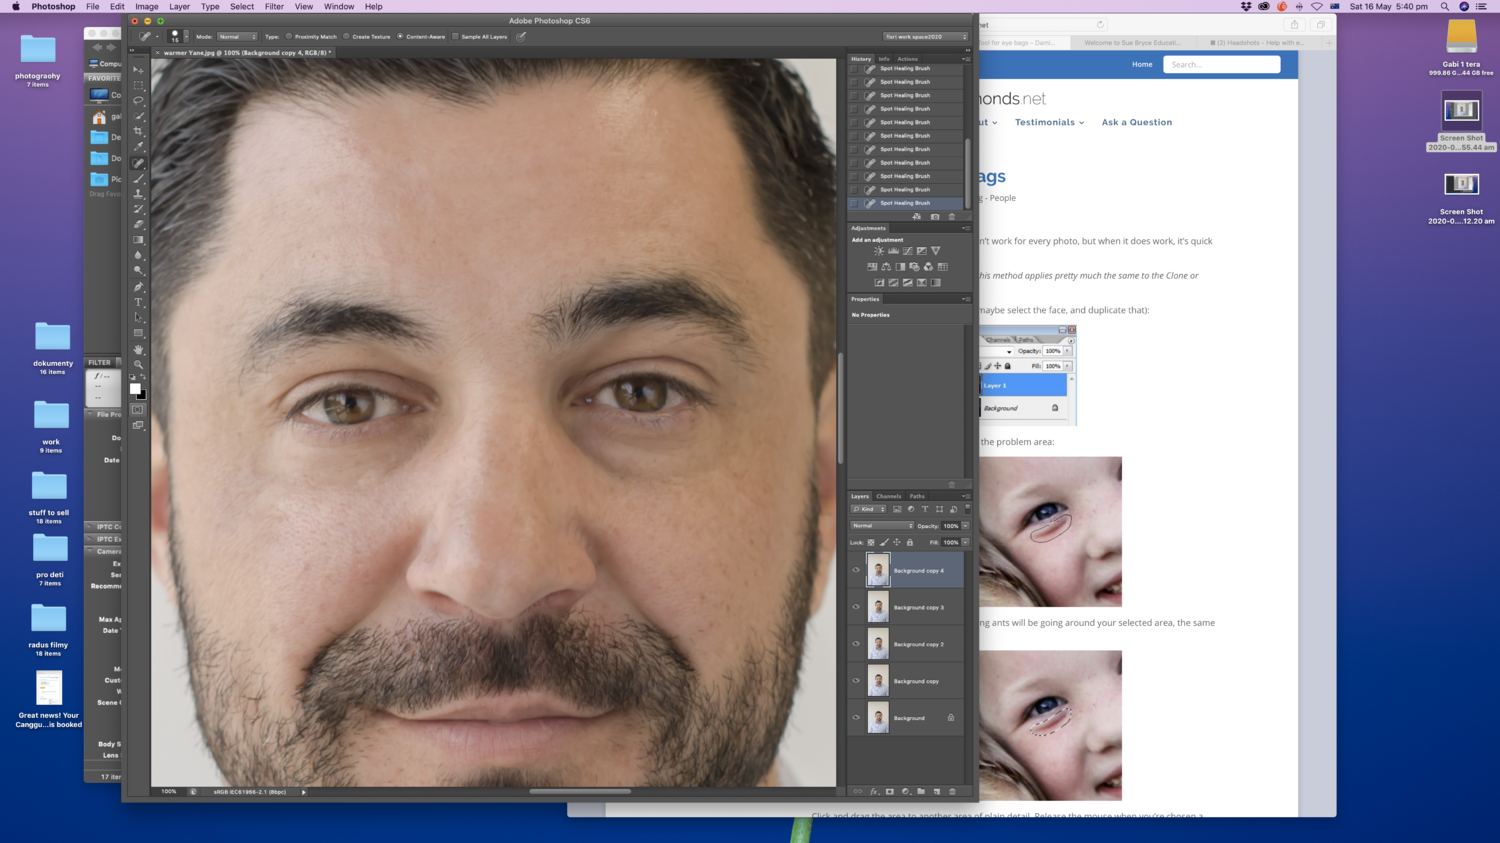
even mixing patch tool and healing spot? as I want 1 pimple total disappearing
-
ohI haven't.....
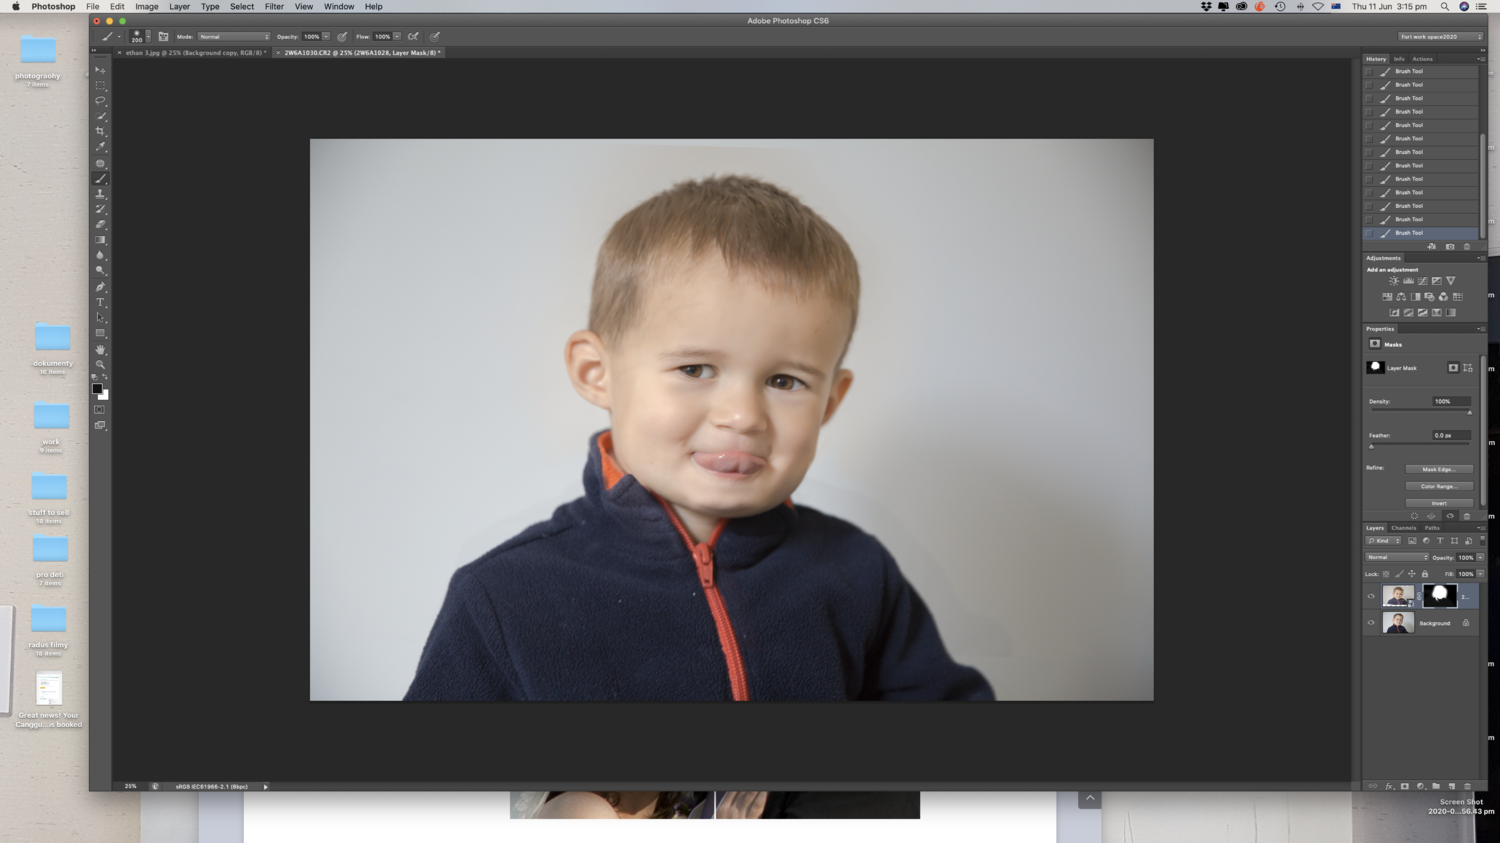
SO when I actually gonna start editing the photo I can't start with the Layers as than I cant create this background copy ??
I have played for now ( screenshot) and every time I created new background copy I was adjusting different wrinkles some healing spot some Patch tool, BUT for example the healing spot I want 100% opacity and the patch only 40%, BUT I find out that all the copies were following the current opacity... the 100% didn't stay 100% did I explained my self right?

-
sorry we had bbq its hard for me running between kids and friends - that's why always took me forever to answer
yes the eye bags and wrinkles
-
jpg?

-
sorry I was waiting for email that you will navigate me, did know where to pot it here
I was trying remove some wrinkles
and than I was really struggling with the Chinese boys as their faces are so white- they look horrible { not talking about the blur - not acceptable)
-
wait wait wait. I must skipped something I only pass the white balance and didn't read or practice anyting else.
-
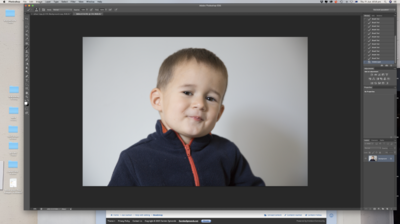
the photo I was comparing with the calibration.
I like to edit that one as first photo to look it right


Print
in Questions about tutorials and articles
Posted
Hi Damien,
Im bit stuck...
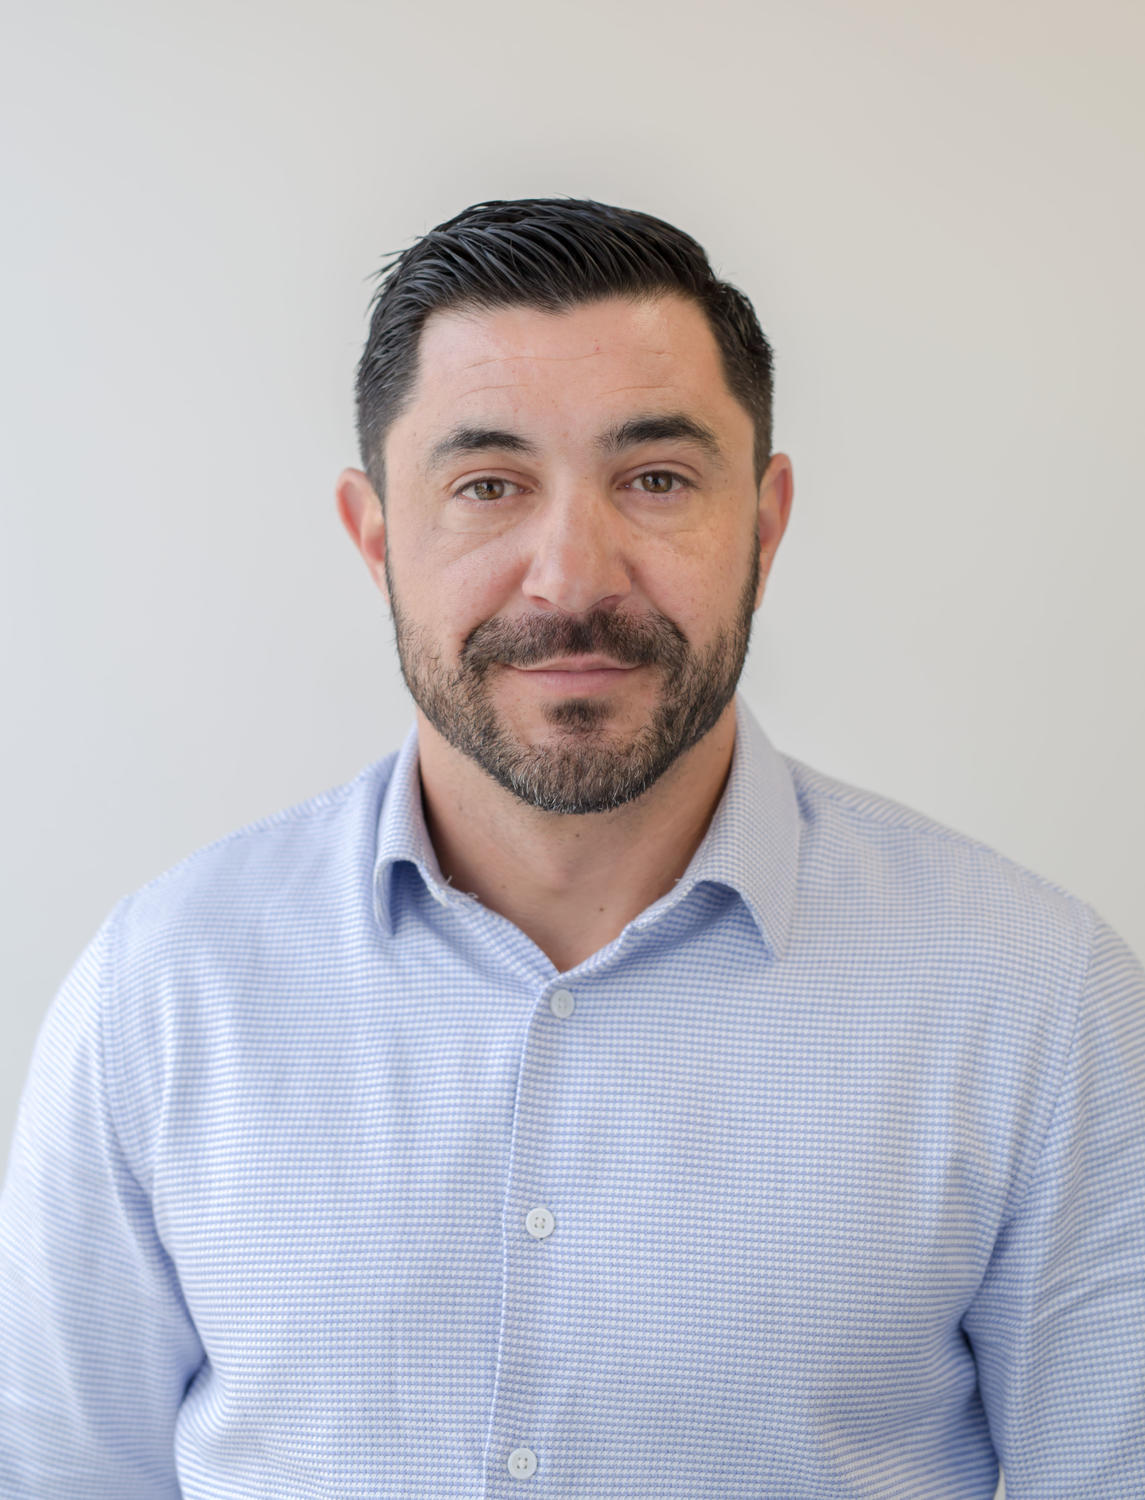
I have finished my photos and I know I want the photo be print in 10x8 . So at the end I did the crop to this size...( and of course its saved in this size jpg)
I went to the lab and the person said its crop to the 10x8 but the size is not correct.... what size? I don't understand what he is talking about and he wasn't really in his mood to explain to me.
The photos were printed good, but now I dont know understand where to go and play with size?
I have read yours preparing web proof for customers( there is something about size), I have read sending to customers. But I just dont get it
Am I missing any article I could read or you cover it only at the printing class?
Thank you Gabi