

DaniGirl
-
Posts
30 -
Joined
-
Last visited
Posts posted by DaniGirl
-
-
Thanks! But I can't get that top box to untick. Do I have to do something to unlock it?
-
I'm doing an initial backup through Backblaze, but it won't run while my iMac is asleep and I can't figure out how to prevent it from going to sleep. I found this post in their help section, but I don't have the top slider in my System Preferences, only the one about display sleep. I searched system preferences on sleep but nothing seemed to come up. I slid the display sleep slider to "never" thinking that would keep it awake, but it did not.
Ideas?
-
I ended up with a great deal on a new small MacBook Air and a new subscription to Creative Cloud. Looking for a way to network the MacBook to my iMac eventually, but for now it's exactly what I needed. Thanks for following up!
-
 1
1
-
-
Great insight as always Brian - thank you! (Crossing my fingers for a little luck on a Black Friday sale - prices in Canada are usually about 25% higher, too.) At least now I know what to scope out in advance.
-
I started editing on a 15" MacBook Pro that I picked up refurbished from Apple in 2012. It's done me well, but after a full motherboard replacement a couple of years ago with days left in my Apple Care, it seems to have crashed again. I'm trying to decide between repair and replacement. If it's the same issue as last time (and the symptoms are similar) it's about $500 in repair costs.
I do the bulk of my client work on a desktop iMac, but I need a laptop for casual editing plus all the other things you need a mobile computer for - minutes of PTA meetings, vacation editing, one of the kids is playing FortNite on my iMac, etc.
So - would you invest in repairing a six year old MacBook? I don't think I have the disposable funds to invest in a new or even refurb MacBook, so my (graphic designer) husband is lobbying hard for me to get a decent PC laptop and at 1/3 the price of the MacBooks, I'm having trouble finding reasons to disagree. Will I be able to export a Lightroom (sorry Damien) catalogue from a PC laptop to an iMac? Anything else I need to know?
Thanks for your insight!
-
Yeah, this may be what finally tips me over. I've actually done your challenge for my own curiousity, a while back. I genuinely like most aspects of LR but this is troubling.
So my eyes do not deceive me? That skin should have a clipping warning?
-
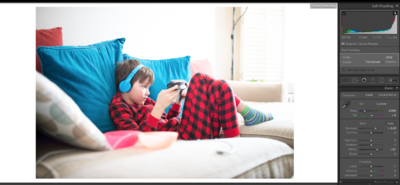
Destination and gamut warnings turned on (still not highlighting his face - neither does the clipping warning on the histogram)
-
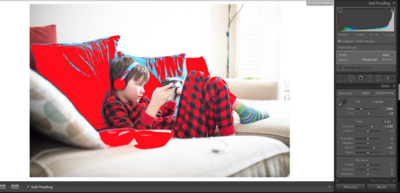
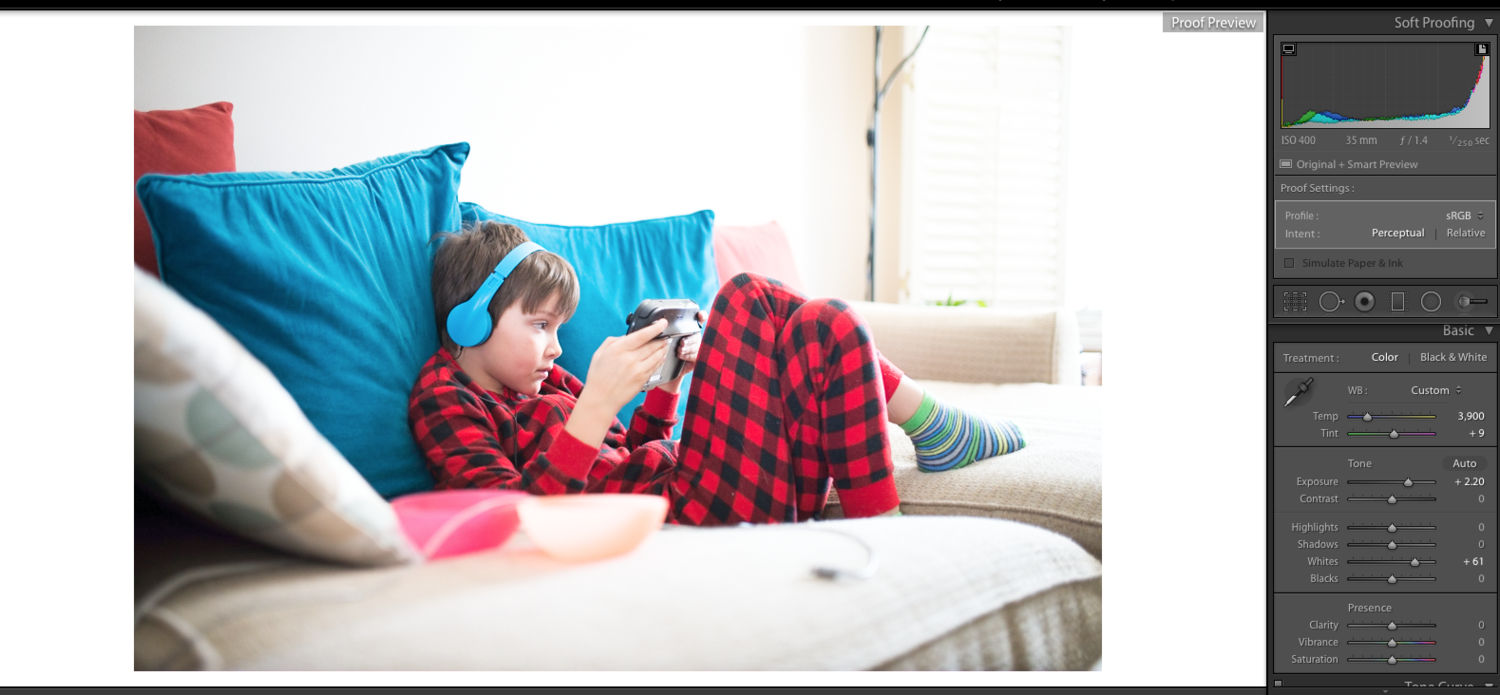
Okay, a few files. I didn't adjust anything but the WB and I intentionally cranked the exposure to blow the skin on his face. Softproofing off:
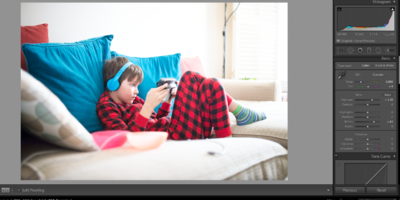
Softproofing on but monitor and print gamut warnings off:
-
I'm on the wrong computer, but I will when I am on my desktop. Thanks! By on and off, you mean with gamut warnings on and off?
-
-
I've been using LR4 for years, and often hit S for softproofing at the beginning and end of each edit. It was excellent for identifying blown out skin, in particular.
I've just upgraded to LRCC, and when I hit S for softproofing, even when skin tones are obviously blown, no warnings come on. I poked around in the settings and found two gamut warnings to turn on, but neither seem to have the same functionality of the LR4 softproofing. Does anyone have a way to turn this back on? Thanks to years of editing I'm pretty good at eyeballing blown skin now, but I miss the one-click double check.Ideas?
-
Wow! So is your methodology just experience and trial and error?
Also, thank you!
-
Here's the original one with the noise removed.

-
Ha, yes it is - sorry, I was going quickly and pre-coffee, trying to catch you before you went to bed. There's more or less a full session of them. Probably five to ten that will need the fix. If you can set me on the right direction, I can tweak the rest - I hope. Is that how you go? Just play with the channels until you find the formula.
-
Thanks Damien, is this better?

-
Hi Damien, my problem is pretty much the same as this thread:
I downloaded the PSD and played with the various levels in the red, green and blue (is "channels" the right word here?) in the levels dialogue box, and while I could see the change I couldn't get the colour balance right. How do you know which channels to adjust and which way? Just tinkering and experience? I'm trying to reduce the purple coating.
Thank you!

-
Thanks for your help with this one Damien. She's decided she wants to keep the sunglasses, so I will learn this trick another day!
-
1
-
-
I searched because I'm sure I've seen this covered, but maybe it was in the old forum? This beautiful sweet lady just confided that she cried herself to sleep when she realized she was wearing her sunglasses on our photo shoot. I'd actually asked people to remove them, and when she did not, assumed they were transition lenses she wanted to keep on, but apparently she thought she had her regular glasses on. Anyway, I'm trying to minimize them for her because she's so kindly and so upset. I've gotten them partway lightened - see screen grab of SOOR and my levels work to date. I can't quite pull back in the contrast to define her eyes. Can you help? Any other tips? She's ordering about 20 prints, and is wearing her glasses in most of them. :\


-
Ha, wow, great feedback. You taught me everything I know, so thanks for that!
")
-
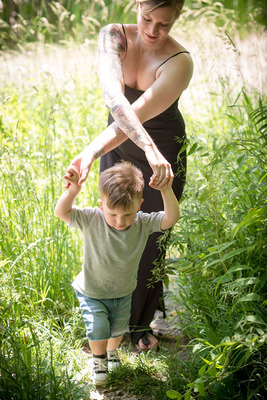
Hi Damien,
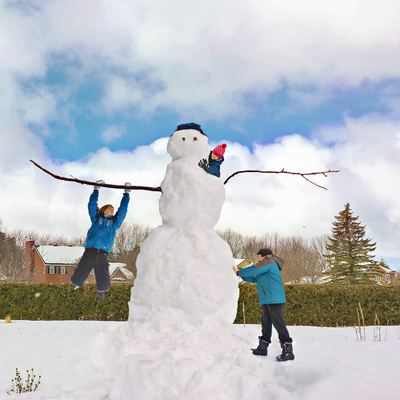
This mom has beautiful tattoos down her arm, but the contrasty light was tough where they were walking. I like this moment and pose a lot, but when I try to use levels to bring down the highlights, everything seems dull and grey. Any suggestions on how I can recover this to show off her tattoos a little better? I've uploaded the SOOR and my attempt to fix with a couple of levels layers and a brightness/contrast layer. I know little guy needs a photo filter for the green cast, but I thought I'd get the tattoo arm fixed first.
Thank you!

-
Gosh your eye is good. The snowman snow and the field snow were different tones, so I used levels match them up, and I was so proud of myself (thank you Levels class!) for figuring out how to balance them. Didn't see the discrepancy with the clouds. In fact, I'm having trouble perceiving the green in the clouds - what do you think of this version?
-
1
-
-
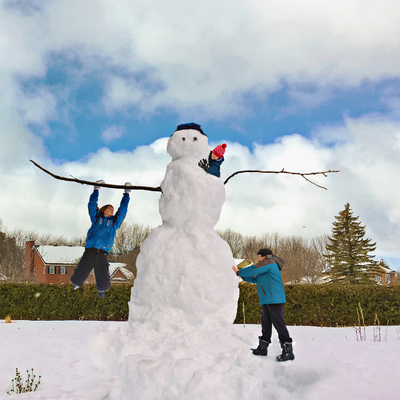
Oops *blush* that explains why it worked the first time. Got cocky the second time. Luckily for both of us, I won't make that mistake again.
Do you have any thoughts on this version? I feel like it's getting there, but almost want it to be smoother somehow. Any thoughts on how I can make it have more of that whimsical feel?
-
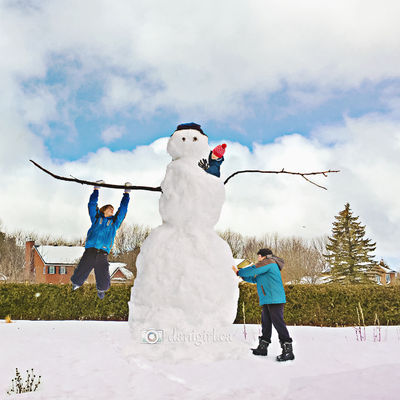
Argh, I'm going mad trying to get that snowman pic out of there. I can't delete it!! Please ignore it.
-
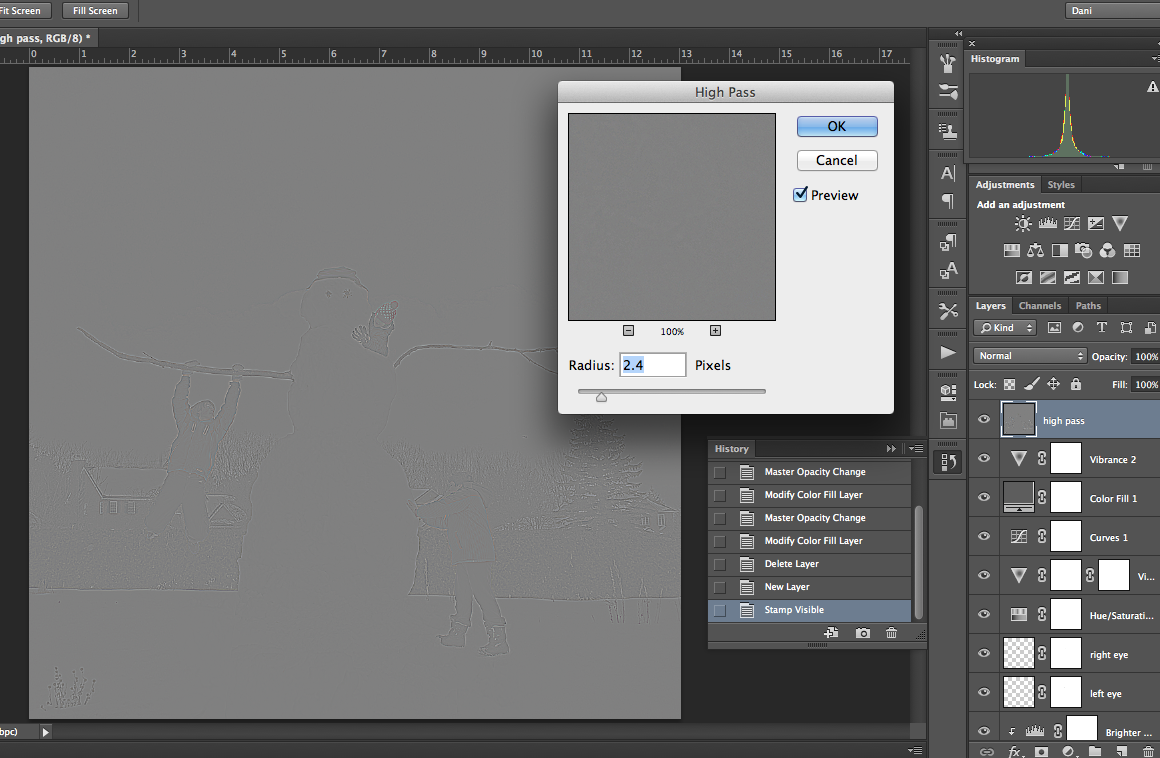
I think my High Pass filter is misbehaving. I did it once, and sort of liked where it was going, but all the sharpening showed me a few flaws in my masking. I deleted the layer, backed up and tweaked a few masks below, and then when I followed these steps again, this is what my high pass filter looks like:

Even when I press OK, it stays like this. Can you see where I went wrong?


How do I prevent my iMac from going to sleep?
in The Macintosh User Group
Posted · Edited by DaniGirl
clarity
Okay, so I think I figured it out. If I slide "turn display off after" all the way to "never" I can't untick the box. But if I pull it back to three hours, I can untick it. So as long as the box is unticked, the computer won't go to sleep even if the monitor is off?