Abak671022
-
Posts
137 -
Joined
-
Last visited
Abak671022's Achievements
-
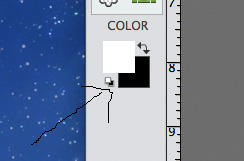
Well I clicked this little box (I'm not really sure where I heard that was the place to click to reset the colors to default or why I thought this was the way to do that) but clearly that wasn't the correct thing to do bc when I hit the D key like you suggested, it corrected my issue Thanks!
-
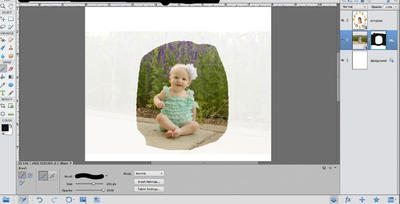
Thank you soo much for this help! I have started placing my first photo and I'm noticing a problem. I'm not sure if this is something I should take to the layers and masks class, but I'll ask it here and if it needs to be moved just let me know. I was masking the first photo and when I turned off the scan layer to check the masking, I can still see the edges of the original photo (though the opacity is extremely low where I had roughly masked over where the other photos will sit. I'm attaching a screenshot of my layers panel with the scan layer turned off so you can see what I mean. I had the brush opacity set to 100% and it isn't a soft brush either, so I'm not sure exactly where I'm going wrong. I also checked my colors to make sure they were set to default black and white.
-
Ok I've done this step above!
-
I'm glad I wasn't losing my mind ok so ear to ear it's 18.9cm
-
Ok am I maybe missing something? I'm not seeing an option for smart object. I only have Elements...not sure if that's the difference here.
-
I have both, I kept one with the layers as a psd and saved the other as a flattened .jpeg for posting on here
-
Yes, it's 300ppi
-
Ok it's 24.6cm
-
Ok here is the combined image.

-
Ok so scan it in 2 pieces. Probably a dumb question but scan to .pdf or .jpeg?
-
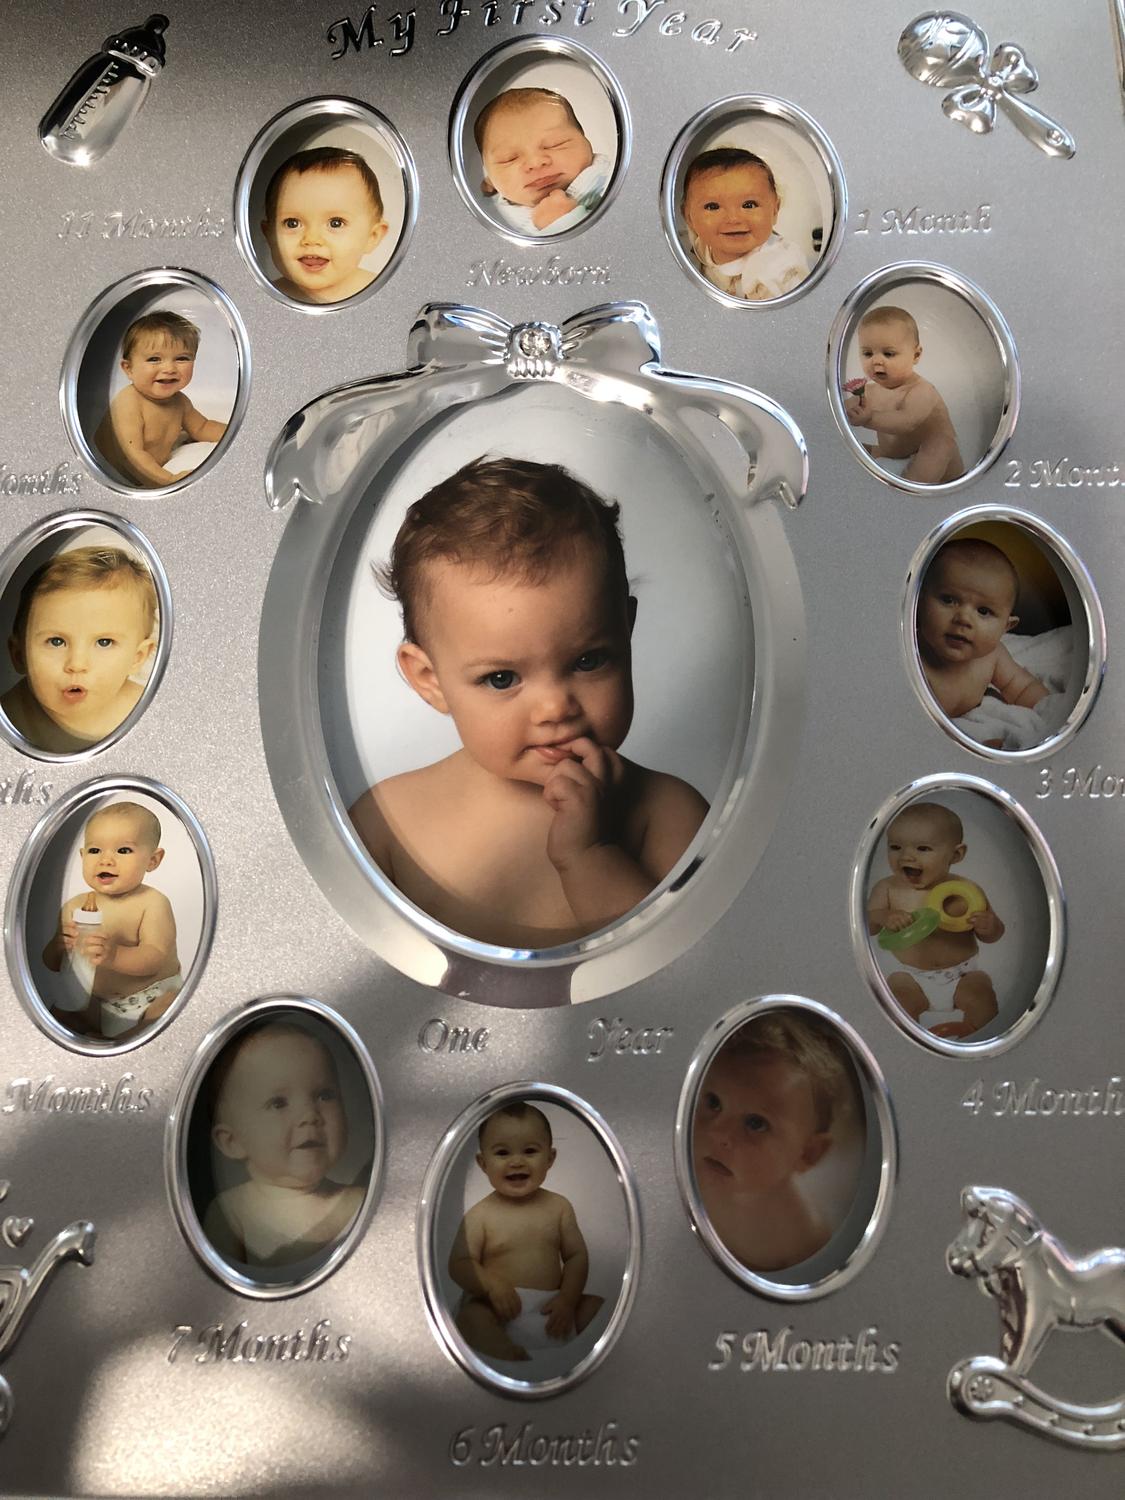
Yes there's a paper inside the frame with the sample photos printed on it..it's just larger than a standard sheet of paper. I do have a standard printer/scanner but the paper is wider than my scanner bed.
-
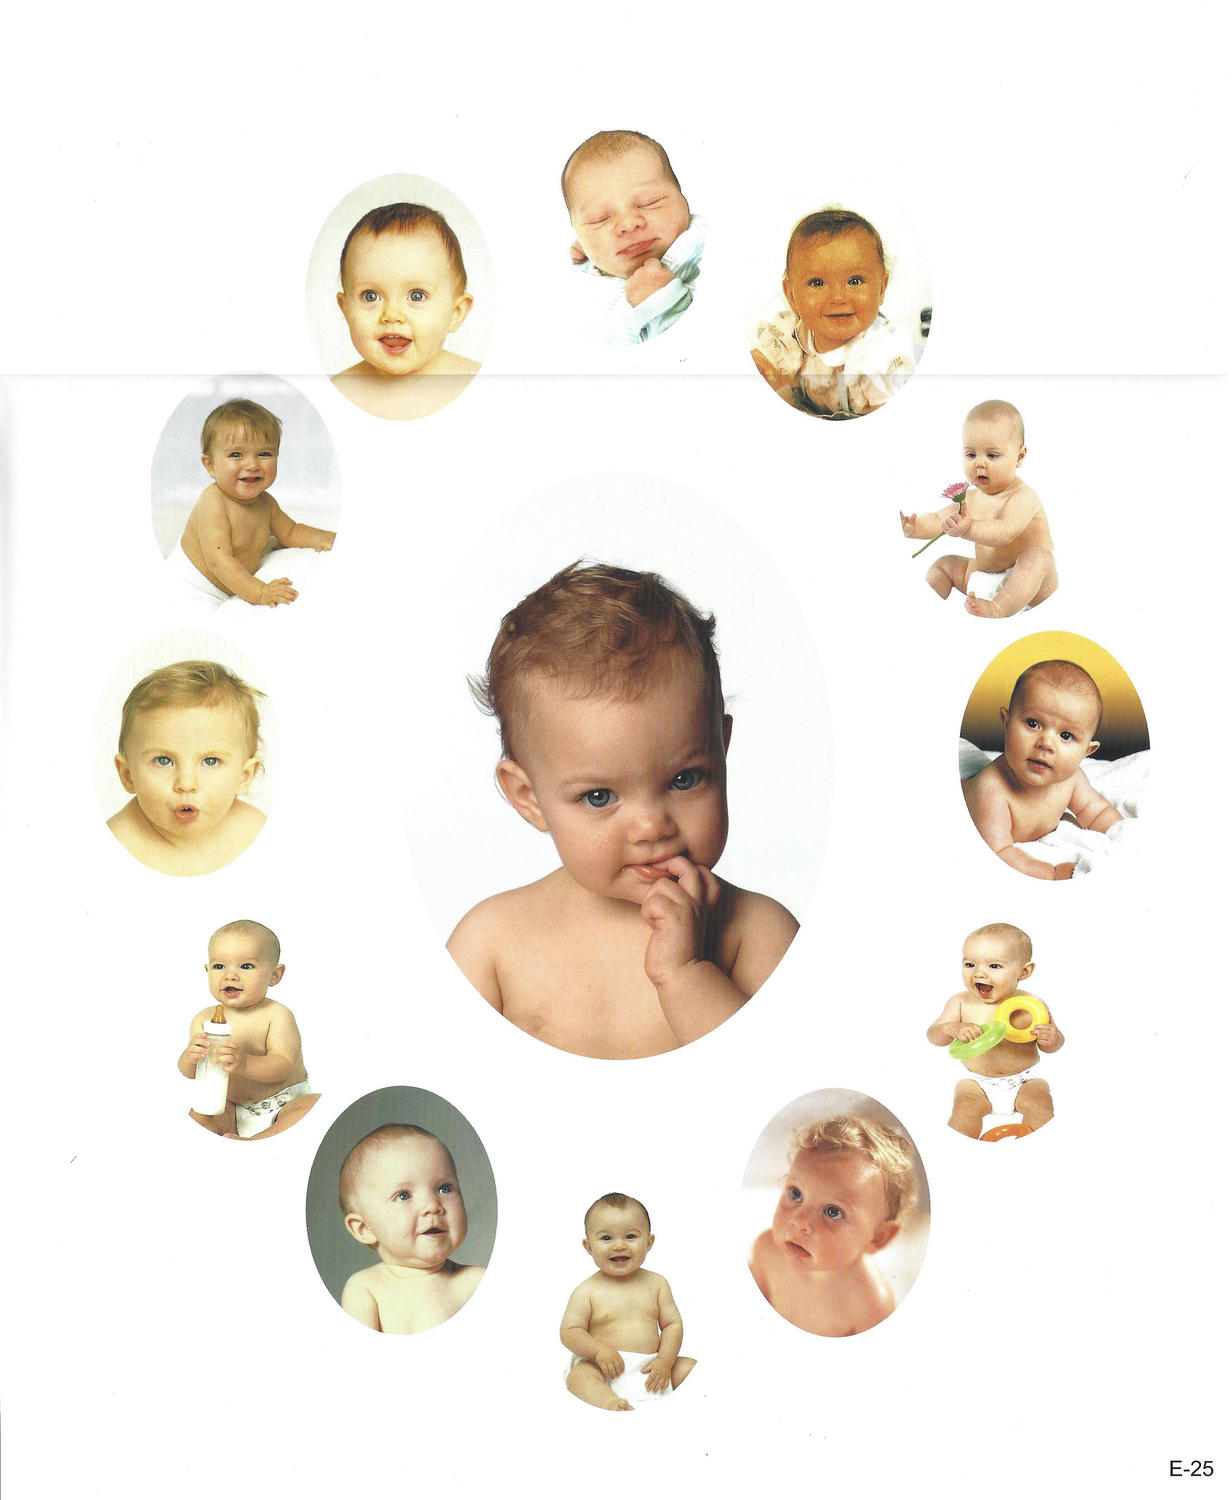
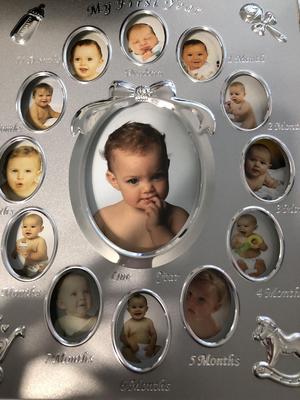
I haven't checked my lab lately because it's been awhile since I printed anything, but the glass in the frame is 9.25 x 11.25 so that would be sort of an odd size for a print. I measured the paper that is included in the frame and from the top of the top photo (newborn) to the bottom of the 6 month photo is 9.75 in and from the far left of the 9 month photo to the far right of the 3 month photo is exactly 8 inches so an 8x10 could potentially work. I'm not opposed to doing one 8x10 and taping it to the glass if it would be easier to get a more uniform appearance to the photos.
-
I have 2 composite frames that were gifted to me that I would like to fill with photos I've taken of my daughters. All of the images I plan to include in the frame are similar, but they were taken months apart, obviously, so they are all composed slightly differently. What is the best way to print these for the frame without having to do tons of trial and error as far as size of print? I know each image will ultimately have to be cut down to size for the frame after printing, but if I printed each image in a 4x6 size, I can't guarantee the pictures will all look uniform after cutting if that makes sense. I'm drawing a blank as to what to do. I'm attaching a photo of the frame so you can see what I'm talking about. Thanks!
-
Richer colors in beach photos?
Abak671022 replied to tropicmom's topic in How to achieve a certain look or effect
Thank you so much! -
Richer colors in beach photos?
Abak671022 replied to tropicmom's topic in How to achieve a certain look or effect
Hey Damien, I tried to download this PSD and open in Elements but it just shows a folder next to the layer mask so I can't actually see the steps you took because the folder won't expand. When I hover my mouse over the folder it says "indicates a set." Is this because I have elements? Is there a way to duplicate this effect in elements? Thanks in advance!