All Activity
- Yesterday
-
 Select all the files in Bridge, then go to Tools>Photoshop>Image Processor
 -
 No.
No. - Last week
-
Do you want to watermark them as well?
-
Is there a way in Bridge to save a whole folder full of edited jpegs into instagram compatible sizes? (but the images are not all the same orientation) Thany you so much!
- Earlier
-
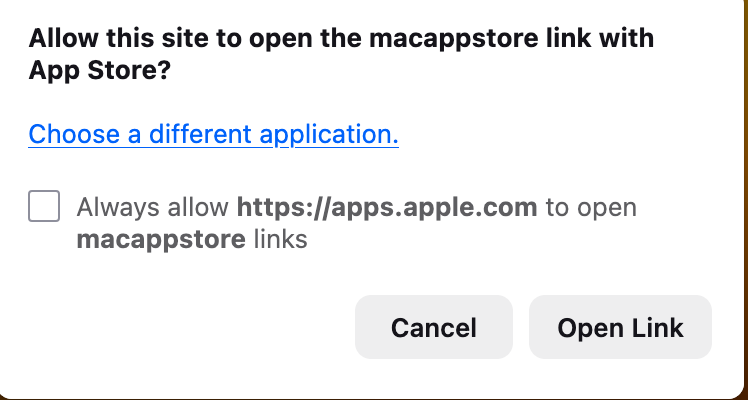
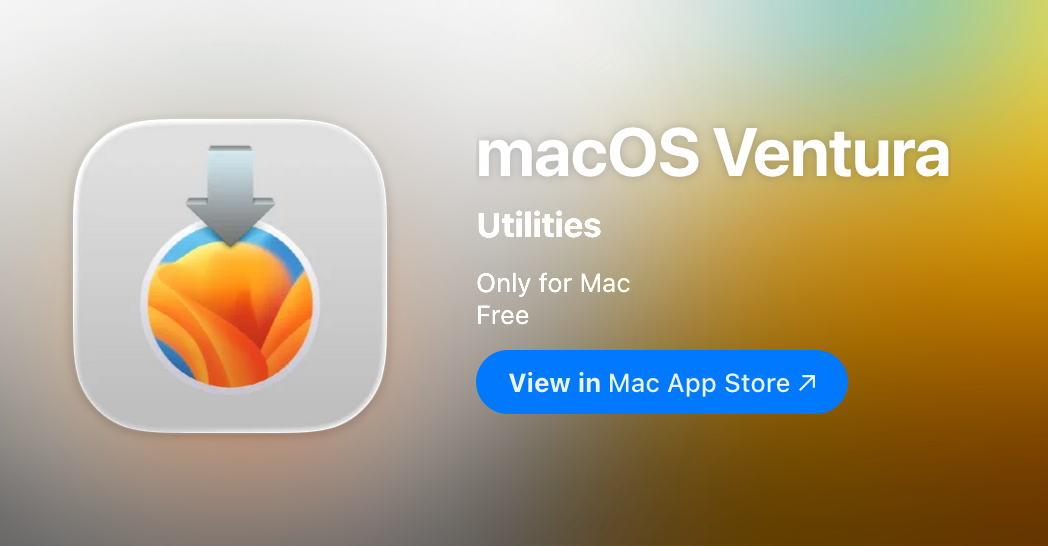
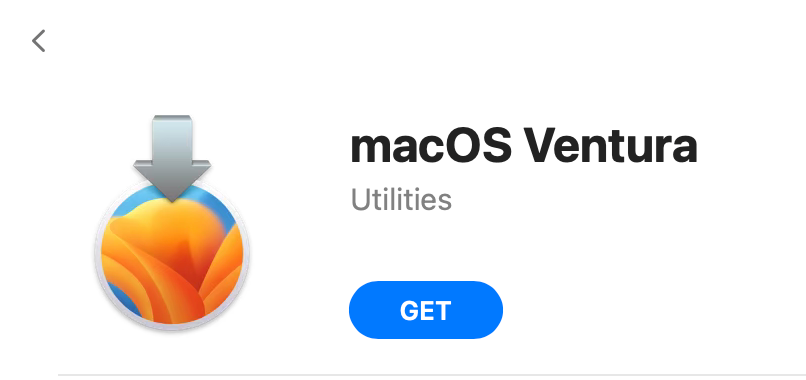
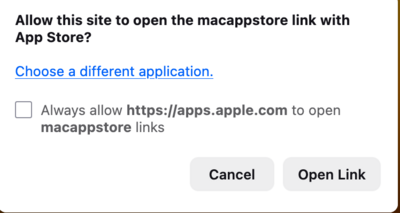
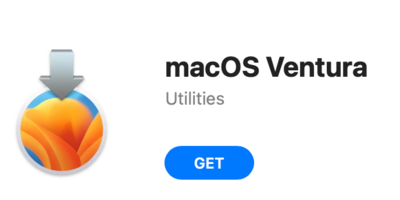
I don’t know what happened. Weird. Anyway… Now before you do any of this, I'd recommend doing some house-keeping, running CleanMyMac X, repair permissions, etc. Maybe clear out some space out of your downloads folder. The more space you have to download and install the OS, the better. Go here: https://apps.apple.com/us/app/macos-ventura/id1638787999?mt=12 Click View in Mac App Store Tell it to Open Link. (This pop-up box shouldn't appear if you are working in Safari, only Firefox or Chrome.) Click GET.

-
Hi Brian, I am trying to update to Ventura 13.7.8 . The link you gave me above isn't working when I click on it. Am I doing something wrong?
-
Thank you so much!
-
Ventura is fine and is a mature operating system. Ventura 13.7.8 is what I'm running on my 2017 Intel iMac. I'm also running PS CC 2023. No issues other than Adobe bugging me to upgrade...which I won't until I get a new computer. The latest version of PS will kill my computer.
-
yes that is one of the reasons why I pursued the AI option. Thanks again
-
Thanks Brian. I definitely won't do Sequoia. Do you think even Ventura 13.7.8 is risky? IF so, I will just save my pennies, er... nickels. Can't thank you enough.:)
-
According to Apple's Website, you should be able to. Would I personally? "Meh." It's one of those things..."Just because you can, doesn't mean you should." 2018 is really pushing it. You really need to start saving for a new computer. Your Graphics Card is severely under-powered for the modern versions of PS, so there's that. If you do upgrade, that's fine. Just keep in mind there are no take-backsies, meaning you can't downgrade. If you upgrade to Sequoia, you are stuck with it; unless you create a Ventura bootable thumb-drive, then NUKE your MBP and then reinstall everything from scratch. A trip to the Apple Store would be in your future to do this; this process is way too involved for me to help in this forum. So it were me, I'd upgrade to Ventura 13.7.8 instead of Sequoia and see how that goes. Here is the link to Ventura. If you are using Safari, it will take you where you need to go. If you are using Chrome or Firefox, just click the "Open Link" when it prompts you and will take you to the App Store:
-
Hi Brian. I was just looking at my MacBook Pro (15 inch, 2018) and noticed it is running Big Sur, 11.7.10. I know I updated my desktop to Ventura 13.7.8. Can I update my laptop to Sequoia? My laptop has 16GB memory, 6-core Intel Core i7, Graphics Intel UHD Graphics 630 1536 MB. TIA
-
Oh, one more thing... $225 Canadian is a lot cheaper than Forensic Data Recovery. You would have probably forked out $1500 or more for that service.
-

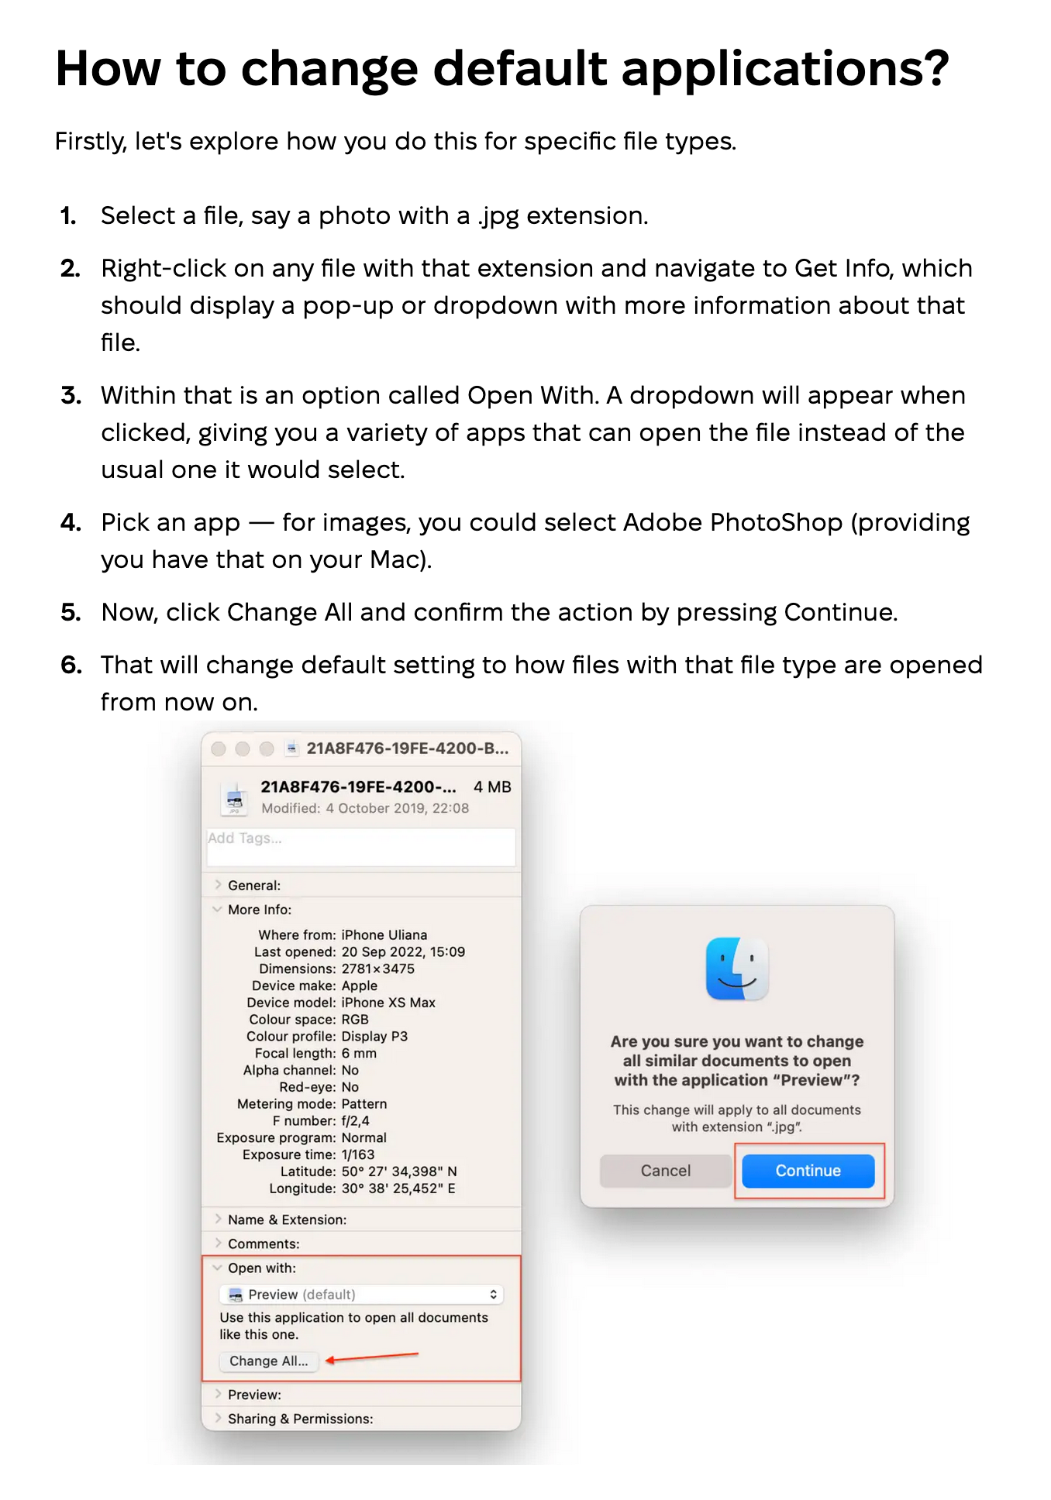
How to change default setting?
Michelle Pena replied to Michelle Pena's topic in The Macintosh User Group
Thank you, that worked! -
Very cool. Thanks for letting us know. Disk Drill, I have heard of that program, glad it worked well for you.
-
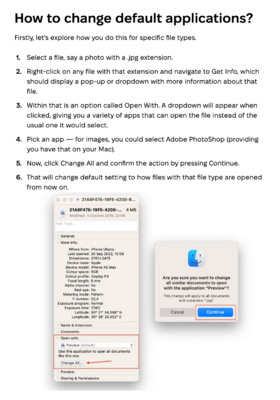
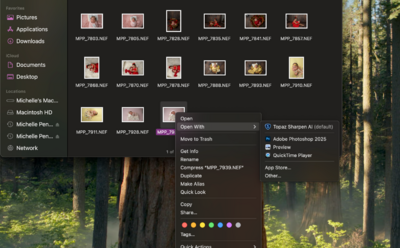
Find a .NEF File, right click and select "Get Info" then look towards the bottom. MacPaw did a pretty decent set of instructions: Look for "Open with," under "Get Info," set the program in the drop down menu, then click "Change All."
-
How to change default setting?
Michelle Pena replied to Michelle Pena's topic in The Macintosh User Group
Ok, I have no clue how to do that. I'll google it -
How to change default setting?
Damien Symonds replied to Michelle Pena's topic in The Macintosh User Group
Ah ha. You'll have to find the equivalent settings in Finder. -
How to change default setting?
Michelle Pena replied to Michelle Pena's topic in The Macintosh User Group
I believe so, is this it?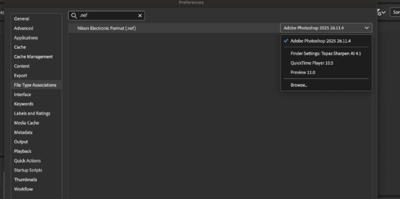
-
How to change default setting?
Damien Symonds replied to Michelle Pena's topic in The Macintosh User Group
So the association for .NEF is Photoshop? -
Hi Brian, I want to thank you for the help. It certainly got me off to a great start. I really didn’t want to send my photos away. There are some issues I don’t want to get into but I didn’t want hand over photos of my grandkids to strangers. It was pointed out to me to try AI. Well $225 Canadian plus a new external hard drive, 90 hours later and as far as I can tell, everything is recovered! 300+Gb. The AI had me answer some questions and then recommended Disk Drill software. Thank you again for your time and help.
-
How to change default setting?
Michelle Pena replied to Michelle Pena's topic in The Macintosh User Group
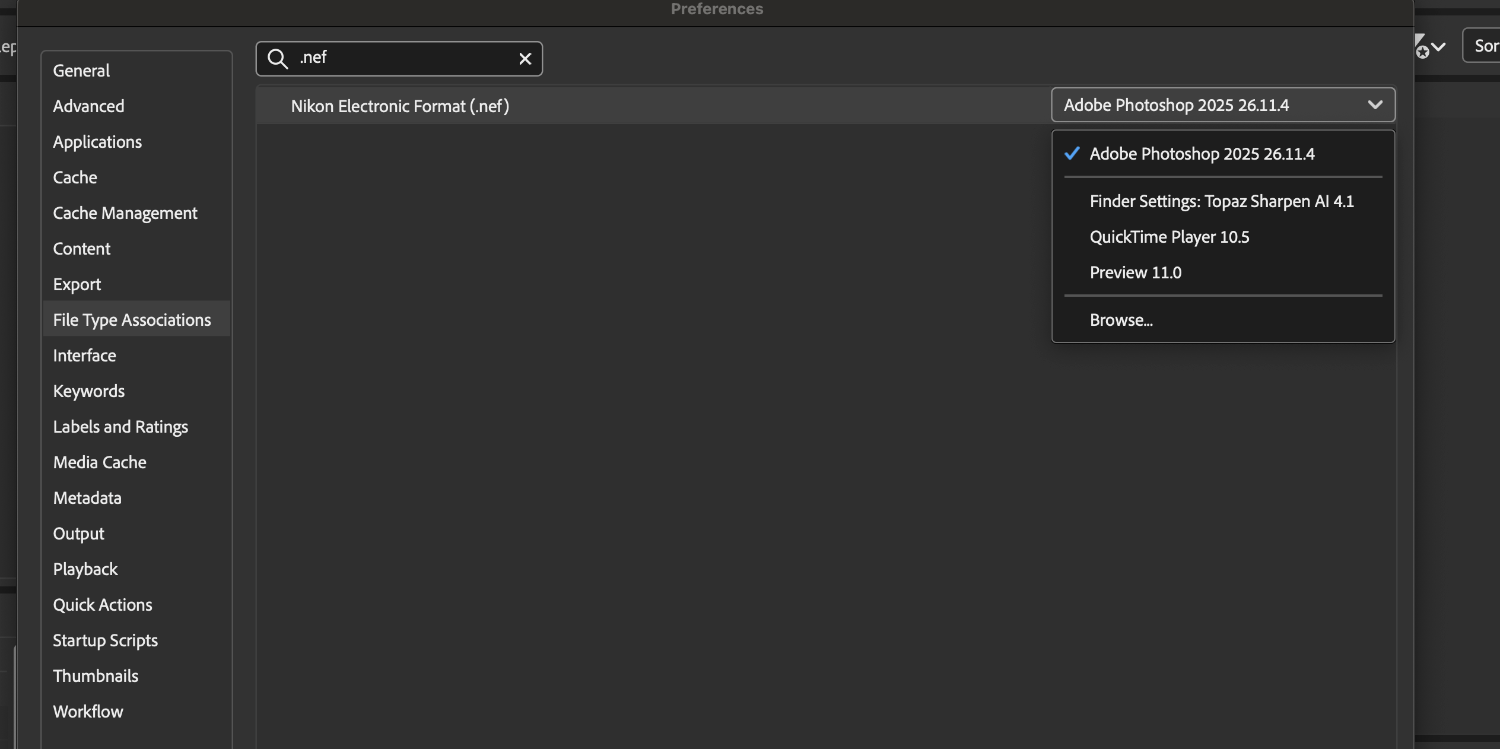
I saw this and looked through it while refreshing the Bridge setting and could not find where Topaz was listed first. Is there a specific file on the left-hand side I need to look for to change it? The finder settings were either Photoshop or not associated with either. -
How to change default setting?
Damien Symonds replied to Michelle Pena's topic in The Macintosh User Group
https://ask.damiensymonds.net/topic/16951-br2-09/ -
How can I change this default setting back to Photoshop? Picture below. Thanks!
-
👍🏻