Samantha LaRue
-
Posts
613 -
Joined
-
Last visited
Posts posted by Samantha LaRue
-
-
Have you read Damien's article yet ? http://www.damiensymonds.net/2012/01/light-around-your-computer.html
-
Hmm, can you fill this out? http://www.damiensymonds.net/thread1.html
-
 1
1
-
-
I'm thinking this would be very hard to do without looking silly because if you remove the arm, you'll be left with the shadow created by her arm on her sweater.
-
1
-
-
Hmm, actions can be finicky sometimes! Have you tried recording the step again?
-
44 minutes ago, ColleenH said:
You and me both. Good call on comparing to print... previous prints look pretty close to on-screen, just a tiny bit darker in print than on screen. That's pretty normal, right? Backlit vs. Not?
It depends since we might have different definitions of "tiny". lol Make sure the light in your room is bright and as good as it can be, for starters.
Normally, I'd advise you to lower the brightness on your monitor until it matches - but I'm unsure how that would work after what you've done here. I'm thinking you'll need to recalibrate, but I'd wait for Damien to advise on that. -
1 hour ago, ColleenH said:
I don't really understand the setting that I changed, so my question is: Is there going to be some other unintended impact that I'm not aware of? Like my carefully calibrated monitor will no longer match my lab, or something equally unacceptable? And did I just undo all my monitor calibration work by changing the default device profile? THANK YOU for any light you can shed!
I don't know. I tried to follow the video on my computer, but for whatever reason it couldn't find my monitors and could only find my printer! So I'm not even sure what that setting does.
Have you taken your prints out and compared them to your monitor after you did this? -
If you take your images into PS and add a levels layer above them, you can see the banding by moving the middle slider all the way to the right.
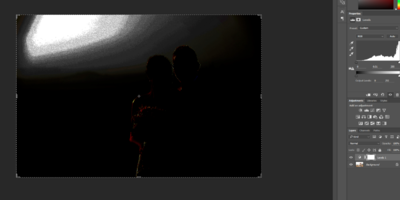
How to fix it will depend on what caused it to begin with. I'd open up your PSD file and place that levels layer on top, then turn off all the other layers and turn them on one at a time until you find the one that introduces the banding.-
1
-
-
1 hour ago, Jadegirly2k said:
Hi
Ive been through it all and it says I'll have to redo it cause can't fix the photo in that colorspace anyway. I'll come back if I end up with the same masking problem.
thanks for helping with that. I'm sure it was phlearn that said to use that colorspace. duh. Incidentally thanks for the bridge tip as well. I honestly didn't know bridge could be used that way.
And make sure you save it as a PSD to preserve all your layers.
") I saw you said "png" earlier and wasn't sure if that was a typo!
I saw you said "png" earlier and wasn't sure if that was a typo!
-
1
-
-
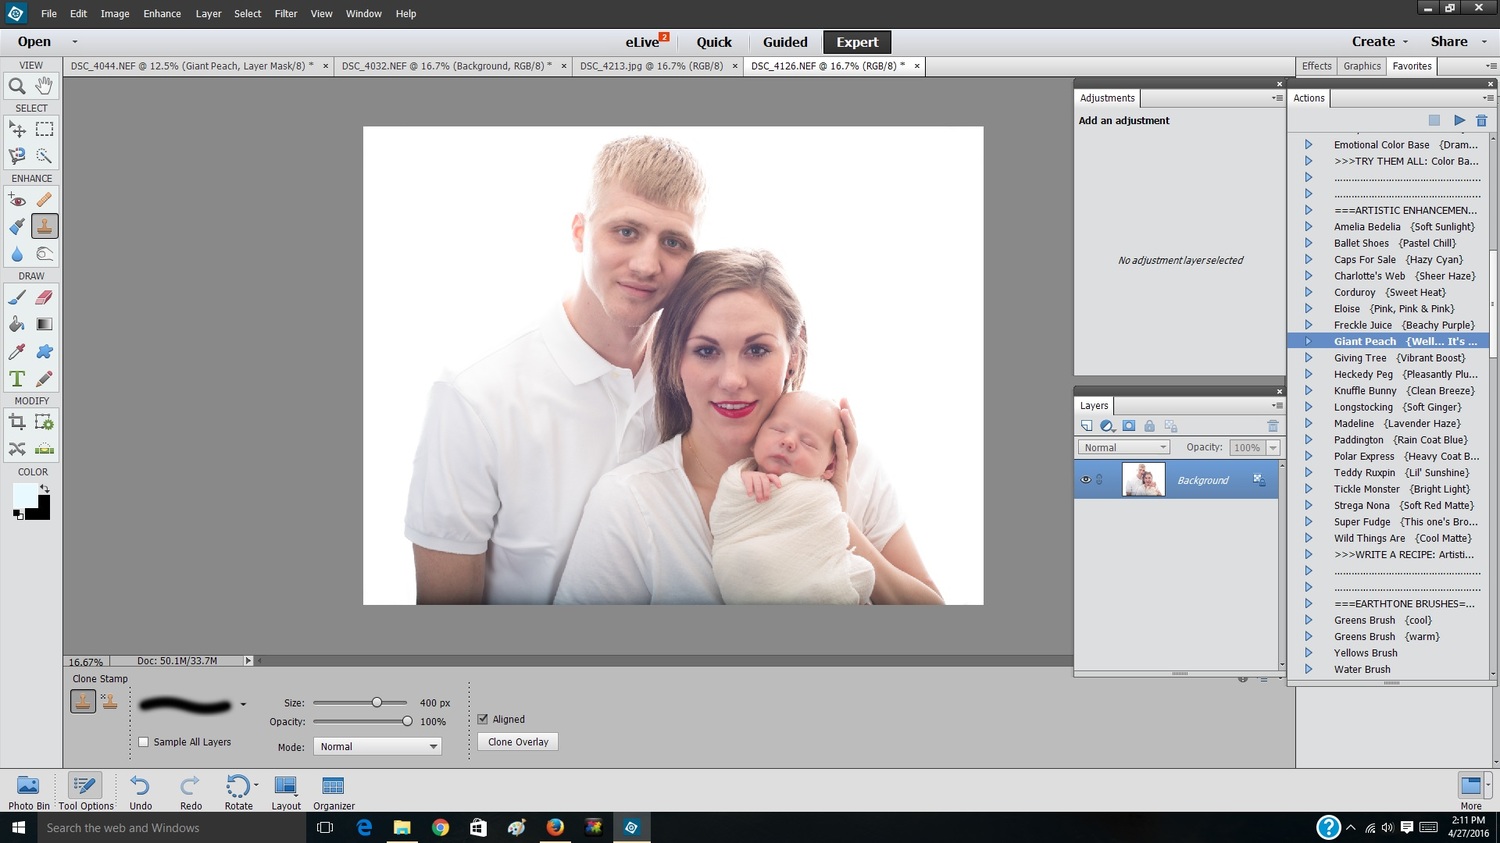
1 hour ago, Kazrk said:
sorry Pink
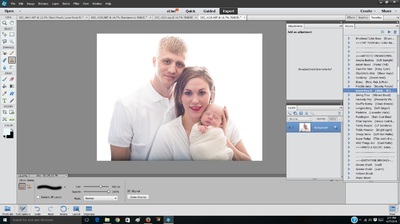
Yes, there are a lot of pink and peachy tones in this image from their skin and the backdrop color.
It's just more obvious now because the other objects in the background are no longer there.
Assuming of course that you're properly calibrated to match your prints already and seeing the same thing we are. -
50 minutes ago, tracyandrade said:
Ok here is the picture. I would like to do frequency seperation on the skin to keep the skin looking real but cleared up...not a lot of pores...how could I do this in elements 13?
Can you post the actual photo please and not a screenshot?
-
I actually think your luminance can go even higher still.
-
5 hours ago, Control Z said:
(1) Bridge previews look pixellated, making it difficult to judge focus on photos. Even when viewing a full-screen preview, the image looks soft. When I use the 100% loupe, it processes for a few seconds, then renders a sharp image, but the overall larger picture is not sharp. Is there an ideal preview setting, something like the smart preview in Lightroom?
There is a setting that I've seen Damien mentioned before called "high res previews" but for the life of me I cannot find it in my Bridge (I have CC as well). So he'll have to tell you where to look for that. Click on the image with the magnifying glass and viewing it at 100% is the only way I'd evaluate an image for focus. The speed of your computer determines how quickly that preview will render.
6 hours ago, Control Z said:(2) Is there a way to view or revert to a non-processed raw file in ACR/Bridge? In the Lightroom develop module, pressing the "\" key shows a before-after. Is there anything equivalent in Bridge and ACR? Or alternatively, is there a way to create a duplicate of the processed file without the raw edits?
Yes, just go to "edit > develop settings > clear settings" or "camera raw defaults" and it will take you back to the SOOC if for some reason you want to start fresh. Nothing you do in raw is ever permanent, so there is no need to create multiple copies of the raw files for different ways you've edited.
6 hours ago, Control Z said:(3) Is there a way to step back through edits in ACR/Bridge like Lightroom's history function?
No, but as I said above, nothing in ACR is permanent so you can change it at any time.
6 hours ago, Control Z said:(3) ACR raw processing seems clunkier on my machine than Lightroom or other raw software (Aperture, Photos, Capture 1). When I move a slider, the whole image darkens momentarily when the slider is being moved, rather than just gradually showing the desired change. This is distracting and make it very difficult to do raw edits.
Not sure what is causing this if the stats you posted above for your computer are accurate. You should have plenty of speed.
6 hours ago, Control Z said:(4) ACR highlight clipping is acting weird. Even though highlights are blown out (the histogram triangle is white), I can't get the blown out areas to display white. Even when I pushed the exposure slider all the way to the right and there is no detail in the photo, only a tiny patch is red. There must be some threshold setting somewhere, but I can't find it. See attached screen grab for an example. In this file, I purposely pushed exposure up all the way.
The clipping warnings don't match the color of the histogram. Anything that isn't black is clipped to varying degrees.
-
1
-
-
12 hours ago, Damien Symonds said:
A similar situation to this, I figure.
Thank you! That worked.
-
1
-
-
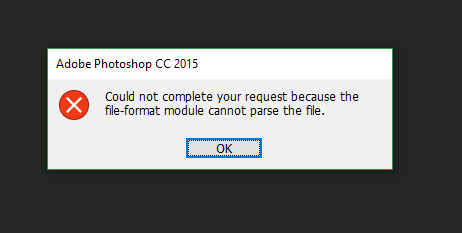
I tried to open some PNGs from Bridge to PS, and received the following error message:

When I opened the same files using windows explorer and windows viewer (or whatever it's called), I had no issues. These are just memes I've saved from facebook.
I'm heading off to bed now and do plan on looking this up tomorrow, but on the off chance ya'll remember seeing this error message before I wanted to post.
-
Raw editing would be where you'd start, which is why I was asking. If you were still in the class Damien could advise on what to do in raw, and that might help here.
But if you're sure you did the raw processing as best as you can, then this is all I have for now: http://www.damiensymonds.net/2011/11/strategies-for-managing-out-of-gamut.html -
How does it look when you remove all of the noise as Damien describes here: http://www.damiensymonds.net/2010/07/raw-noise-removal.html
-
Are you in the raw class?
-
9 hours ago, Paula Jackson said:Photo saved as CMYK color profileVertical orientation1 hour ago, Paula Jackson said:
they just put CMYK verticle and thats it
The vertical part is just the orientation. (Taller than the image is long.) It's nothing to do with the color profile.
-
3 hours ago, Paula Jackson said:
when i converted to CMYK now it looks yellow
How precisely did you convert? "Assign profile" is not the right way, if that's what you used.
-
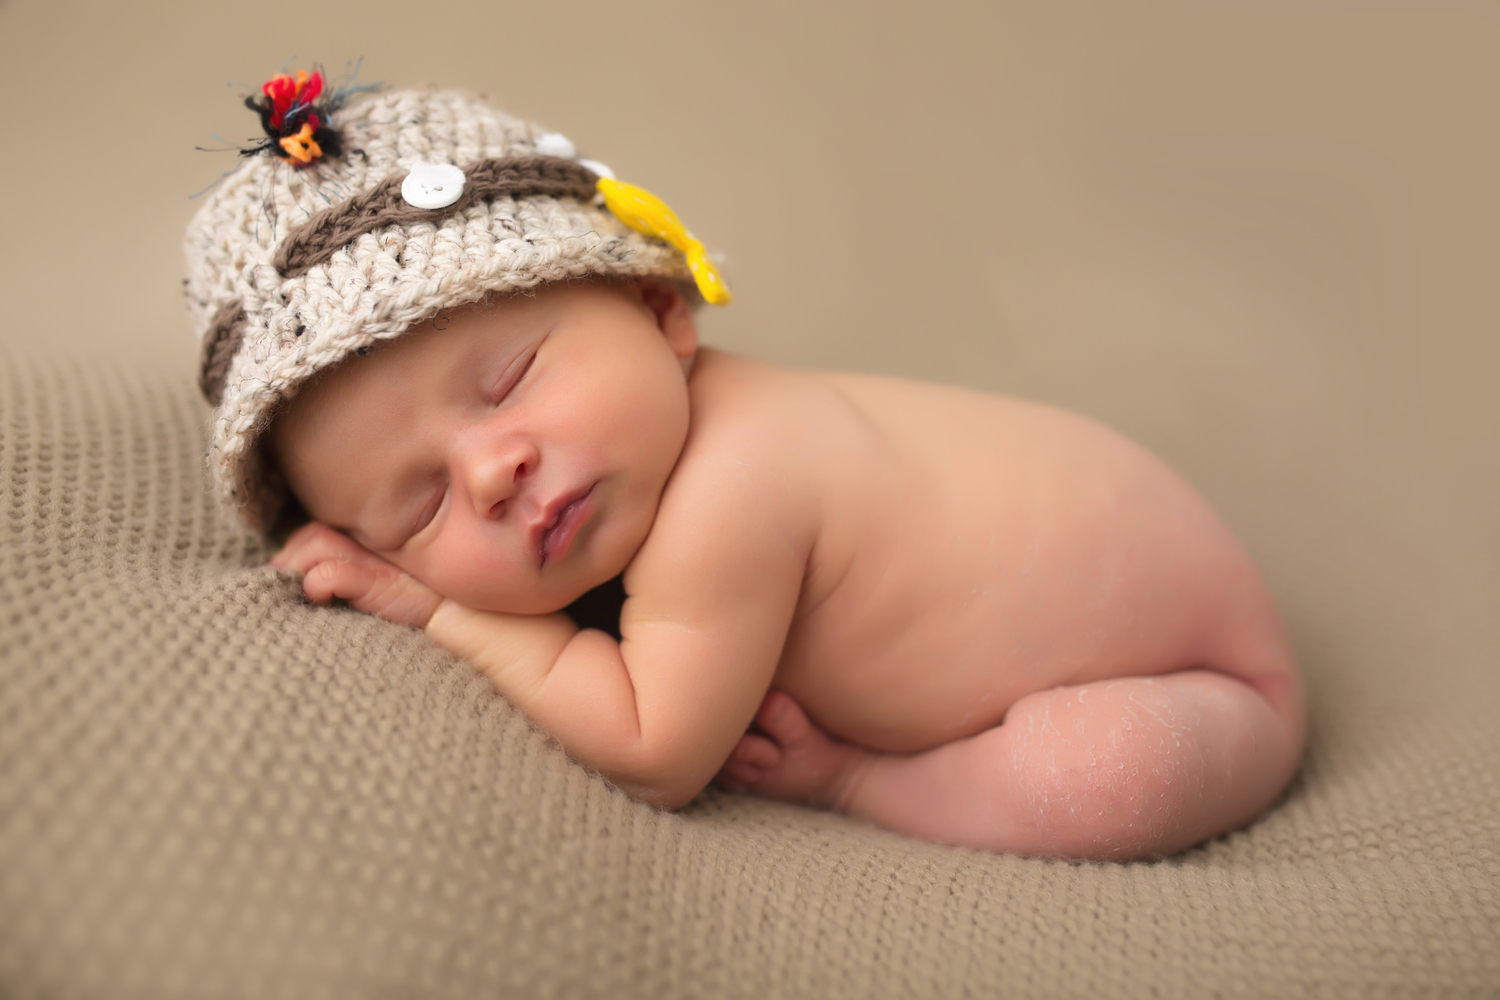
11 hours ago, ashlynadelephoto said:
thank you!!!!!!!

good job! are you going to be fixing his leg and bottom too? They look a little cold to me as well.
-
4 hours ago, RachelHolden said:
I feel my prints are too dark.
3 hours ago, Damien Symonds said:No, never make that mistake. Your prints are correct. Your screen has to match them, period.
Once you're calibrated you can re-edit any images you need to so that they are exactly as bright as you want them and you'll know exactly how they will print!
How does the color match your prints at this white point? -
Can you post a crop like this please? http://www.damiensymonds.net/2013/09/grabbing-700x700px-100-crop.html
-
So what is dull and desaturated in this image when compared to the print?
-
Well, it's not scary weird pink if that's what you're asking. Us telling you what we see on our screens won't help you calibrate.
-
1
-

what lens next?
in The Land of Misfit Toys
Posted
I guess the first question is, what's your budget?")