Damien Symonds
-
Posts
212,212 -
Joined
-
Last visited
-
Days Won
3,497
Everything posted by Damien Symonds
-
No, I said -50 for Lightness. And that shadowing is too big and ... not how shadowing would look.
-
 Not by me they're not. What did they say, exactly? Write to me in the "Contact Damien and the Team" section.
 -
Ok, so underneath the baby layer, add a Hue/Saturation layer, and move the Lightness slider to about -50. That will darken everything except the baby. Invert the mask to hide it. Then gently mask on where you want shadowing to be. Afterwards, you might like to increase the Saturation slider a bit, to your taste.
-
http://www.damiensymonds.net/2010/08/what-you-see-when-you-pixel-peep.html http://www.damiensymonds.net/art_enlarge.html http://www.damiensymonds.net/2011/02/printing-big.html IGNORE the centimetre dimensions. They are utterly meaningless. http://www.damiensymonds.net/2014/03/how-aggressively-can-i-crop.html And finally, if you need it: http://ask.damiensymonds.net/forum/30-focus-checks/
-
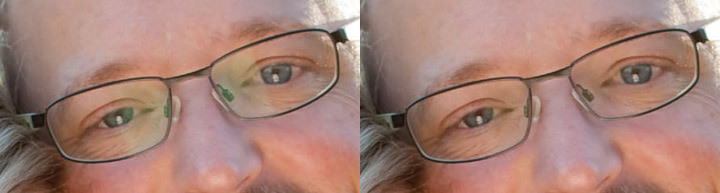
May I see a screenshot of your layers panel?
-
What do you mean by "sadly"???? 24 megapixels is EXCELLENT! You can print as big as a house with that!
-
5976x3992 pixels is just a shade under 24 megapixels. Is that correct for your camera?
-
Yeah, I think that's better. Does it need some shadow on the flower behind the head?
-
Yep, "WxHxResolution" is the one you'd use for print.
-
Your masking around the edges of the baby is too soft to be plausible, I think.
-
No, no, I'm not saying that at all!
-
New screen issues
Damien Symonds replied to hookk's topic in Monitor calibration questions or problems
Ok, then you're going to have to live with it. It's just one of those things. -
New screen issues
Damien Symonds replied to hookk's topic in Monitor calibration questions or problems
And does the soft-proofing make any improvement to that particular red issue? -
New screen issues
Damien Symonds replied to hookk's topic in Monitor calibration questions or problems
Is that with or without the soft-proofing? -
Oh no, how annoying!
-
Wow, that sounds weird!!! Have you spoken to Dell on the phone about it?
-
Help With This Image Please
Damien Symonds replied to BrianJoseph's topic in How to achieve a certain look or effect
Then we have nothing to talk about, sorry. This isn't fair to the artist. -
I haven't used one for a while, but yes, I think that's right. Can you explain this statement?
-
Well, for print you DO need a resolution, of course (eg 300ppi, if that's what your lab uses).
-
Yep, Ratio is the perfect setting for this. But of course, you'd need to change it when cropping for print.
-
If the levels layer doesn't work for the others, please feel free to post them in this thread as well.
-
No, no, no, that's the point, don't you see? There is no set aspect ratio. Because of the responsive site. You just PICK an aspect ratio that you like, and use it for all images. Roughly 2:3, I guess, but err towards squarer if anything. Use 1500px wide, and sharpen for web in the usual way. That's all you can do.
-
Ok, great. We definitely need to talk about this one in the Raw Class please. Go ahead and post it there.
-
Oh, interesting! I wonder if they mean 1500 width even for portrait photos? Or doesn't the site allow for portrait photos?
-
Hi Cyndi, you did exactly right, thanks. This is a fairly simple fix with a Levels adjustment, followed by the Handyman Method. Download the PSD file