Damien Symonds
-
Posts
212,203 -
Joined
-
Last visited
-
Days Won
3,495
Everything posted by Damien Symonds
-

Storybook tutorial
Damien Symonds replied to acomb9709's topic in Questions about tutorials and articles
I cover this at length in the Sharpening Class. Time for a re-read? -
Gosh no, ACR is too much trouble. Just select them all in Bridge and use Tools>Photoshop>Image Processor.
-
Not happy with prints
Damien Symonds replied to misi525's topic in Monitor calibration questions or problems
So it does advance? If you remember to press the Update button? You really need to calibrate another computer. -
Not happy with prints
Damien Symonds replied to misi525's topic in Monitor calibration questions or problems
Remember, what you "think" or "like" or "remember" is completely irrelevant. We can only discuss the direct print to screen comparison. How does your screen compare to your prints? Are you remembering to press the "Update" button? -
This is tricky, you'd need your outsourcer to edit with the 2010 sliders so that you could open it at your end. If they edited with the new sliders, you wouldn't be able to use 'em. Have you talked to them about it?
-
Not happy with prints
Damien Symonds replied to misi525's topic in Monitor calibration questions or problems
In what way? I'm so sorry, can you elaborate on this question? Which sliders? Oh yes, it matters. 90 is excellent. If you were at 120 before, that was definitely part of your problem. 120 is always too high. Oh, good question. Yes, all calibrators fail eventually, although we like to get more than a couple of years out of them. It shouldn't take so long, that's for sure. To check, you'd need to calibrate another computer with it, and see if it does the same. Do you have another computer in your house? -
I went searching for old convos about this ... https://www.facebook.com/groups/195567190503489/permalink/975022662557934/?match=YnV0dGVyZmxpZXM%3D https://www.facebook.com/groups/195567190503489/permalink/951363598257174/?match=YnV0dGVyZmxpZXMsYnV0dGVyZmx5 https://www.facebook.com/groups/195567190503489/permalink/902169913176543/?match=YnV0dGVyZmxpZXM%3D
- 1 reply
-
- 1
-

-
Not happy with prints
Damien Symonds replied to misi525's topic in Monitor calibration questions or problems
If in doubt, always start from scratch. Including this. I guess that remains to be seen, doesn't it? Depends how bad they are. By the way, please don't wait a moment longer to take the Sharpening Class. If you have clients, you need this class, period. -
Not happy with prints
Damien Symonds replied to misi525's topic in Monitor calibration questions or problems
Does your printed version include the troubleshooting steps? -
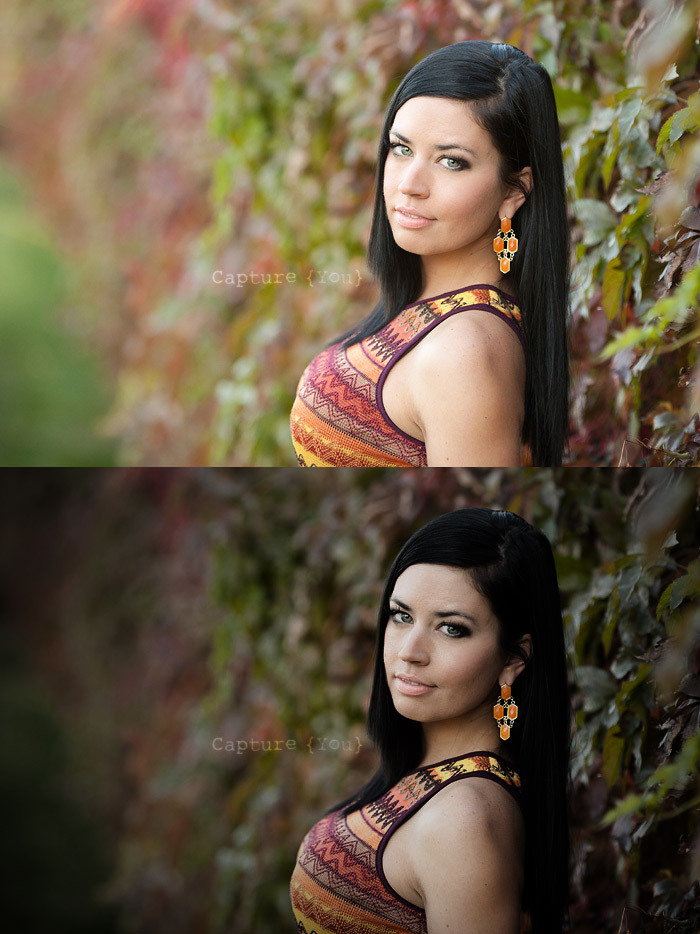
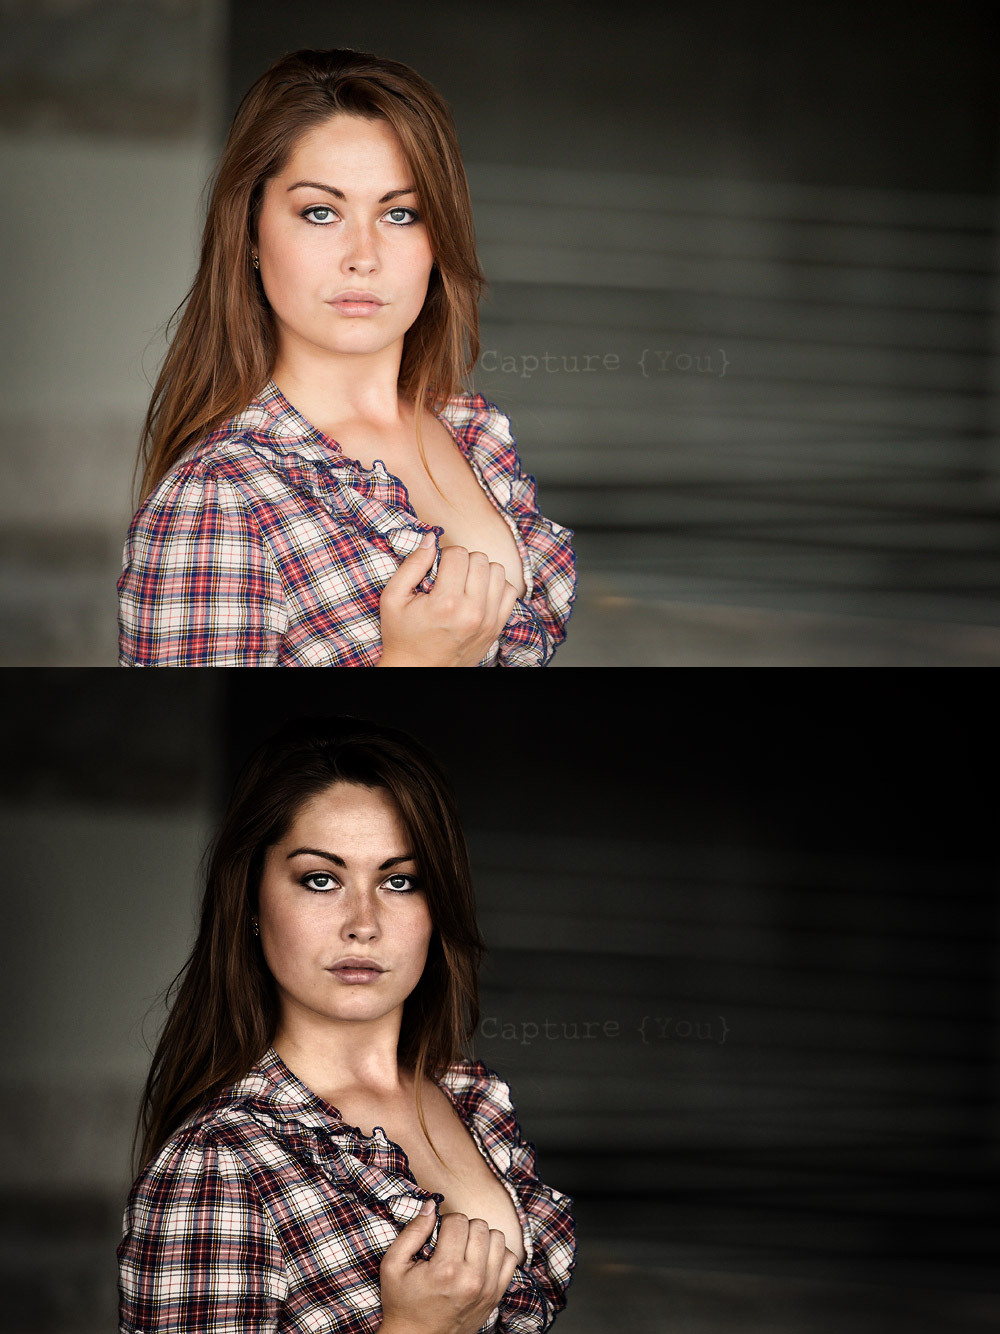
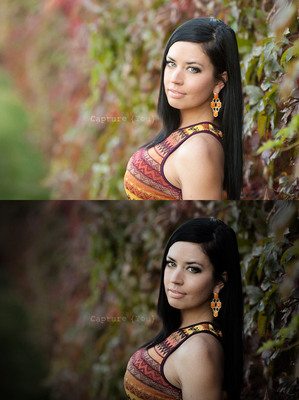
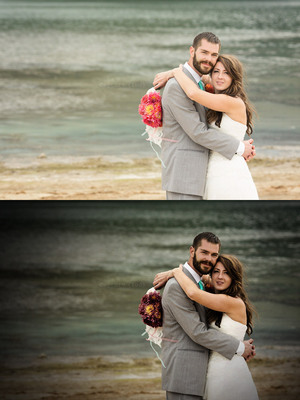
Here are the PSDs: Download Download Download You'll see the method is roughly the same for all. Two of them use the green channel, one uses the red channel.
-
Ok, how about these two?
-
Ok, let me play with the method on the others ...
-
As a quick starting point, is this in the ballpark?
-
Not happy with prints
Damien Symonds replied to misi525's topic in Monitor calibration questions or problems
Hi Misi, are you following my instructions here? You need to understand that your prints are ALWAYS right. Whether you like them or not, they are correct. So, if your screen doesn't match your prints, it's your screen that's wrong. -
Yes, that's what a lot of people used to do.
-
Proofing in Bridge
Damien Symonds replied to katiemarie's topic in Photoshop / Elements / Bridge / ACR questions or problems
Yay! -
PRODPI calibration
Damien Symonds replied to Jaimie.taylor10's topic in Monitor calibration questions or problems
It doesn't matter. Just get those damn prints, fast. It doesn't matter if they're good or bad. -
Skin is very close, yes. A few weeks, I hope.
-
Well, I duplicated the Background layer, lowered its opacity by half, then nudged it across to where the bits and bobs were just hidden. Then increase the opacity to 100% again, added a hide-all mask, then started painting on gently. Did you read the L&M Class while you were in it?
-
Since you haven't shown me the whole photo, I'm not entire sure what we're working with. My instinct would be to move the whole baby in a bit:


-
8GB is the bare minimum of RAM that Adobe recommends to run CC. So if you are in the habit of having a lot of files open at once (I can see five in your screenshot) that might play into the problem. I urge you to pay attention, over the next few days, to the number of files you have open whenever this crash occurs. Also, run Glary immediately, and monthly thereafter.
-
Number 6
-
Looks good.
-
Oh? Can you update your profile? It still says "Elements".
-
If you had Photoshop, this might have been one for the Patch Tool. But just plain ol' Dodge and Burn will do fine.