
Damien Symonds
-
Posts
198,950 -
Joined
-
Last visited
-
Days Won
2,924
Posts posted by Damien Symonds
-
-
Is there a funny little line at the top?
-
The clipping sure does complicate things.
How does this look?

-
May I see the SOOR for reference?
-
Do you mind sending me the raw file?
-
-
What? I just showed you how to do it! Don't give up now.
-
 1
1
-
-
It should be on Default as far as I know.
-
1
-
-
-
Please post the photo in the class now.
-
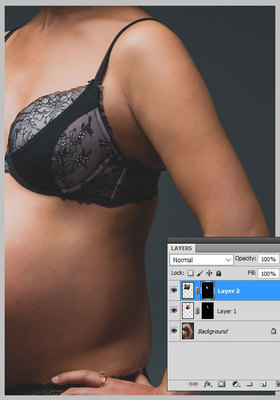
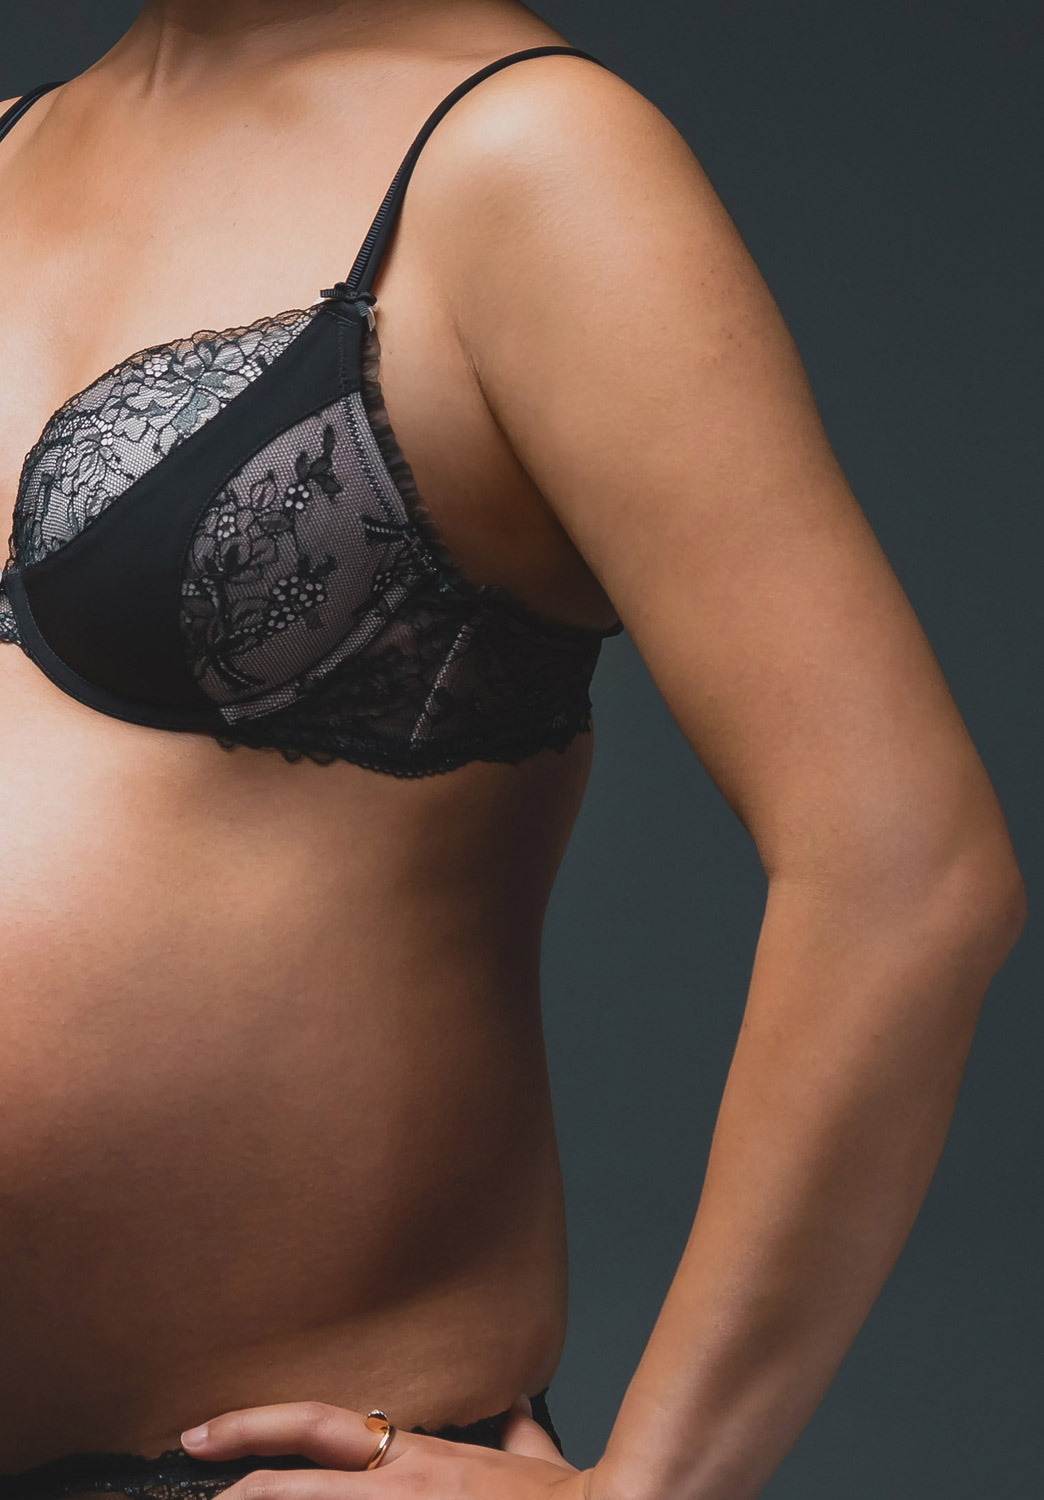
Ok, here goes ...
First, I used the Marquee Tool to select a big chunk of arm, and moved it up a bit (I lowered the opacity of the layer while doing this, so as to be sure it lined up ok. I also had to rotate it a tiny bit, I'm not sure if you can tell that in this screenshot):
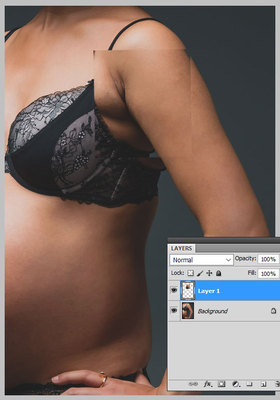
Then I gently masked it in, to cover the extra creases in the armpit:
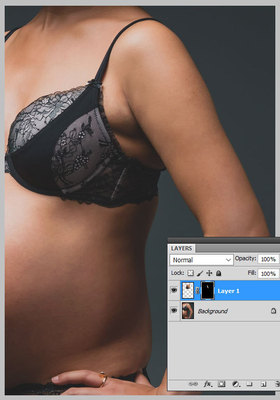
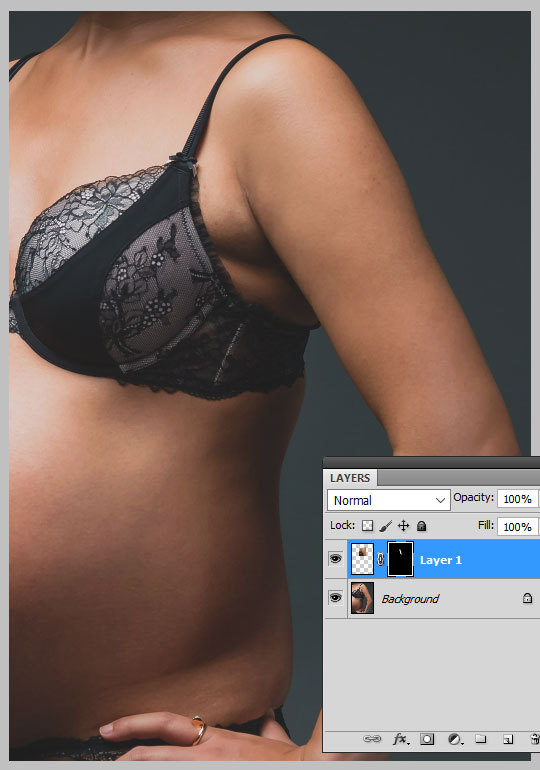
Next, I selected a big chunk of her flank, and again I moved it and rotated it (at temporary low opacity) to cover those wrinkles:
Then I gently masked it on:
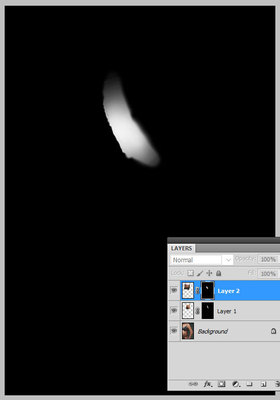
In case it helps, here's a view of the mask on that layer:
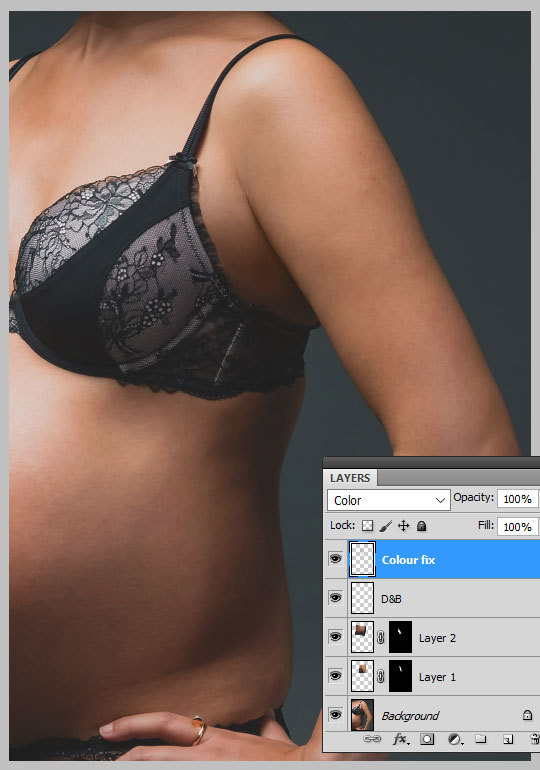
Finally, I used the Handyman Method to tidy up the last of the shadowing (as already discussed, I think I made it a bit lighter than you prefer):

Hope this helps.
-
3
-
-
Oh, actually, I'd dodged that shadow because I thought it looked better lighter. But yes, of course you can do whatever you want.
I have to go and make dinner now, I'll try to come back later and explain the process.
-
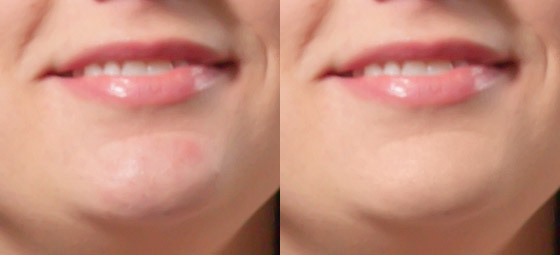
Do you think this is passable?

-
1
-
-
Doesn't have to be 700x700 in this case.
-
Just to be safe, can you check this for me?
-
Oh, this is always tricky. May I see the whole photo (or at least a larger section) for reference?
-
Exactly as the instructions say, yes.
-
-
The Handyman Method should handle it just fine.
-
50 minutes ago, RachelHolden said:
The colour is similar to my prints except for pink. There is more pink on my screen (on the water and sky) than on my actual print.
Then yes, that might indicate that 7415K is too high.
-
You're already on the waiting list for the Raw Deluxe class. It's the Levels Deluxe I wish you'd upgrade to.
For now, let's pretend that the baby is light enough (it's NOT) and press ahead with a Cooling Filter LBB for its skin.
-
What? Your photo should have already been in sRGB.
-
Tell her that you will be sending the file at the dimensions and resolution required, but in sRGB mode. You will require them to perform the CMYK conversion, and you will hold them responsible for the resultant print quality.
-
2
-
-
Ask her AGAIN.
I need you to fully appreciate how catastrophically BAD your photo will look if printed in the wrong CMYK profile.
-
No, the baby is still very dark.


Best Way to Change Dress Color
in Help with editing
Posted
It is a lot of zoomed in masking, I'm afraid.
Red channel: 0/0.60/230
Green channel: 0/0.70/230
Blue channel: 0/0.90/230