
Damien Symonds
-
Posts
198,530 -
Joined
-
Last visited
-
Days Won
2,912
Posts posted by Damien Symonds
-
-
Self-explanatory, I guess. Download the file here.
-
-
 3
3
-
-
Another VSCO-ish one. Download the file here.
-
An attempt at a VSCO-style edit. Download the file here.
-
1
-
-
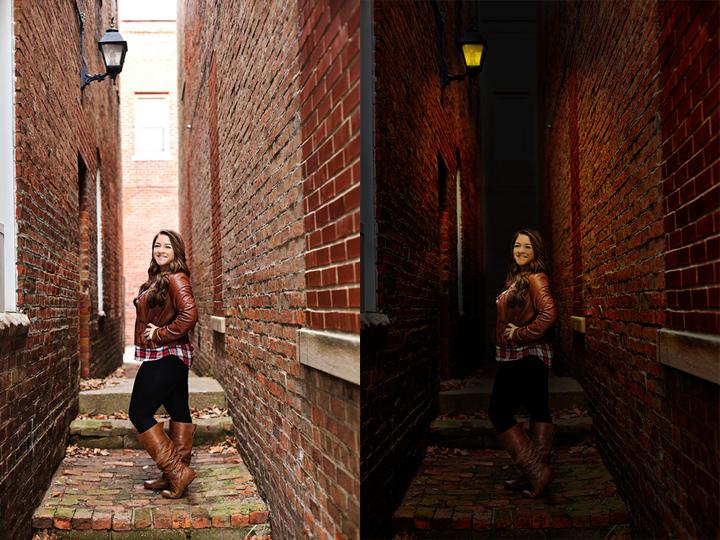
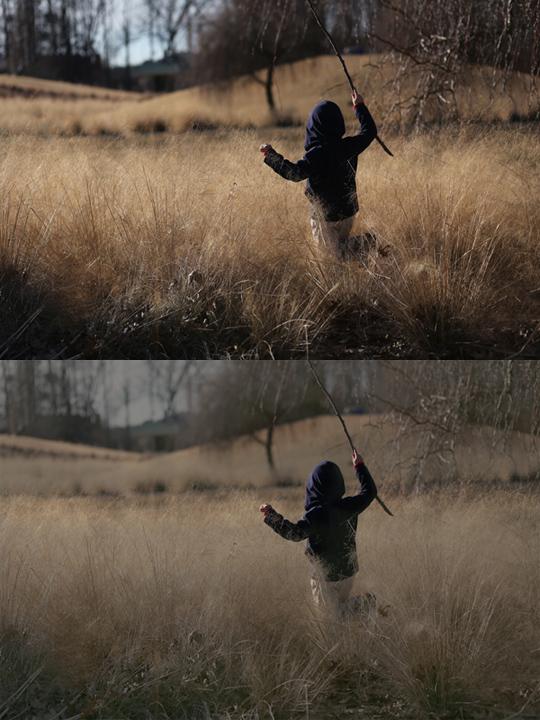
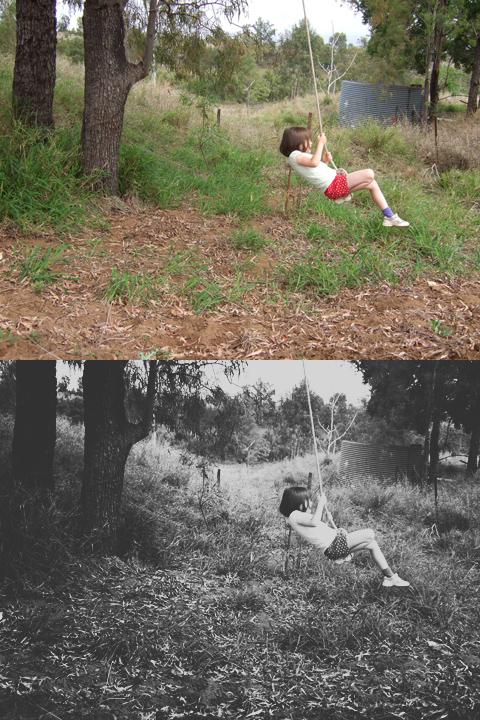
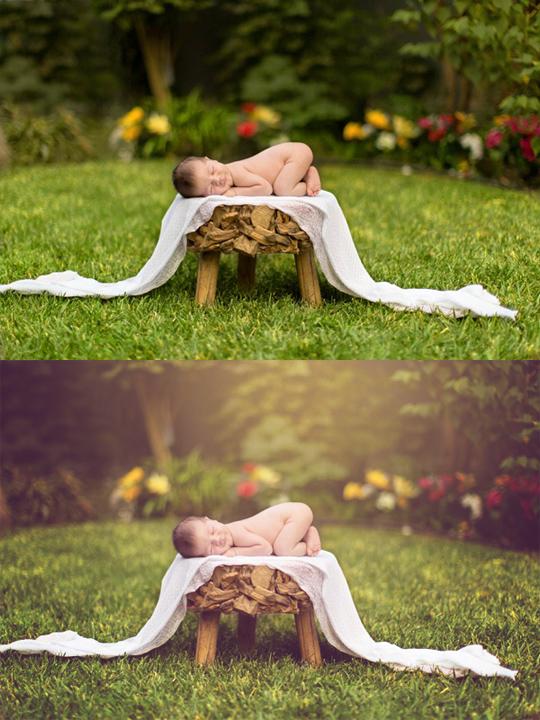
Turning day into night. My masking is a bit clumsy on this one, but you'll get the idea. The first layer is based on this method.
Download the file here.
-
1
-
-
Probably the most grotesque thing I've ever created. Still, somebody liked it.
Download the file here.
-
 1
1
-
-
-
-
1
-
-

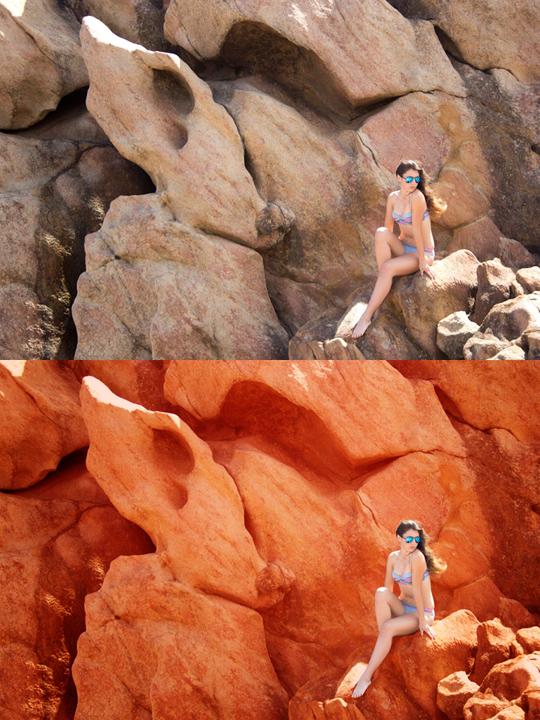
I think we were on drugs when we did this one. Download the file here.
-
2
-
5
-
-
-
4
-
 1
1
-
-
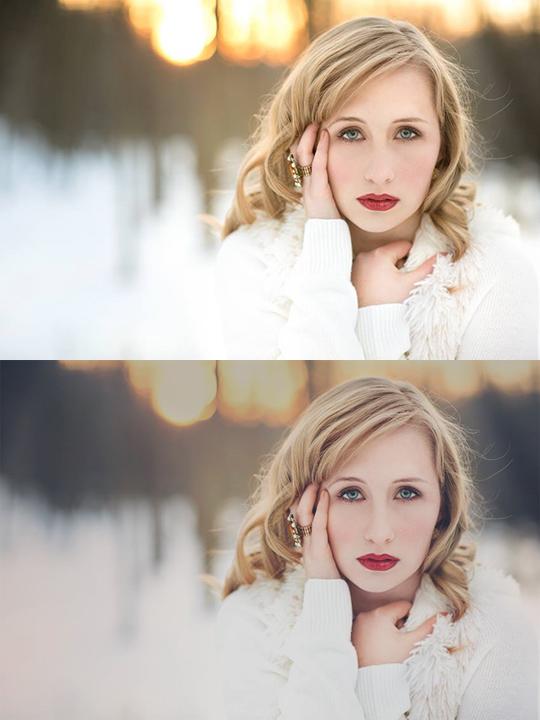
An inverted High Pass layer to give that softer look, then an aggressive vignette and just a hint of purple - not enough to make me throw up, but just enough to put me off my lunch.
Note: If working from a raw file, it would be much better to use the Clarity slider (to the left) than the High Pass layer. But if you want to use High Pass, you simply duplicate the background layer and change its blend mode, then use Filter>Other>High Pass, then invert the layer.Download the file here.
-
1
-
-
Pretty self-explanatory. Download the file here.
-
3
-
1
-
-
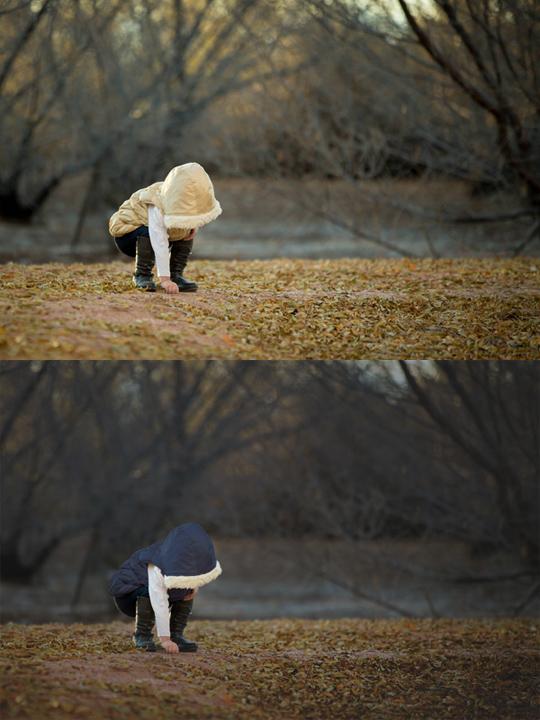
A high pass layer for extra "grunge", then a layer to add warmth, followed by an aggressive darkening layer.
Download the file here.
-
1
-
-
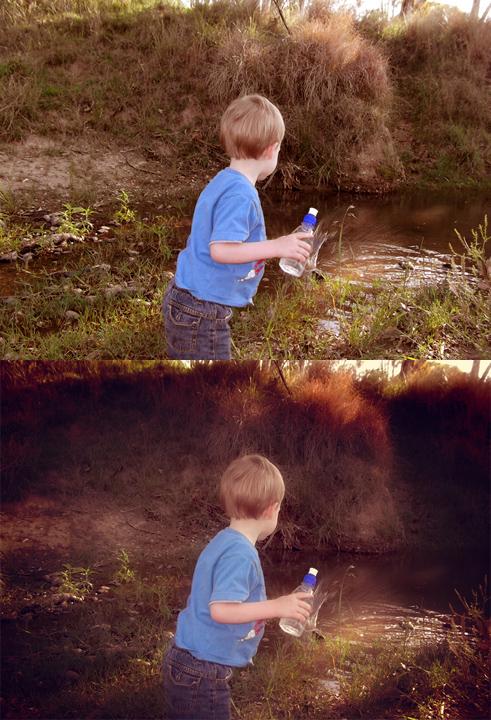
A blur layer first, then a few layers manipulating the light, then that awful purple again.
Download the file here.
-
1
-
-
-
1
-
1
-
-
-
2
-
-
-
On this one, I did the Levels layer first. Then I added the D&B layer below it, when I realised I wanted a bit more darkness in that area. Normally you'd add new layers on top of other layers, but that's not necessarily the case when adding artistic effects. Generally the artistic layer/s remain on top.
Download the file here.
-
First, a Levels layer using the Output sliders to add a bit of colour haze; then a plain layer on Soft Light mode, painted with various colours.
Download the file here.
-
1
-
-
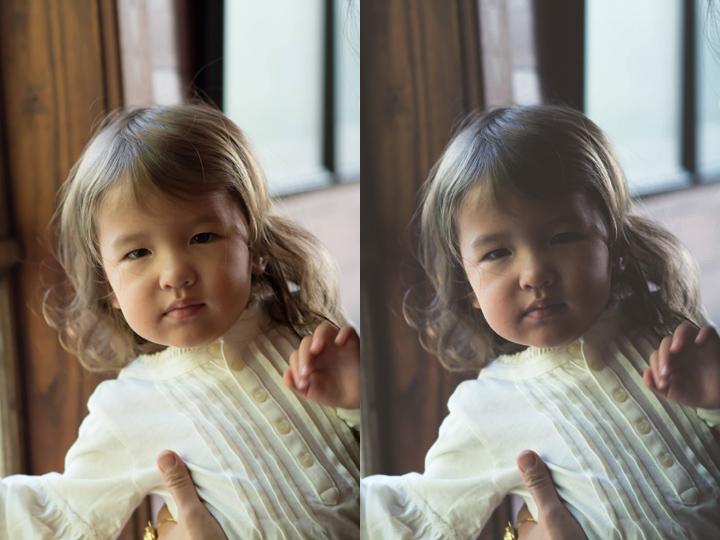
This is a colour photo which I first did a clean black-and-white edit on, then a vignette layer followed by the two layers which are used to make the nauseating bloody matte look which is briefly popular at the moment. Those layers work just the same on colour photos as well, so play all you like.
Note: I can't show you the layers which went into the clean-processed version, sorry. You'll have to take my Levels Class for that.Download the file here.
-
1
-
-
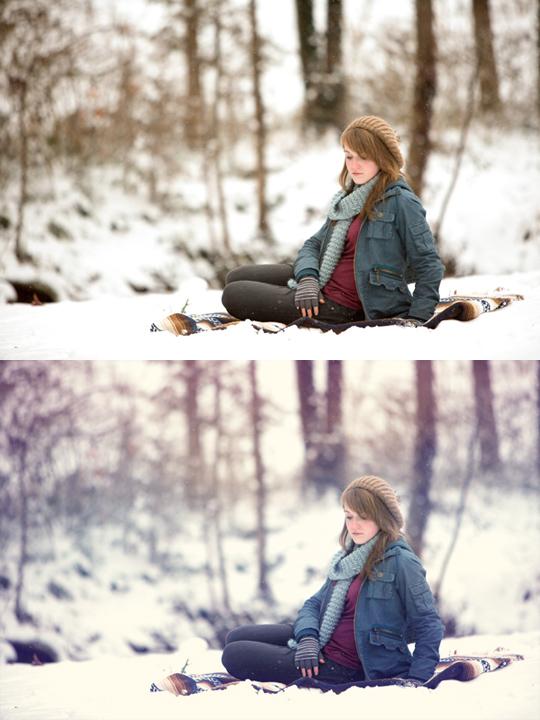
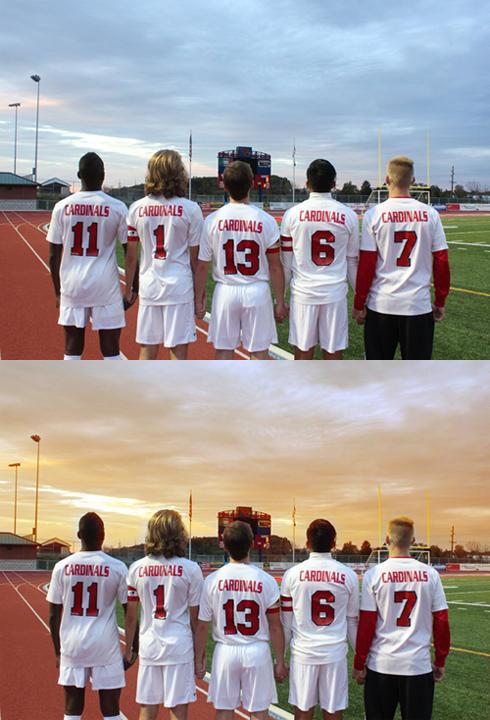
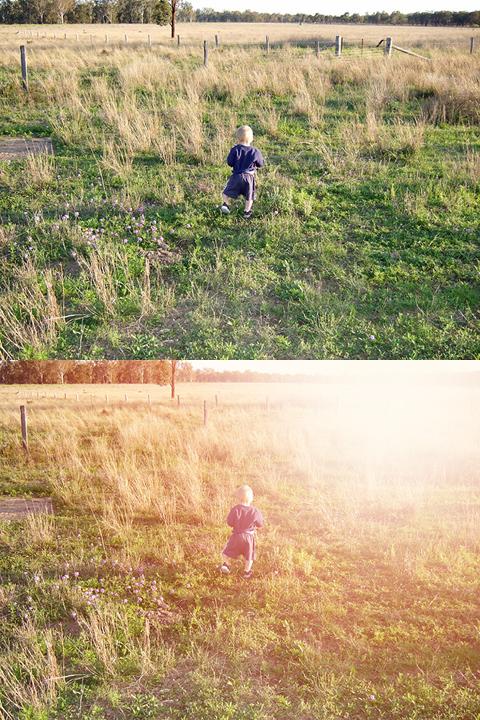
First, some added midtone contrast with a Soft Light layer. Then a slight warm vignette on the snow, and dulling the bright sky. Then the vomit layer on top.
Download the file here.
-
2
-
-
First, a Levels layer to change the coat colour, because the bright coat really didn't suit the effect. Then a midtone contrast layer (I used a B/C layer, but any layer at all would have sufficed, as long as it was on Soft Light mode). Then the vomit on top.
Download the file here.
-
1
-
-
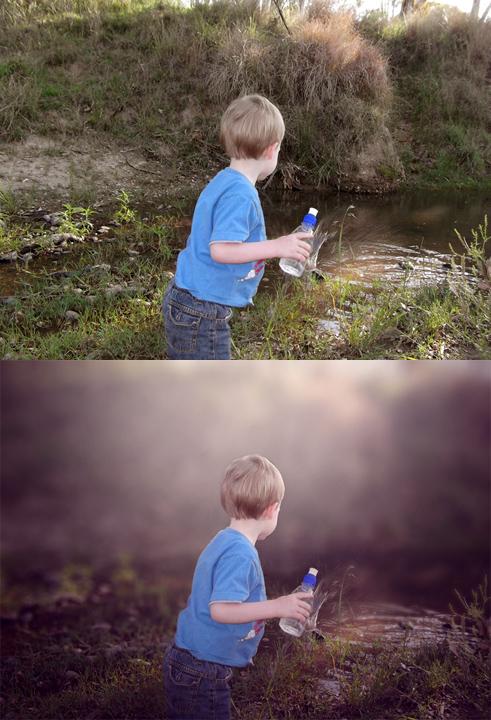
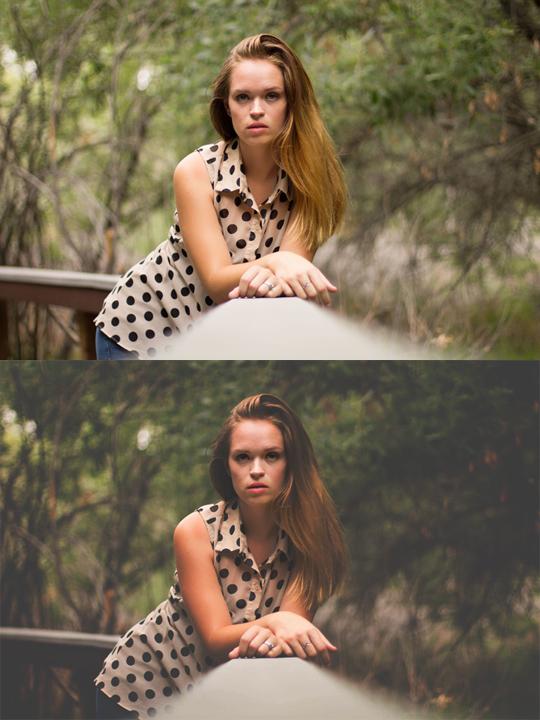
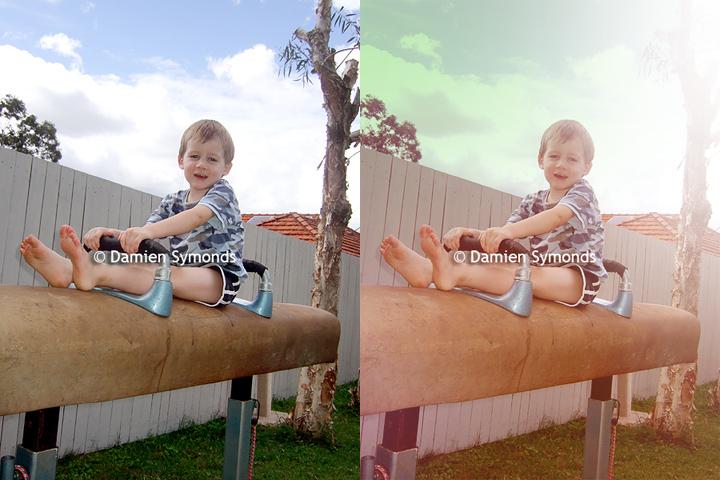
I am not a huge fan of this look. But to achieve it, use two blur layers at different levels of Gaussian blur, then "Levels 1" and "Photo Filter 1" to add warmth, "Levels 2" and "Levels 3" to manipulate the background light, then "Levels 4" for the matte effect and "Levels 5" (below it) for the nauseating vignette. Then lastly, "Levels 6" because I realised that the shoes were just glowing too darn much.
Download the file here.
-
1
-
-
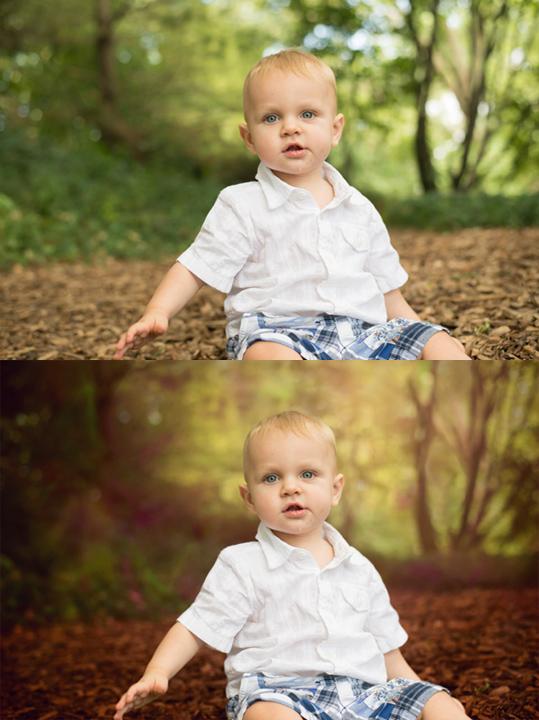
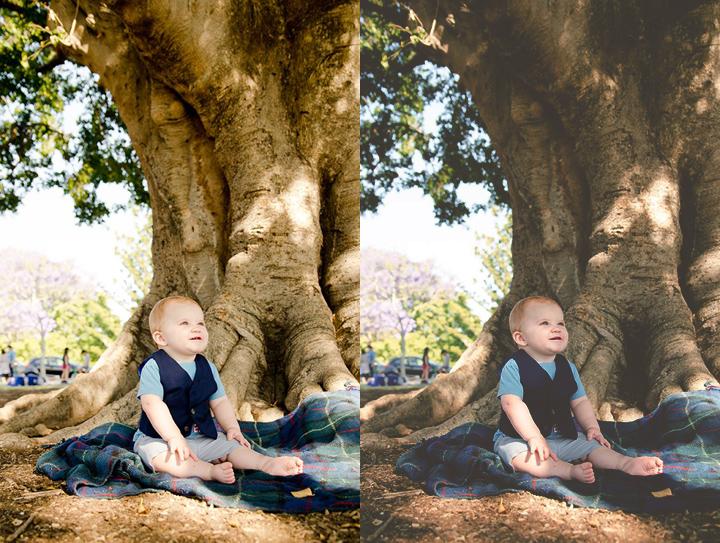
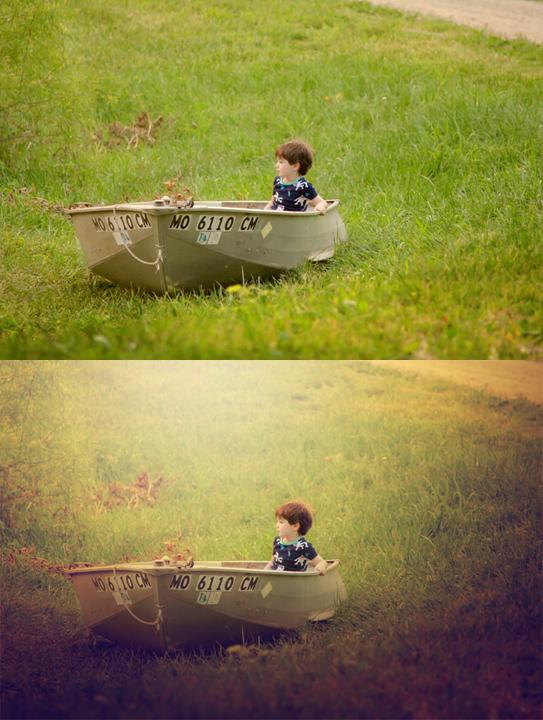
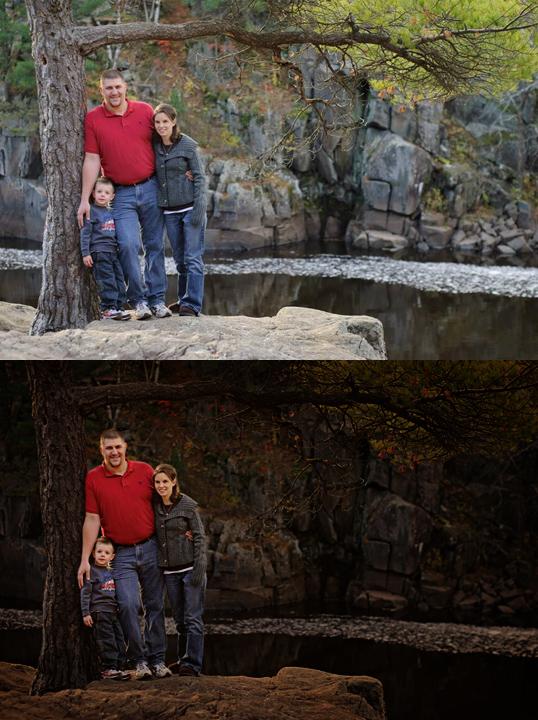
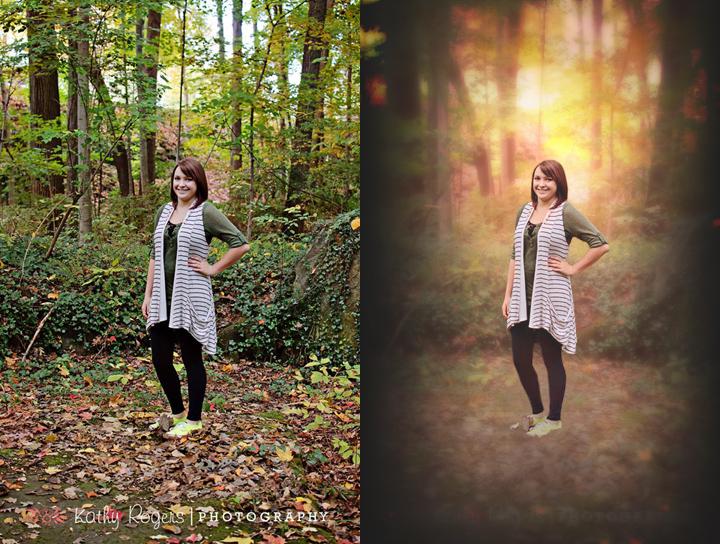
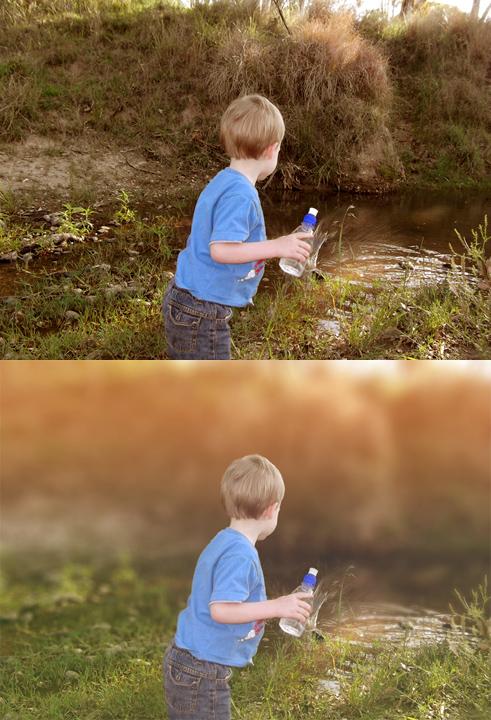
A heavy vignette and darkening of the background, with a slight tint. Plus some extra foliage colour added.
Download the file here.
-
4
-
READ THIS FIRST - Posting guidelines and download files
in How to achieve a certain look or effect
Posted
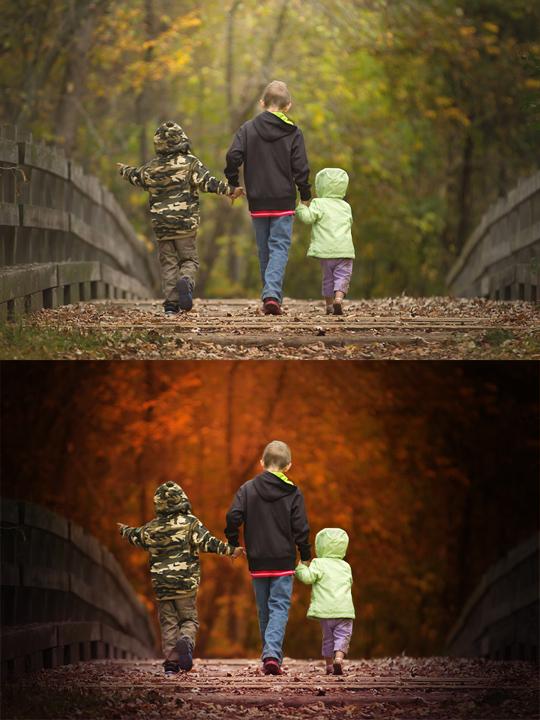
Yet another variation of the matte style. As always, midtone contrast first, followed by the Levels layer to kill the blacks. In this case, there is also a vignette layer in between.
Download the file here.