-
Posts
207,081 -
Joined
-
Last visited
-
Days Won
3,255
Posts posted by Damien Symonds
-
-
Wonderful!
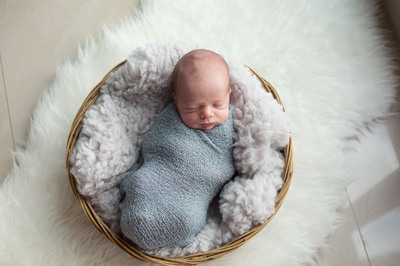
So, you'd do your raw processing on these two photos so they match:
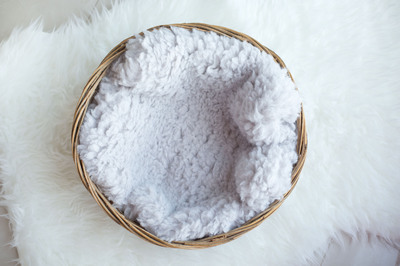
On 9/2/2016 at 3:46 AM, lsin said:Then you'd combine them, so that you got the bottom of the basket.
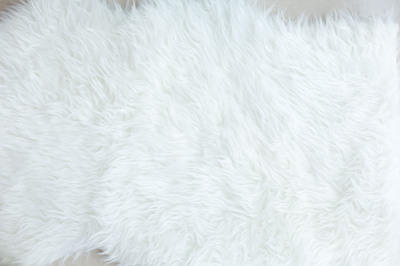
Then you'd also process this raw file so it matched:
5 hours ago, lsin said:And use it to fill in the missing corners of the rug in the main photo.
If you need help with all that combining stuff, go ahead and do your raw processing first, then post the photos again for me.
-
Yes, generally this means simply no resizing from your original files. Just send them every pixel you took.
Their request for both jpeg and tiff files shows us that they don't really know what they are talking about, however. Nobody needs tiff files in this day and age.
Let us know what they say.
-
Yes, 12 is crazy high. 9 is ample for web images.
-
 1
1
-
-
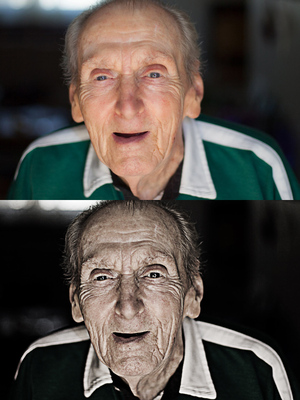
A play with the "Dragan effect". The first three layers are duplicates of the Background layer, with High Pass filter run at various radii. The radii you choose will depend on your photo, so some experimentation is necessary.
Download the file here.
-
Did that help?
-
Yeah!!
-
 1
1
-
-
Needs more, I think.
-
Now you can start your normal editing, particularly magenta photo filter for the foliage cast on them.
-
Alternately, a Hue/Saturation layer at 0/+40/-20, set to Multiply mode.
-
To that end, I'm thinking maybe a Hue/Saturation layer, set to 0/+75/-50, and masked on where desired.
-
So now it has to be all about the darkening. Adding shadows to her where shadows should exist.
-
6 minutes ago, Bree said:
-11
Told ya

I think if you can just manufacture a few more blades of grass encroaching onto his shin, that'll be good enough.
-
 1
1
-
-
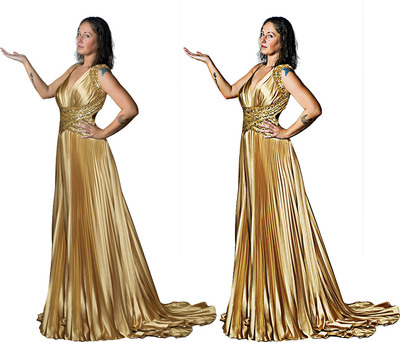
Now add a Photo Filter layer (one of the warming filters) and clip it to her. She needs a bit more warmth.
-
5 minutes ago, rightmovephotography said:
High Pass is a sharpening thing. Isnt that going in the wrong direction?
Not at all. Exactly the right direction. Can't you see that the image you want to put her into has a lot of distinction to all the edges? That's the "cartoon" look you were talking about.
6 minutes ago, rightmovephotography said:Any idea what they did get the girl from the 2nd to last link to the last link?
Yes, changed the colours. But that's not necessary with yours, is it? Your subject already has the warm tones you'd expect when being lit by that lamp.
-
I urge you to take it down aggressively first, eg -20, then very slowly bring it back up, and stop where you think it looks most plausible. I think you'll stop lower than -6, to be honest.
-
-
Gosh, nice work.
Looking at it again though, I think you need to go a little lower still with the Lightness slider on that Hue/Sat layer you made.
-
-
1 hour ago, Bree said:
What about a layer mask with a soft tiny brush to brush in a few grass blades onto his shoe?
Yes, this, I think.
-
Yes, and this is very tricky.
-
By jove, I think we're close. Just burn a bit more shadow around him.
-
 2
2
-
-
Excellent. Now add a Hue/Saturation layer above the boy layer, and clip it to the boy layer (Cmd Opt G). Then lower the Lightness slider just a little - I feel he's a tiny bit too bright for the photo just now.
-
Good, but darken in front of him a bit too. Again, look at the shadows around the others.
-


The best way to mask and replace the background
in Help with editing
Posted
No, that's WAY too much noise, and it's all over everything.