Damien Symonds
-
Posts
212,094 -
Joined
-
Last visited
-
Days Won
3,486
Everything posted by Damien Symonds
-
 Oh really?? Yay! I'll upload the PSD in a moment, stand by ...
 -
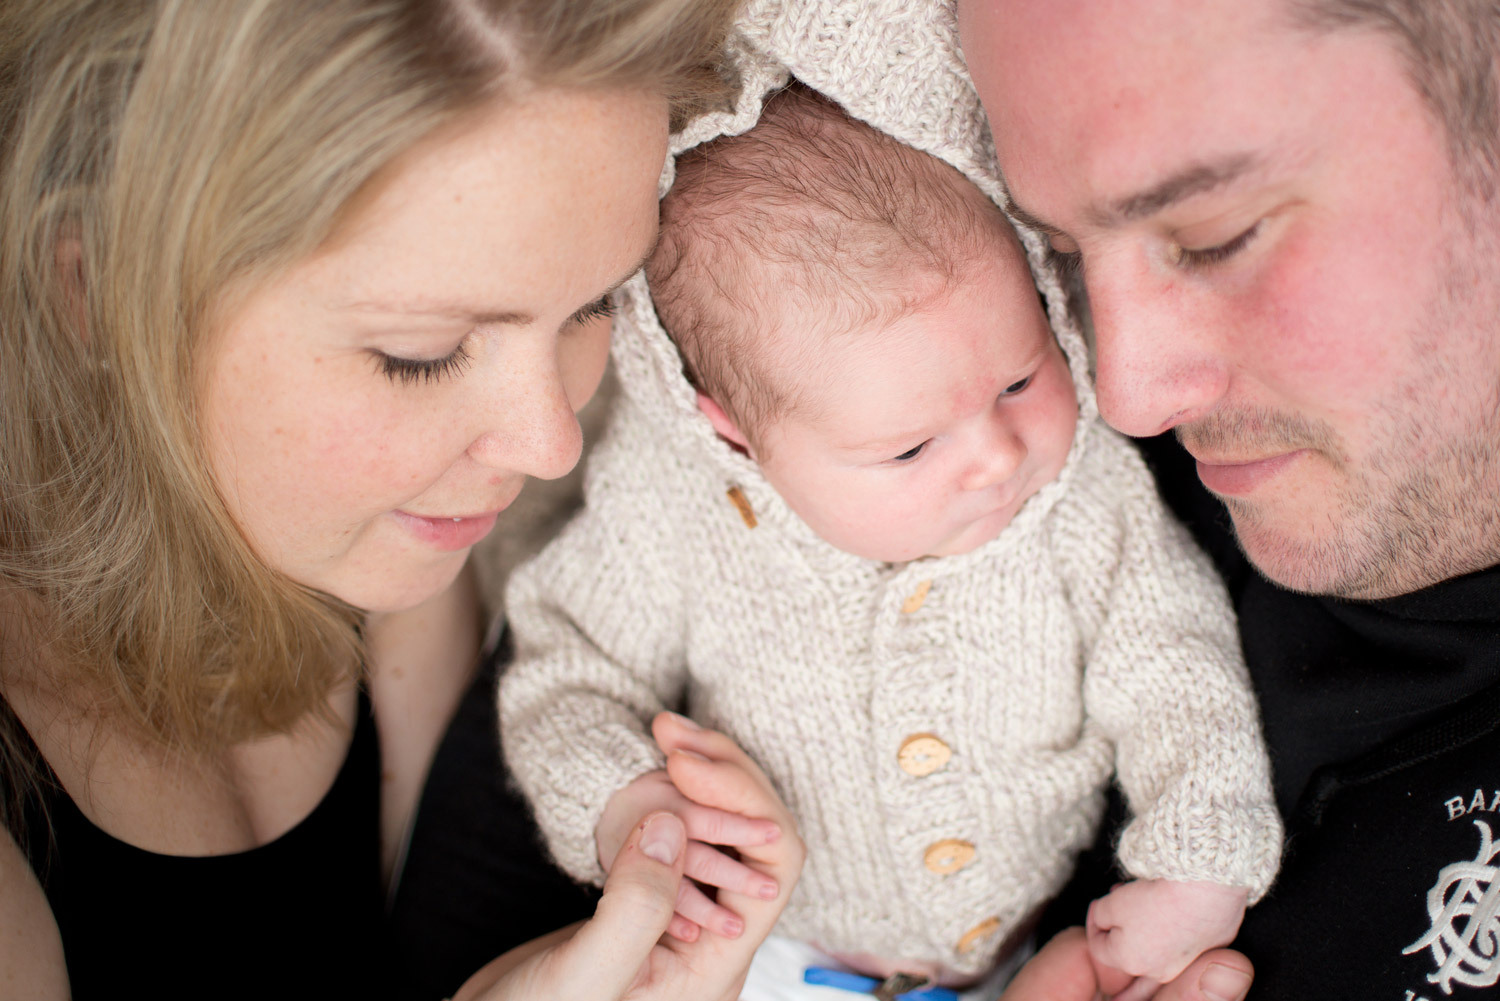
My ugly hand is next to the sweet newborn smile! :(
Damien Symonds replied to ShannonJoy's topic in Help with editing
@ShannonJoy? -
Color warmth don't match
Damien Symonds replied to TinaG's topic in Monitor calibration questions or problems
Are they the same prints you've always used to check the screen? -
This kind of stuff is really not my forte, I'm afraid. But I had a bit of a play:

-
Covering up cleavage / Making a black top
Damien Symonds replied to Melinda Brett's topic in Help with editing
I dunno, maybe just paint a black layer?
-
Velvety / Painterly effect v2
Damien Symonds replied to Charliepw's topic in How to achieve a certain look or effect
I'm really worried about this, I fear there's clipping in her cheek. -
Covering up cleavage / Making a black top
Damien Symonds replied to Melinda Brett's topic in Help with editing
Yes please. -
If you don't care about the quality of your photos, stick to Lightroom. That's what Lightroom is for. Lots of photos, mediocre quality.
-
Covering up cleavage / Making a black top
Damien Symonds replied to Melinda Brett's topic in Help with editing
Hmmm ... is this SOOR? -
Are you sure you need to? What are you working on?
-
Ok, so if you turn all those layers off, then turn them one again one at a time from the bottom up, is there one (or more than one) which is an obvious culprit for the banding?
-
This is an odd one, for sure. As Sam said, everything in your specs suggests it should run fine. Out of interest, is it the same if you're editing an image which is on the SSD? Is it the same if you push the Whites slider all the way up?
-
No. This is a funny one. In Photoshop, the history function makes sense, even though only unskilled editors need to use it. Things happen linearly in Photoshop. But in raw, nothing happens linearly. At any point, you can go back and re-adjust a certain slider, regardless of what other adjustments you've made since the last time you adjusted that slider. Am I making sense here? There's no need for history in raw. If you want to re-adjust something, just do so.
-
In Bridge, no, there's no way to view a before, except by actually reverting it (right-clicking and choosing "Clear settings"). In ACR, you use the Preview buttons at the bottom right corner of the image, exactly the same as LR. Hell no. You're using proper software now, not a toy. You have to edit like a grown-up. The purpose of raw processing is raw processing. To make a single perfect clean version of the photograph you took. Versions happen in Photoshop.
-
Preferences>Advanced: "General Monitor Sized Previews"
-
Velvety / Painterly effect v2
Damien Symonds replied to Charliepw's topic in How to achieve a certain look or effect
No, that's nearly square. It can't be the SOOR. -
In the very foreground, vertically down from the forehead, see the repetition and little lines where you accidentally cloned some edges? You have to watch out for this stuff.
-
No I don't. That's why I'm worried that your screen is poor quality (as laptop screens often are). Actually, calibration can make the problem worse, ironically. But only in cases where the screen isn't great to begin with. Anyway, I'm sure your SOOR is ok. So may I see a screenshot showing your layers panel of your edit?
-
It is pretty much impossible to have banding in a raw file. If you're seeing banding in a raw file, it means your screen is imperfect. I see "Mac laptop" listed in your details. Is that the screen you're viewing on?
-
A similar situation to this, I figure.
-
It's not perfect, but it might be passable.
-
5d Mark III missing files. Only JPG's recover so far.
Damien Symonds replied to ShannyB's topic in Photo Gear & Equipment
While waiting for Brian, is there anything here that helps? -
Resolution
Damien Symonds replied to ShannyB's topic in Output - print, websites, Facebook, email, client disk, etc
Yes, prints do. But your files aren't prints, they're just files. When you get to the output stage, you'll crop to size at 300ppi (or whatever resolution your lab requires) as usual. -
Please read Modules 5 and 6 of the Raw class again and again and again and again and again until they stick.
-
Resolution
Damien Symonds replied to ShannyB's topic in Output - print, websites, Facebook, email, client disk, etc
Why PPI doesn't matter.