Brian
-
Posts
4,130 -
Joined
-
Last visited
-
Days Won
53
3 Followers


Recent Profile Visitors
10,402 profile views


Brian's Achievements
-
I don’t know what happened. Weird. Anyway… Now before you do any of this, I'd recommend doing some house-keeping, running CleanMyMac X, repair permissions, etc. Maybe clear out some space out of your downloads folder. The more space you have to download and install the OS, the better. Go here: https://apps.apple.com/us/app/macos-ventura/id1638787999?mt=12 Click View in Mac App Store Tell it to Open Link. (This pop-up box shouldn't appear if you are working in Safari, only Firefox or Chrome.) Click GET.


-
Ventura is fine and is a mature operating system. Ventura 13.7.8 is what I'm running on my 2017 Intel iMac. I'm also running PS CC 2023. No issues other than Adobe bugging me to upgrade...which I won't until I get a new computer. The latest version of PS will kill my computer.
-
According to Apple's Website, you should be able to. Would I personally? "Meh." It's one of those things..."Just because you can, doesn't mean you should." 2018 is really pushing it. You really need to start saving for a new computer. Your Graphics Card is severely under-powered for the modern versions of PS, so there's that. If you do upgrade, that's fine. Just keep in mind there are no take-backsies, meaning you can't downgrade. If you upgrade to Sequoia, you are stuck with it; unless you create a Ventura bootable thumb-drive, then NUKE your MBP and then reinstall everything from scratch. A trip to the Apple Store would be in your future to do this; this process is way too involved for me to help in this forum. So it were me, I'd upgrade to Ventura 13.7.8 instead of Sequoia and see how that goes. Here is the link to Ventura. If you are using Safari, it will take you where you need to go. If you are using Chrome or Firefox, just click the "Open Link" when it prompts you and will take you to the App Store:

-
Oh, one more thing... $225 Canadian is a lot cheaper than Forensic Data Recovery. You would have probably forked out $1500 or more for that service.
-
Very cool. Thanks for letting us know. Disk Drill, I have heard of that program, glad it worked well for you.
-
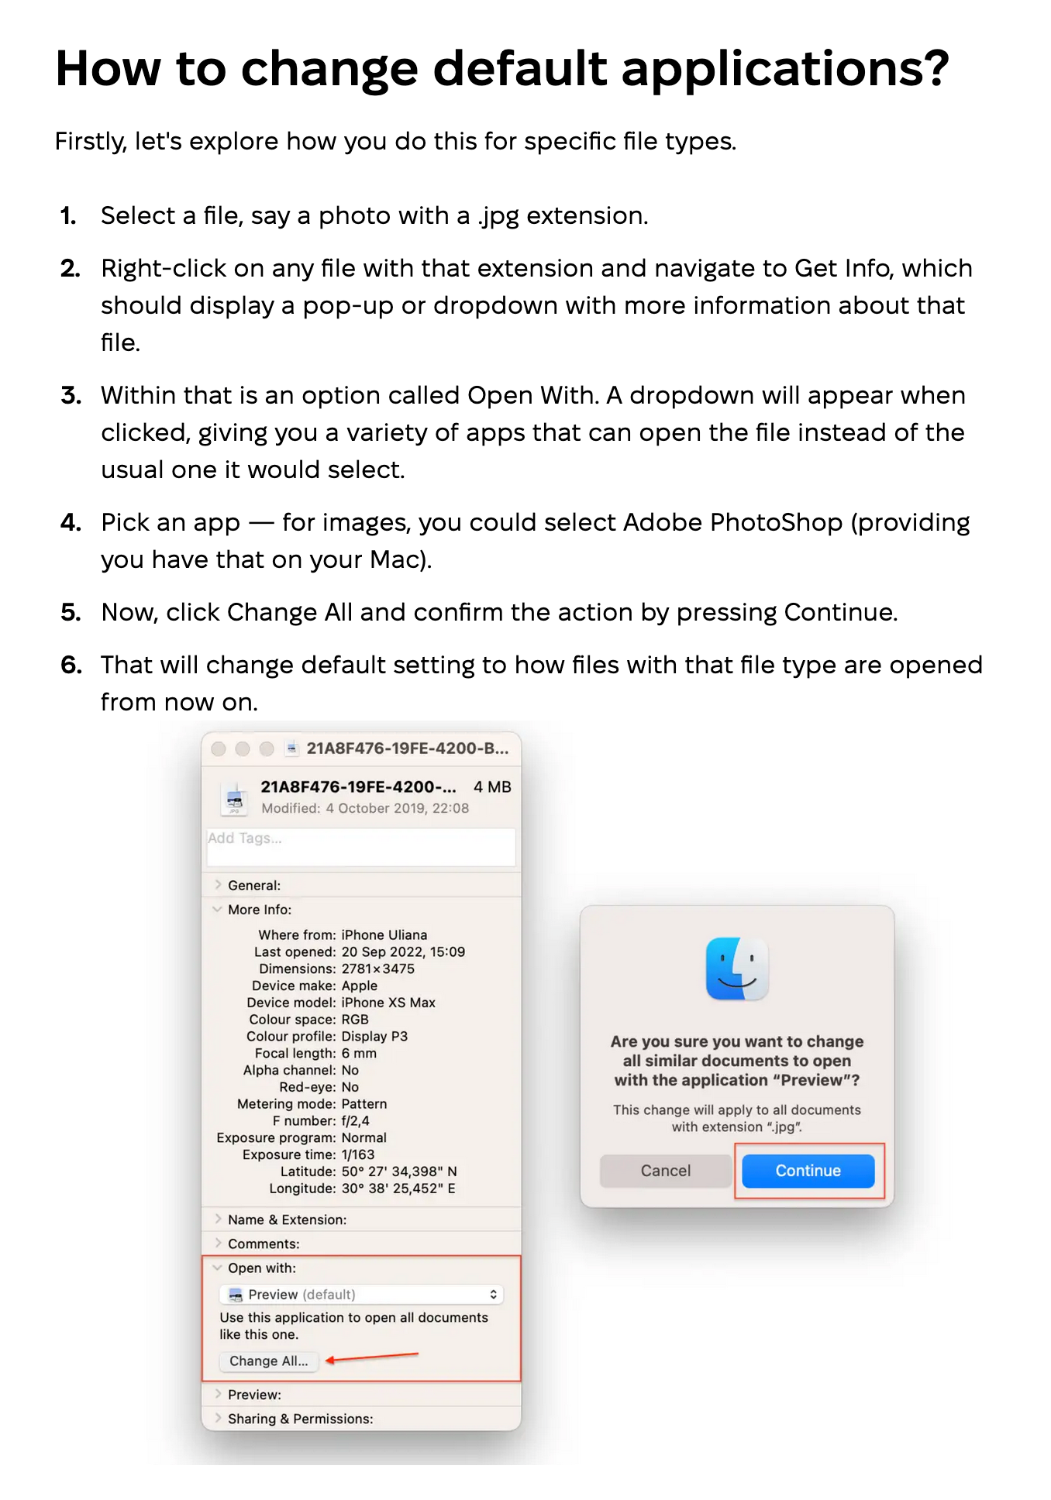
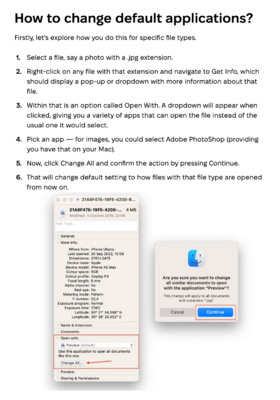
Find a .NEF File, right click and select "Get Info" then look towards the bottom. MacPaw did a pretty decent set of instructions: Look for "Open with," under "Get Info," set the program in the drop down menu, then click "Change All."
-
The biggest thing you can do at this point, and it's not something you want to hear, is to leave the EHD alone until you can afford such funds. The more you mess with it, as tempting as it is, the greater the chance of you really screwing up the drive. Mac computers are a real Royal PITA to recover data from. It's messy. If you still are determined, just try recovering a small insignificant folder first and see how it goes. The gradually ramp things up.
-
Phew!!! I'm not trying to be an ass, but I'm genuinely concerned about your files. As for a Canadian Data Recovery, I'm not sure. You could try and find some place local. This is what the Google AI Bot came back with:
-
That's what I do. Keep it simple. Theft, Fire and Floods are all possible. Even if that "Flood" is the busted water pipe in the ceiling that's over your computer. That's why having a simple off-site backup is part of the 3-2-1 Rule. 3 Copies of your extremely valuable files, backed up on 2 different mediums and 1 is kept off site. The Cloud is great for convenience, but that only works when the internet is running and you have power with working hardware. What happens when a Tornado rips through your neighborhood? Sure your house might be standing, but you have no power for the next 3 months. Just having a simple large EHD can really help. Just make sure it is not a Flash Media Based EHD. You want a large spinning HD. SSD Drives and the like, need to be powered on, at least monthly, to keep the memory cells intact. Traditional Spinning HDs store data magnetically. You can still do your home server and OneDrive stuff...that's fine. I've also heard of good things with BackBlaze, but read the fine-print with them. They don't want to be dumping grounds, and if you delete the file(s) locally on your computer, they are also deleted on their Servers within 30 Days. I like the redundancy of RAID, so keep doing that. The extra EHD is just an extra insurance policy if things go sideways at the worst possible time. Disaster Recovery should just be a PITA/Time-Suck, but you should be able to fully recover within a day or two. Not weeks.
-
I SAID TO COPY THE FILES!!! NOT "CUT." THE REASON IS, YOU ARE DELETING THE SOURCE MATERIAL WHEN YOU "CUT." IF SOMETHING WERE TO HAPPEN DURING THE DATA TRANSFER, YOU COULD LOSE EVERY FILE. Copying the files keeps the source intact, so if something screws up, you can try copying again. At this point, I'm thinking you might want to reach out to Gillware Data Recovery Services. The drive inside could be fine, but Western Digital uses the cheapest USB interfaces / enclousres and that's where the problem could lie. I'd send the EHD to them and get a quote, especially if the images are that important.
-
YIPPPEEEEE!!! There is hope. Phew!! I love it when I am wrong in situations like this. First, let's try something simple, like those .jpg files and two .pdf files that I see in your screen shot. Copy them over. Do not drag / cut the files. Copy only. Then paste. If that works, then we step things up to the next level by trying to copy the folders that you can not live without. Copy / Paste these folders over to the new EHD. Then let your computer run overnight. Hopefully things will work. This will probably be slow, just let it run.
-
Check this thread, I just answered this question after yours
-
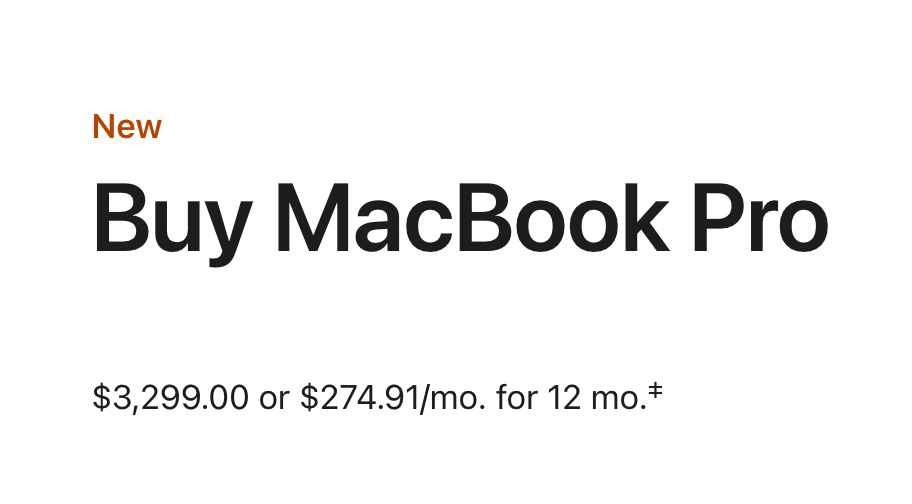
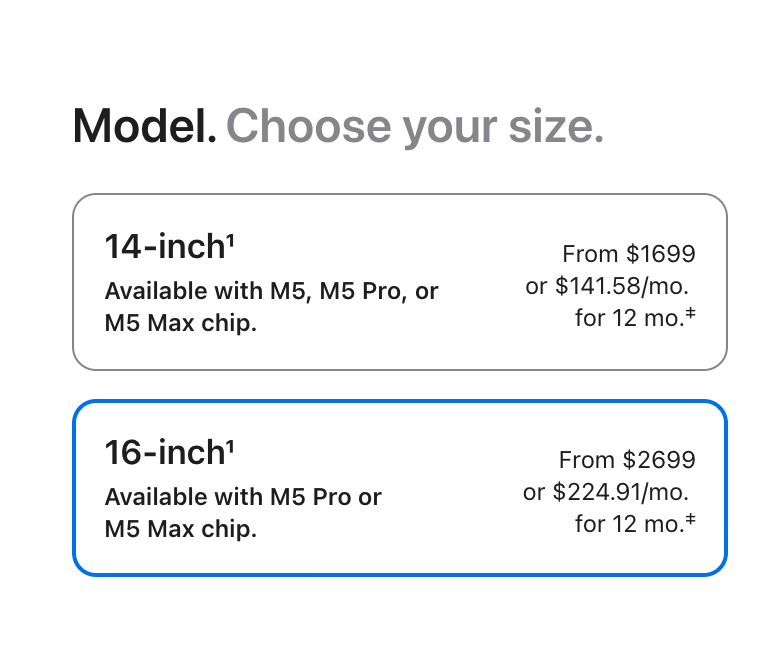
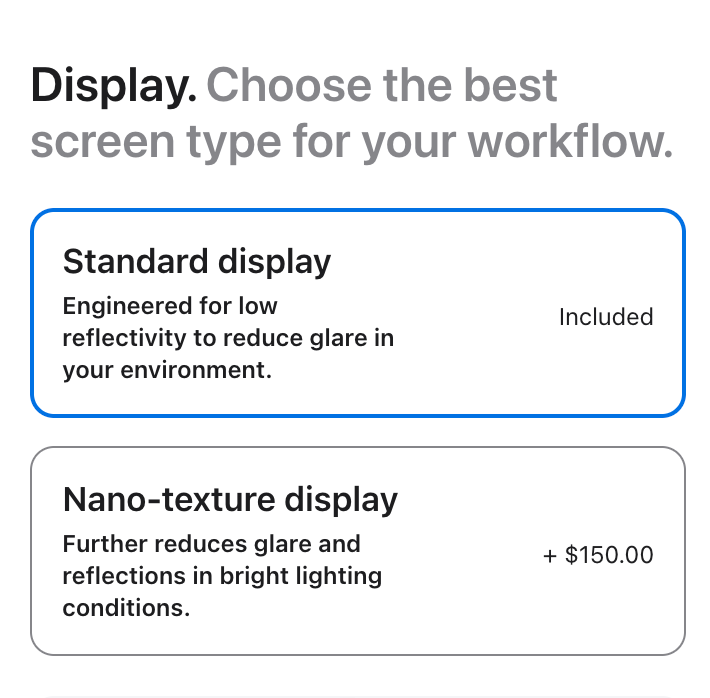
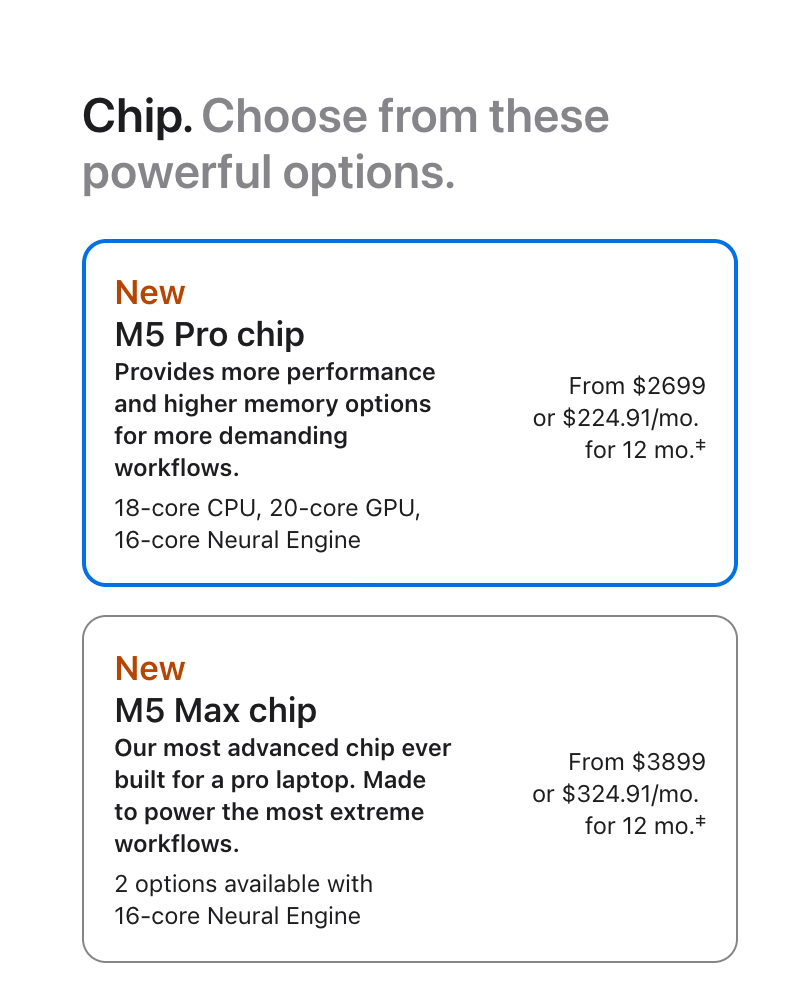
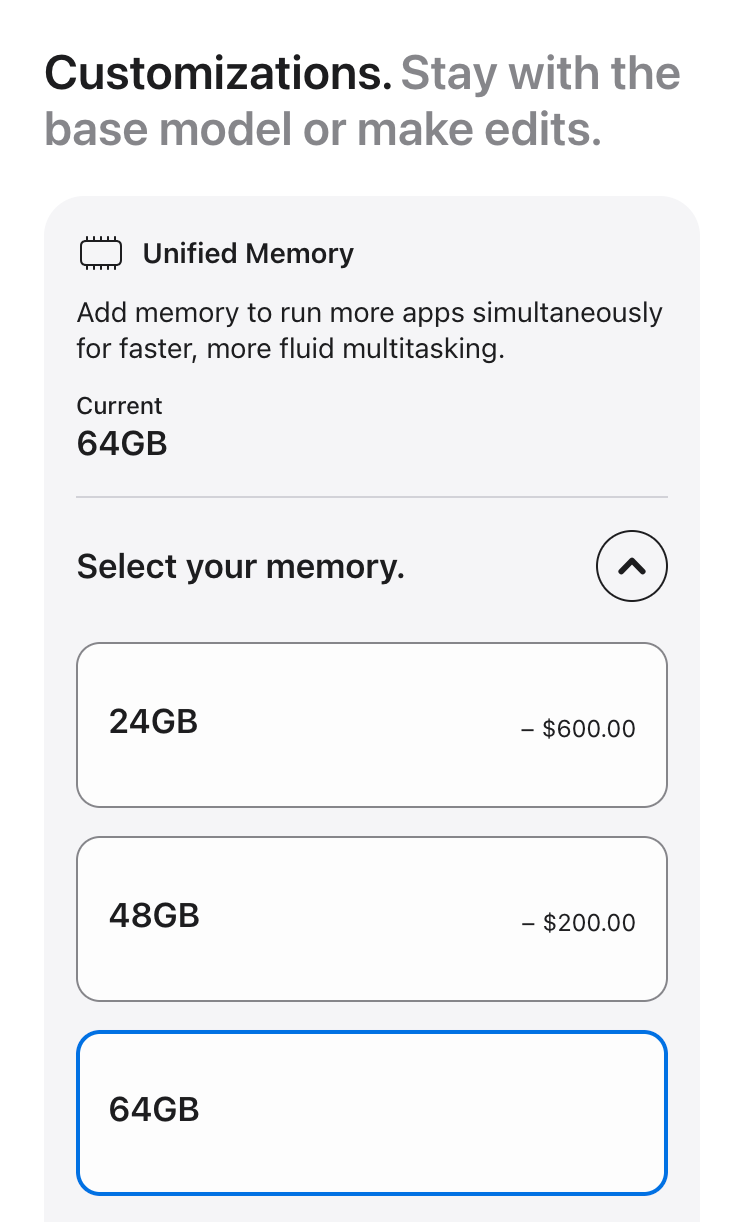
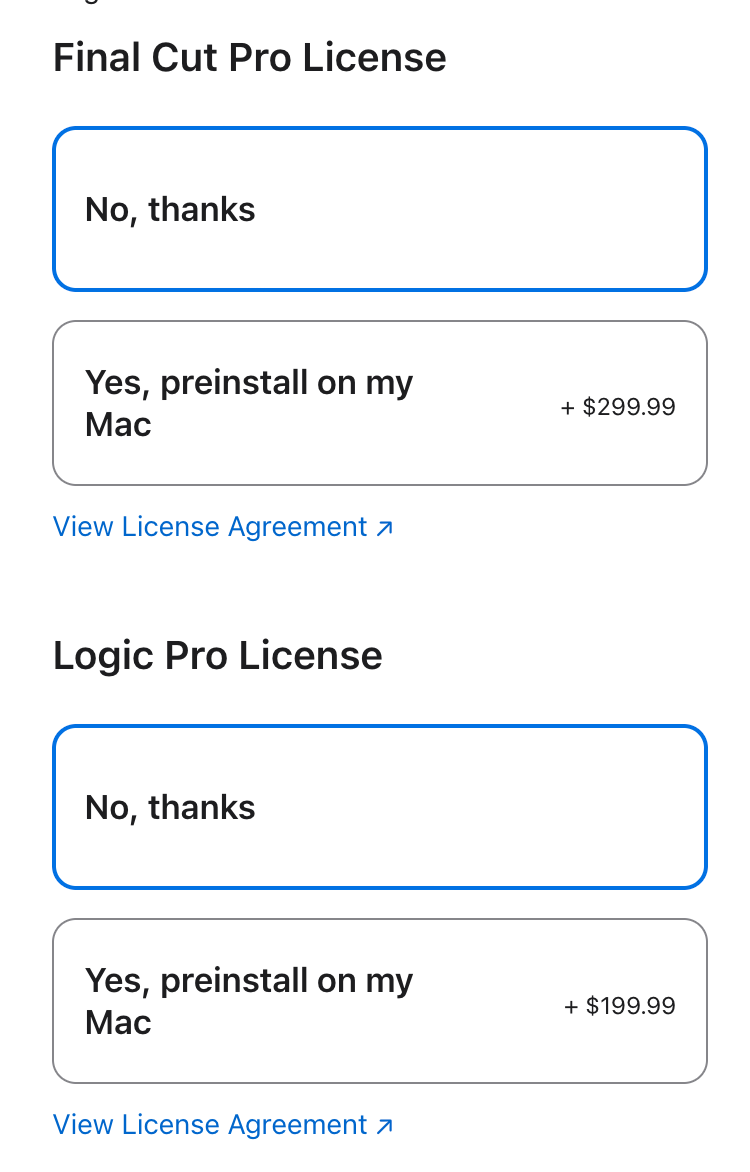
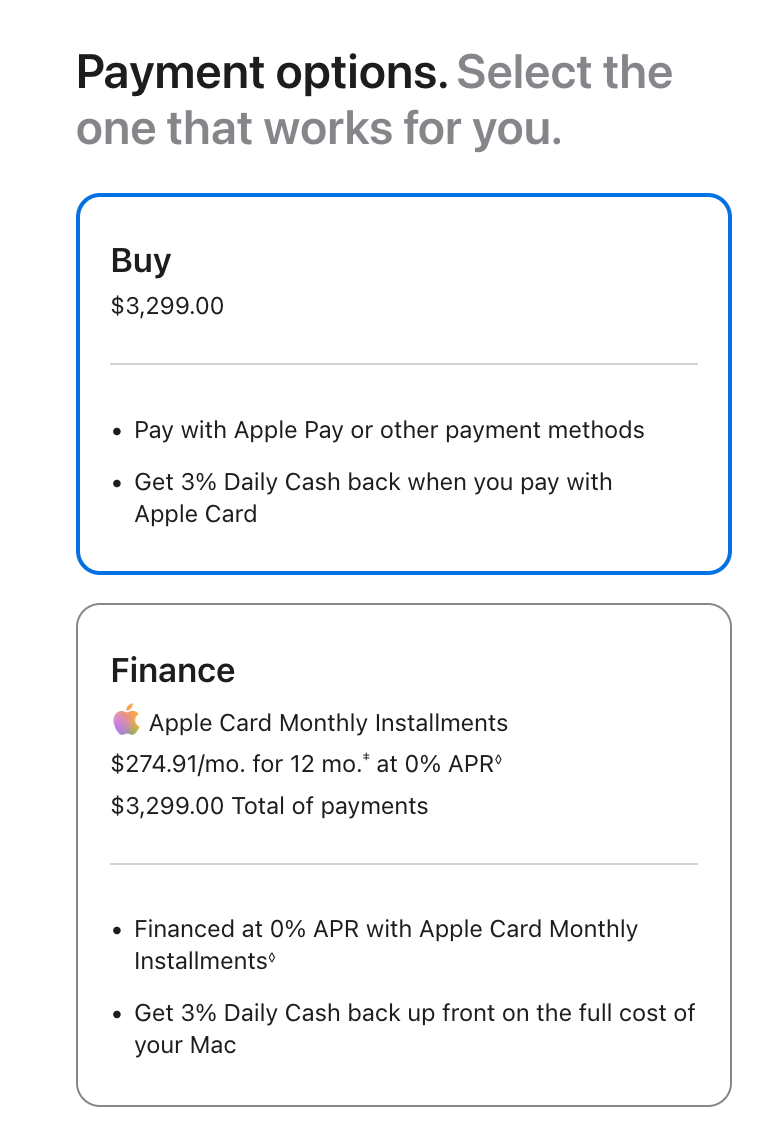
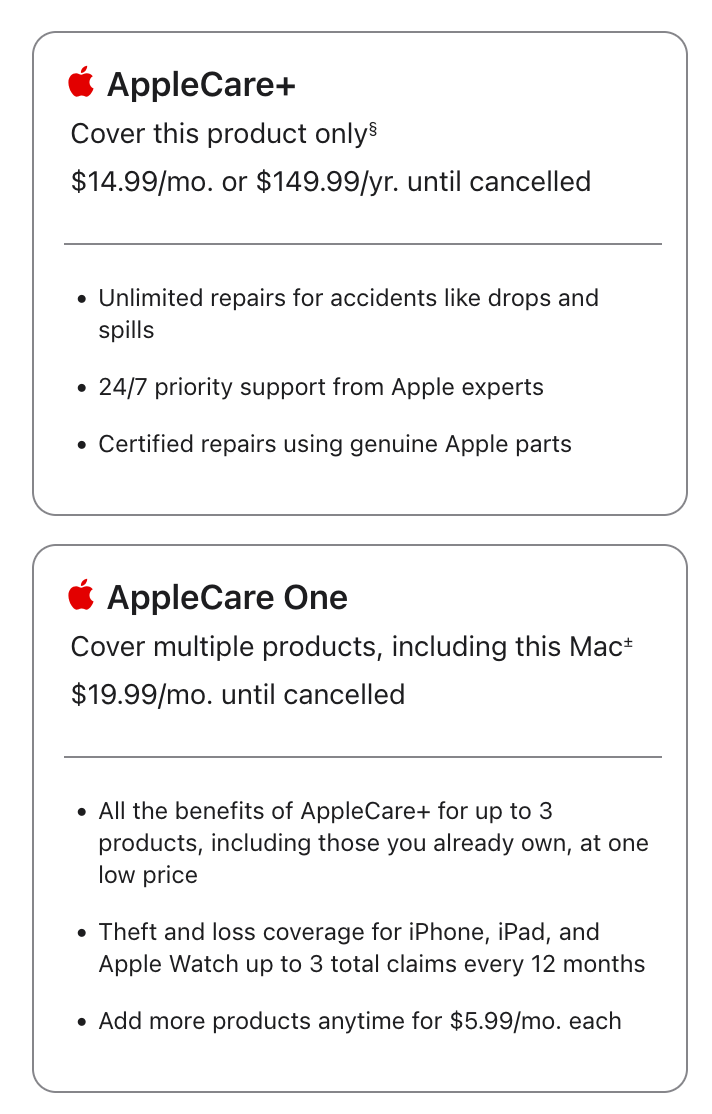
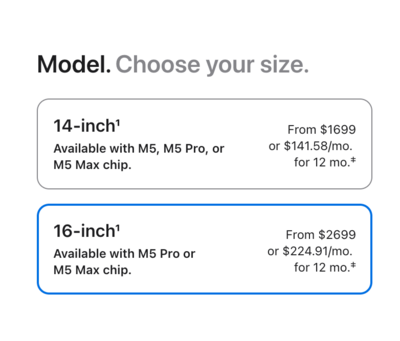
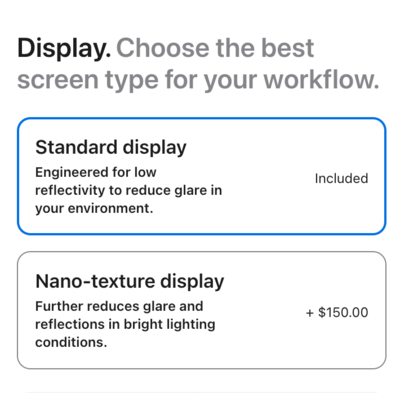
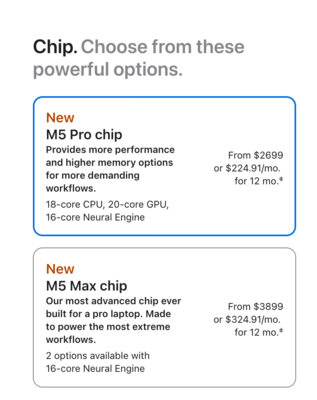
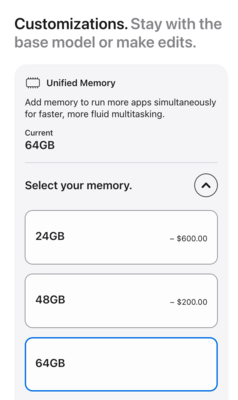
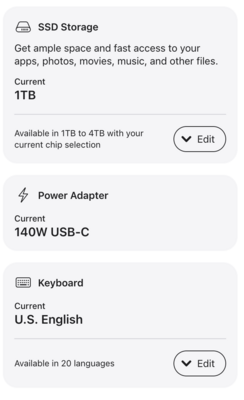
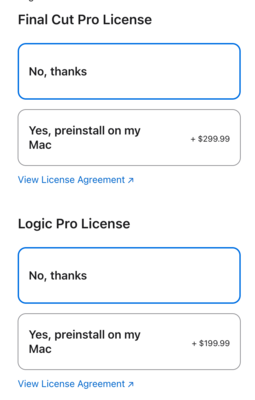
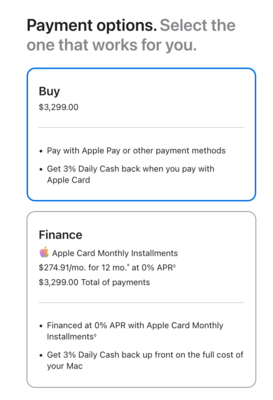
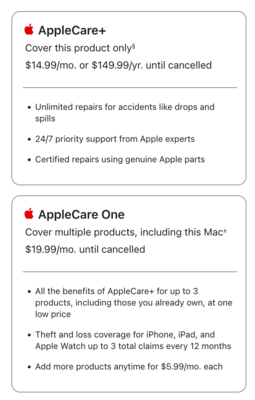
Well it seems that the MacBook Pros have actually come down in price!! Granted, they still are expensive, but it's not $4600 anymore. I've done the whole Wedding Photog thing...I don't miss shooting Weddings. That said, time is money. A Mac from 2017 is a bit long in the tooth. I hate Apple's new Website Design, but here is what I would buy: I'd choose a 16 Inch Black MBP, to cut down on color casts, but you can pick silver. Up to you. YOU WANT A STANDARD DISPLAY!! DO NOT PICK THE NANO-TEXTURED VERSION. The M5 Pro Chip is fine. RAM...I'd get 64GB since there is no upgrading after the fact. Plus the Memory is shared with the video card, so it's best to get 64GB. Hard Drive: 1TB is still viable for 2026. Chances are you will be working off a Thunderbolt External HD. I just can't stomach paying an additional $400 to bump it up to 2TB. Yes or No to the additional software options, I'd pick "No" for both. Purchase out-right or finance, up to you. Purchase AppleCare!!! Things are different in 2026, you will need to make a subscription choice. If you are only buying a MBP, than the $14.99 until cancelled is probably a good fit. If you are planning on buying a Mac Studio Display, and a Mac Studio Desktop, then the $19.99 is the one to get. Either way, get AppleCare!! You can always cancel the AppleCare after about 3 years or so. So that's what I would buy if I were in your situation. It's pretty much the modern equivalents to the older WTB Mac Laptop Article.

-
Apple, like Nikon...controls the prices. It's going to be the same wherever you buy. Now to keep an eye out for the status of new Mac products, the website that I've been reading for years is MacRumors.com. They are the absolute best at reporting all things Macintosh. Now for that waiting game. All the insane things that's happening with the stupid AI Data Center Crap, and is affecting ALL of the manufactures. Even Apple. I'm thinking it's going to be sometime in 2027 before we see a M5 Mac Studio. My guess is late 2027 or even early 2028. But I could be wrong, but with weeks of delay configuring a new Mac from Apple's website has me concerned. Now is not the time to be in the market for a new computer.
-
Yep! No Web Browsing, No Netflix, No Facebook, No E-mail. Sorry you had to learn this the hard ware. Often, it's paid software that does a better job. That said, it is a real PITA to recover files on a Mac. I accidentally deleted the wrong folder in 2009, and I never got 100% back. What concerns me, is WHY your HD failed. Data corruption is one thing, but if there is physically something wrong below the surface, that's another. The more you "Dork" around with the HD, the worse things get, and I'm very concerned about it not mounting correctly. What I would do, and the software that I default to, is Photorecovery Professional by LC Technology. This company is the ORIGINAL Data Recovery for flash based media, from the late 1990's. It's the software that Sandisk Uses / Includes with their higher-end products. What I would do, is first install the Recovery Software on the Mac that worked the last / best with your HD, then after it's installed / running, hook up the external HD that's bad. Hopefully it will mount. Now, part 2... I would HIGHLY-HIGHLY-HIGHLY ADVISE YOU TO PURCHASE A NEW EXTERNAL HARD DRIVE. Not only to potentially replace the failing HD, but you will need a clean HD to restore the recovered images to, and it makes things WAY easier. The reason? Data Recovery isn't always clean. The software finds the bits and pieces and tries to assemble things. Think of putting together a 1000 piece Jigsaw Puzzle without a photo for reference. You could have 65 different files for the same single Raw File or .psd. Again, Data Recovery on a Mac is not pretty and I speak from experience. Now, my viewpoint is a bit dated, since I last did something like this in 2010 and software has improved. Still, I want you to purchase the Recovery Software and a new EHD. Before you dive into this, drop me a note in this thread and I want to make sure that your new External HD is setup correctly. Often manufacturers will create a Partition called exFAT, which is a file format that works with both Windows and Mac. Sounds like a good thing, eh? But it's not...in fact, it's DEAD WRONG. You see, exFAT is one of those things that Microsoft Invented a long time ago, it was almost like a "Garage Project." They never made it mainstream. They still use NTFS, and the macOS uses their own file system. exFAT is unpredictable at best, and is easily corruptible without warning. To make matters worse, you might have to send out your EHD to a place for forensic recovery, as regular recovery software doesn't always work with exFAT. Plus, forensic data-recovery isn't cheap. exFAT is meant for people that have triple backups of everything, and are Advanced Users / Techno-Weenies like me. But even * I * do not use exFAT. Of course, Manufactures use it, because it's free and makes the masses easily hook up to the EHDs. Drives me nuts because the common user has no idea of how unpredictable exFAT is. In reality...you need to pick a format, Macintosh --> OR <-- Windows. None of this going back-and-forth stuff, at least not without a whole other backup. So when you get a new HD, hit me up and we will make sure it's setup correctly. While we are at it, I want to use Disk Utility and see how the failing WD EHD is setup. Hopefully it will mount. I'm 99.9999% sure it's exFAT, which complicates things. If it isn't, and it's something like Mac OS Extended (Journaled) that gives me hope. Report back.