Damien Symonds
-
Posts
212,208 -
Joined
-
Last visited
-
Days Won
3,496
Everything posted by Damien Symonds
-
https://ask.damiensymonds.net/topic/199-how-to-navigate-this-site/#comment-894
-
I rather suspect there was supposed to be a photo with this post?
-
PLEASE, Cathy, just post about what you're actually trying to achieve, so I can help you. The answer to your question is no.
-
 I'm so glad.
 -
No, not necessarily Levels. It depends on what you were trying to achieve.
-
Should I calibrate a new MAC right away?
Damien Symonds replied to nikki_neste's topic in The Macintosh User Group
Yes. -
Calibrating 4K screen
Damien Symonds replied to chelseyhern's topic in Monitor calibration questions or problems
Yes, I have no reason to think not. Which ColorMunki is it? The Display? -
Ok, great. Have you tried the simple method first? Just a Hue/Saturation layer, choose "Cyans" and enter roughly +10, +75, -60 or thereabouts. The thing about this method is, you have to check edges (like the hair and the fluffy rug very carefully, because it an sometimes leave weird stuff at edges.
-
Just the background? Or the "Dream" as well?
-
Could you post one of your photos? That you've sent to the lab and you think has printed dull? https://www.damiensymonds.net/art_monitor.html But don't buy one yet. I haven't yet seen enough evidence that this is a monitor problem. You should avoid any lab that uses 5000K. Millers is shit for this reason. Only use labs that use 6500K.
-
You can't upgrade from the Spyder5Elite. It's the best there is. But yes, the monitor could be better. Can you elaborate on this? What's wrong with them, exactly? You mean these instructions? Please do this. Follow it all the way to the end. Let me know the outcome. Sorry, it's impossible. Even if it was possible to calibrate a phone screen (it's not), you couldn't possibly visit the homes of every single person who visits your social media, to calibrate their phones for them. All you can do is make sure you've followed best practice for web photos, and then chill out. Can you tell me about this error message? Or even better, screenshot it for me?
-
Firefox is the only browser to use.
-
Bridge CC - photo downloader freezes?
Damien Symonds replied to Katie_inthepilbara's topic in The Windows & PC Hardware Forum
Hi Katie, just to be thorough, can you do this for us? -
Then perhaps I misunderstood your question? What colour was it supposed to be?
-
What's unsatisfactory about it, exactly?
-
Yeah, I'd say it was an issue with the B/C layer itself - possibly you were too aggressive with the sliders. Sadly, you never answered this question ... ... so we weren't able to diagnose it. You should NEVER be using the Brightness/Contrast feature anyway - it's the absolute worst thing in Photoshop.
-
So it's ok now?
-
Can you do your 100% crops like this for me?
-
sharpening for flickr
Damien Symonds replied to yk0121's topic in Output - print, websites, Facebook, email, client disk, etc
This is becoming an increasingly hard question to answer as years go by. Sharpening is really specific to size, you see, and in the "old days" it was a lot easier to know the exact size of images to use for any given website. What advice does Flickr give about resizing? -
Oh, great! May I see that?
-
Ok, what is that adjustment layer doing, exactly?
-
Yeah, you're using a hard-edged brush. You must NEVER use a hard-edged brush for any kind of masking. The Hardness slider must always be at 0%.
-
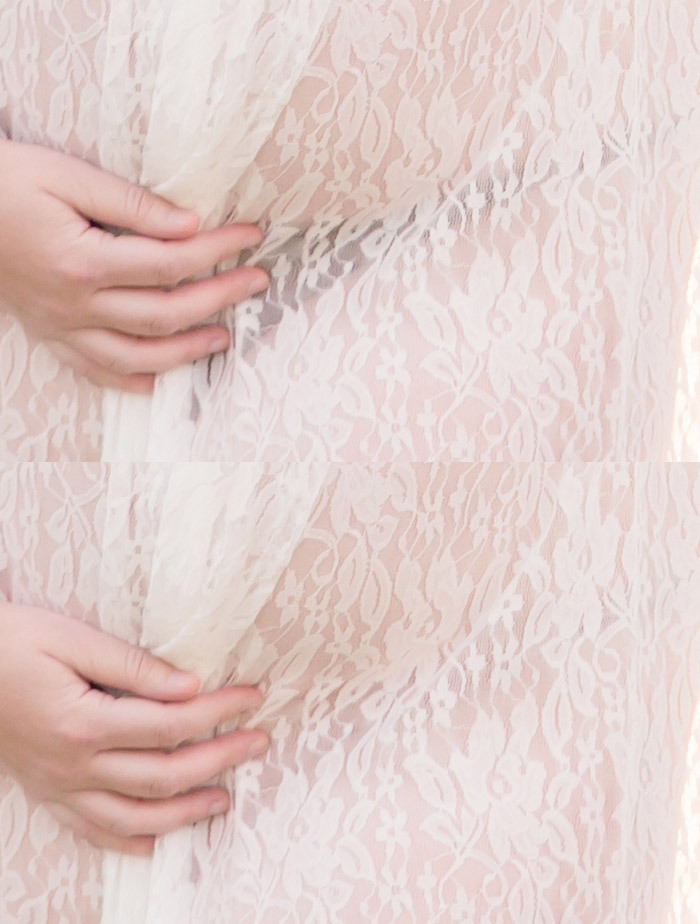
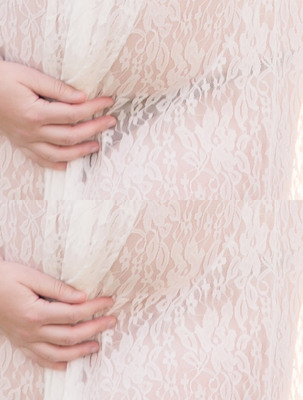
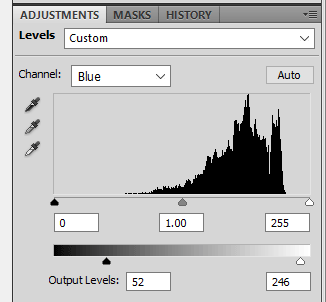
I hope this looks ok, it's the best I can do: It's a Levels layer: On the RGB channel, move the middle slider to 1.10 On the Red channel, move the Output sliders to 122 and 242 On the Green channel, move the Output sliders to 62 and 244 On the Blue channel, move the Output sliders to 52 and 246 Here's a screenshot of the Blue so you can see what I mean: Then mask it on very carefully.
-
May I see a whole screenshot, so I can see your layers, and toolbar and stuff?
-
Yes, you've named the two worst browsers there. Did you try Cmd 0?