Damien Symonds
-
Posts
212,206 -
Joined
-
Last visited
-
Days Won
3,496
Everything posted by Damien Symonds
-
At first glance, I thought it would be sufficient to sample the dark pink hair colour, and add a Solid Color layer of that colour, set it to "Color" blend mode, and paint on to the roots. But when I tried that, it left the areas too light, and they still looked a bit obvious, you know? So instead, I tried "Soft Light" blend mode. Do you think she'll be happy with this? After applying it, I found I had to revisit the colour of the layer, to make it pinker.

-
Ya did great. I left the lines because I was l-a-z-y. But yes, maybe it would be a good idea to clone them out.
-
 I'm so sorry, I don't understand. Can you explain a bit further?
 -
I think you should pursue this. If it's only the bright orange bits, you could easily change that.
-
Hi mate, the most important aspect, I think, is to actually write it. On a piece of paper, then scan or photograph it. This is too obviously a font, you know? Then you would do this.
-
Let's take jpeg out of this completely. I just want to know about the raw files. You make some adjustments to a raw file (eg white balance, exposure, etc). Then you move on and do the same to the next photo. Then you click back on the previous photo (that you'd processed). Are you saying that it's no longer processed? Are the sliders still where you put them, or have they gone back to default settings?
-
Here's the PSD, by the way. Based on this method.
-
Oh no!! Did you explain how bad that'll look? What's wrong with her son's shoes that isn't wrong with her husband's?
-
Can you explain this part? Losing the edit?
-
I haven't done all the masking, but is this on the right track?

-
Yep, great. 240/236/235. I can work with that. Can you give me a few minutes?
-
e-book Sharpening
Damien Symonds replied to LuLu Photo's topic in Output - print, websites, Facebook, email, client disk, etc
Yes, that's right. Great. -
Do you mind taking the 100% crop again, just to be safe?
-
Windows isn't colour-managed. You can't trust it. Only trust colour-managed programs like Lightroom, Photoshop and Bridge. Oh, and Firefox. So, let's get back to the important topic - do Photoshop and Lightroom match your pro lab prints?
-
Help With A Watermark
Damien Symonds replied to BrianJoseph's topic in Questions about tutorials and articles
Is that the part you need help with? -
Help With A Watermark
Damien Symonds replied to BrianJoseph's topic in Questions about tutorials and articles
Well, I figure you'll just set up the file with the words repeated across a REALLY wide file - I mean, way wider than you'll ever actually need. Then just copy and paste it onto each photo. -
e-book Sharpening
Damien Symonds replied to LuLu Photo's topic in Output - print, websites, Facebook, email, client disk, etc
Right. Only the pixel dimensions matter, the PPI is irrelevant. How big will it be, then? You'll need to know exact pixel dimensions. -
Can you give me exact RGB values for the colour you want?
-
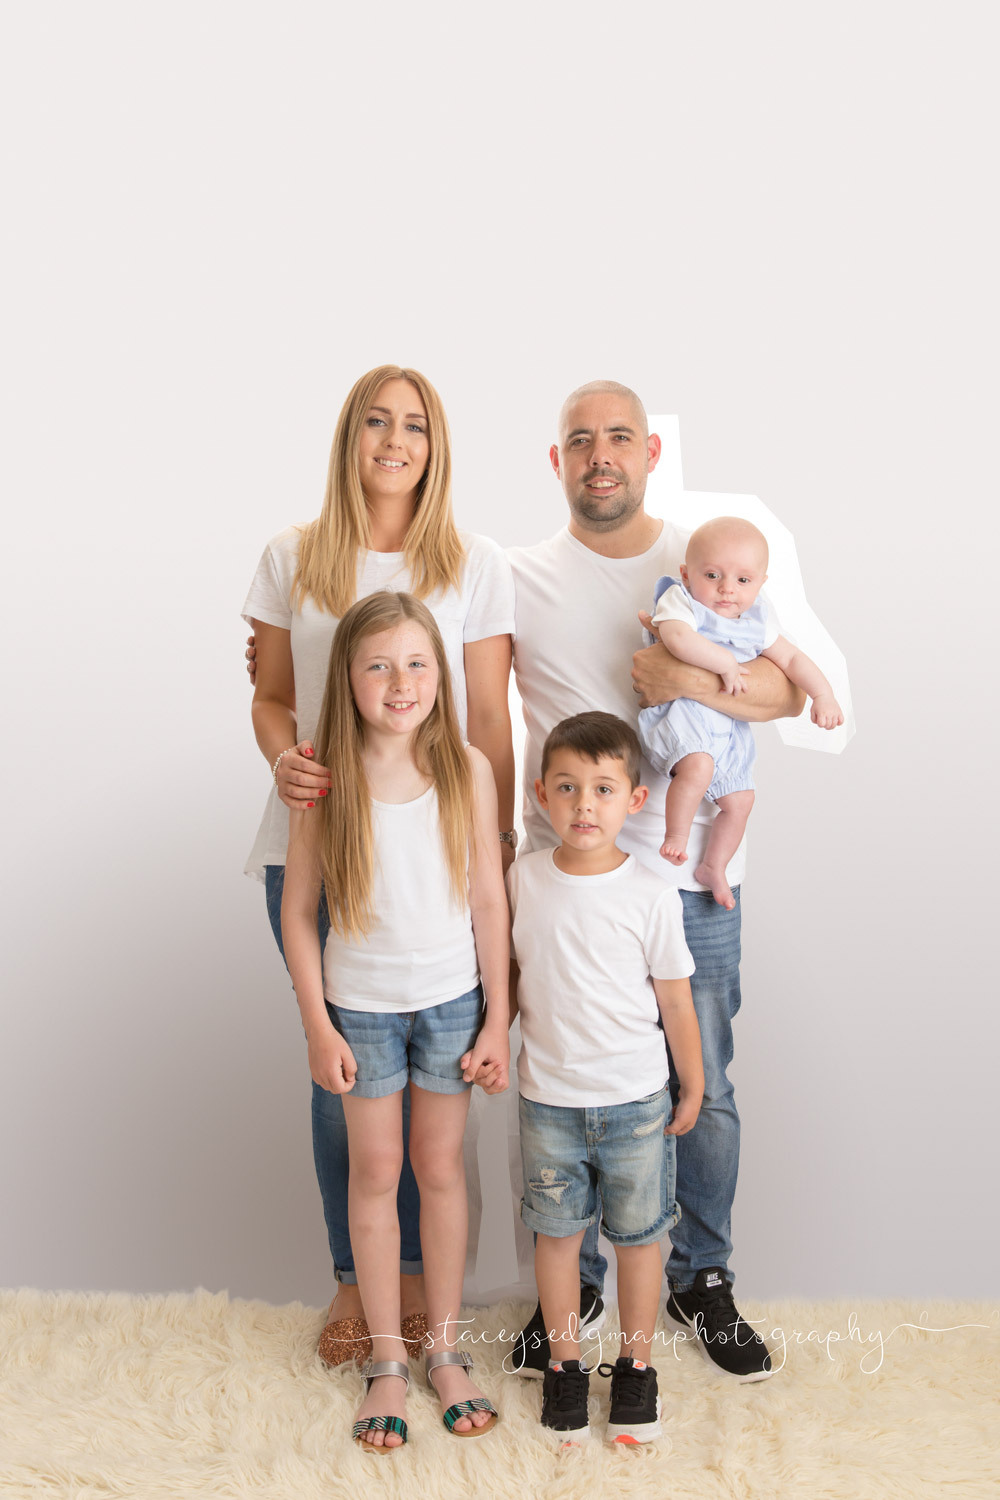
This'll be dead easy. Thankfully, Dad and the baby are both bald, and the two other children's heads are in front of their parents, so Mum's is the only hair we need to worry about.
-
Yes, but opened where? In what program?
-
It'll be this method.
-
e-book Sharpening
Damien Symonds replied to LuLu Photo's topic in Output - print, websites, Facebook, email, client disk, etc
Oh gosh, this is such a vexed question. Who is making the e-book? You, or somebody else? -
You shouldn't be capturing jpegs AT ALL. Move that setting one space to the left. Yes, that's correct for raw now. By the way, you mustn't panic about this. 10 megapixels is still plenty. And yes, your focus is fine.
-
Whoa. Then the files should be MUCH bigger than that. It seems like your camera must be set to a smaller size setting? Can you check on that right away?
-
Your camera must be around 10 megapixels, is that correct?