Damien Symonds
-
Posts
212,209 -
Joined
-
Last visited
-
Days Won
3,496
Everything posted by Damien Symonds
-

Printing in Photoshop
Damien Symonds replied to Kendra's topic in Photoshop / Elements / Bridge / ACR questions or problems
Hi Kendra, I suspect this functionality would come down to the "Print Settings", and your printer may or may not support it. You can definitely spend time exploring that button (near the top of the screen) but to be honest, it'll be much easier just to duplicate the design in Photoshop, so there's two on the page, then print it as normal. If you need help with doing that, can you show me a screenshot from Photoshop, showing me the design and your layers panel? -
Hi Marci, it seems like you haven't yet read this?
-
Calibration and Video Card
Damien Symonds replied to sraji's topic in Monitor calibration questions or problems
Hi, you said it's a new computer ... is it also a new calibrator? Or did you use this calibrator on your old computer as well? -
Most of it will be achieved simply by getting the raw processing right. I urge you to read Modules 5 and 6 of the class over again. And again and again, until they stick.
- 1 reply
-
- 1
-

-
Muted Backgrounds
Damien Symonds replied to Lynnegrace's topic in How to achieve a certain look or effect
Remember to always Alt-click on the mask of a layer you don't understand. That will show you where it's working. -
Oh gosh. You REALLY need to renew the Raw Class.
-
$46. Gosh, I'm so sorry, I meant do your raw processing first, then post the image.
-
Oh Sarah, this is such a good question, and one I've pondered myself many times. I don't know. It's an odd behaviour of a handful of photos. Can you post the actual image for me to see? By the way, I urge you to consider renewing the Raw Class. The information has been completely overhauled and updated, and it's much better than before. And significantly discounted for you, as a previous participant.
-
Blurred fall background
Damien Symonds replied to Jennifer Casalegno's topic in How to achieve a certain look or effect
I think they look like they belong just fine!! Well done. -
Not pinker - cooler. This is because stoopid Millers always print too warm. Have you ever had test prints from other labs? Was this meant to say "turned on" or "turned off"?
-
Blurred fall background
Damien Symonds replied to Jennifer Casalegno's topic in How to achieve a certain look or effect
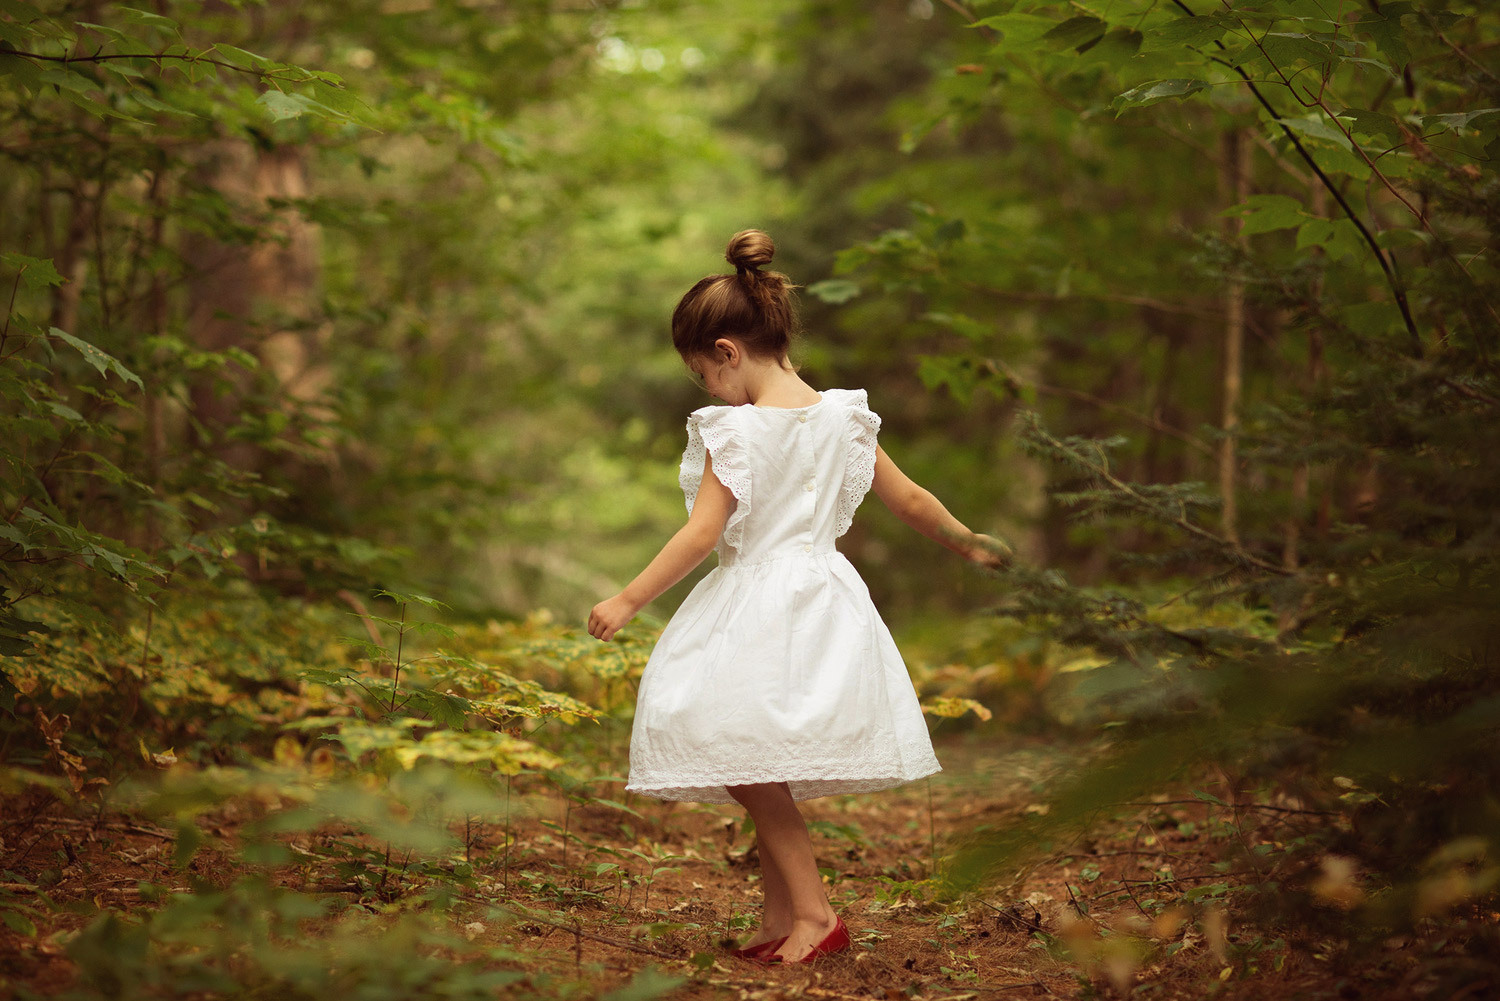
Ok, we can work with that. I want to stress, though, that at least three of the four example photos you posted had their background blur achieved in camera. PLEASE work on your camera craft to get this right. Speaking of those four photos, it's time to get more specific. Their background colouring is all a bit different. Which one would you like to mimic? -
Blurred fall background
Damien Symonds replied to Jennifer Casalegno's topic in How to achieve a certain look or effect
Hi Jennifer, can you provide a photo with a suitably blurred background? -
It's not perfect, but no, it's definitely not crap. Easily passable.
-
Muted Backgrounds
Damien Symonds replied to Lynnegrace's topic in How to achieve a certain look or effect
You're most welcome. PLEASE don't wait too long to take the Raw Class. It will fill in a lot of gaps for you. -
Muted Backgrounds
Damien Symonds replied to Lynnegrace's topic in How to achieve a certain look or effect
Oh, I'm so sorry, I forgot. You'll need this. -
New calibrator
Damien Symonds replied to justirma's topic in Monitor calibration questions or problems
Yes. -
Muted Backgrounds
Damien Symonds replied to Lynnegrace's topic in How to achieve a certain look or effect
Here's the PSD for that one. And here's the PSD for the other one. -
Muted Backgrounds
Damien Symonds replied to Lynnegrace's topic in How to achieve a certain look or effect
A bit darker like this?
-
It sure is. I'm increasingly concerned about your computer.
-
New calibrator
Damien Symonds replied to justirma's topic in Monitor calibration questions or problems
Oh heck yes you should do it!!! The Spyder Pro is SO much better. -
Muted Backgrounds
Damien Symonds replied to Lynnegrace's topic in How to achieve a certain look or effect
Something like this?
-
Muted Backgrounds
Damien Symonds replied to Lynnegrace's topic in How to achieve a certain look or effect
Oh my. That's beautiful. -
Muted Backgrounds
Damien Symonds replied to Lynnegrace's topic in How to achieve a certain look or effect
Of course. The dress is still blue. -
Both looks great to me. Dell are the more established player, but my own experience with LG has been excellent too.
-
Composite with different lighting.
Damien Symonds replied to Pumpkinjr99's topic in Help with editing
You'll need to either: Take the studio photo again with your lighting at the side, to make the same shadowing that the background photo has; or Pick a different background photo with lighting suitable to the studio photo. Don't waste another minute trying to make this work - it won't.- 1 reply
-
- 1
-