Damien Symonds
-
Posts
212,203 -
Joined
-
Last visited
-
Days Won
3,495
Everything posted by Damien Symonds
-
Click on the "askquestions" logo at the top of the page. Then scroll down. Just before the "Ask Brian" section, you should see the "Angel Babies" section.
-
Have you noticed any change in any other programs?
-
Ok, I'm going to move this into Brian's section. He knows much more about ... pretty much everything ... than me.
-
You've restarted, I trust?
-
Eww! No! http://www.damiensymonds.net/2010/07/raw-noise-removal.html http://www.damiensymonds.net/2015/10/noise-reduction-and-sharpening-leap-of.html
-
Hell no. Post in the Raw Class please.
-
PLEASE don't wait too long to take my Raw Class, I beg you.
-
Great. The focus is fine, but this troubles me, big time: Can you figure out where (in your workflow) this happened?

-
So is everything ok?
-
Hmmm ... did you shoot raw?
-
It won't be easy, I expect. White to black is the longest trip on the editing map, after all. But we'll see what we can do. Go ahead and do your raw processing, then post the photo again and we'll discuss the numbers.
-

Content Aware and Clone stamp tool
Damien Symonds replied to Emaddphoto's topic in Help with editing
I think you need to try being a bit more clever, and borrowing pieces (or wholes) of other people's shoes. -
Hmmm ... can you save these files?
-
Can you do this for me?
-
Blanket fade tutorial
Damien Symonds replied to Adanzilophotography's topic in Questions about tutorials and articles
Can you show me a screenshot? Make sure the entire screen is in the screenshot, and make sure you have the lasso tool selected. -
Content Aware and Clone stamp tool
Damien Symonds replied to Emaddphoto's topic in Help with editing
I don't know what to tell you, exactly. This is one of those situations where, if people don't notice the edited area, they'll go through their entire lives thinking it's a lovely photo; but if they do notice the area, they'll go through their lives never being able to look at any other part of the photo. -
Yes, the D&B requires a heck of a lot of patience.
-
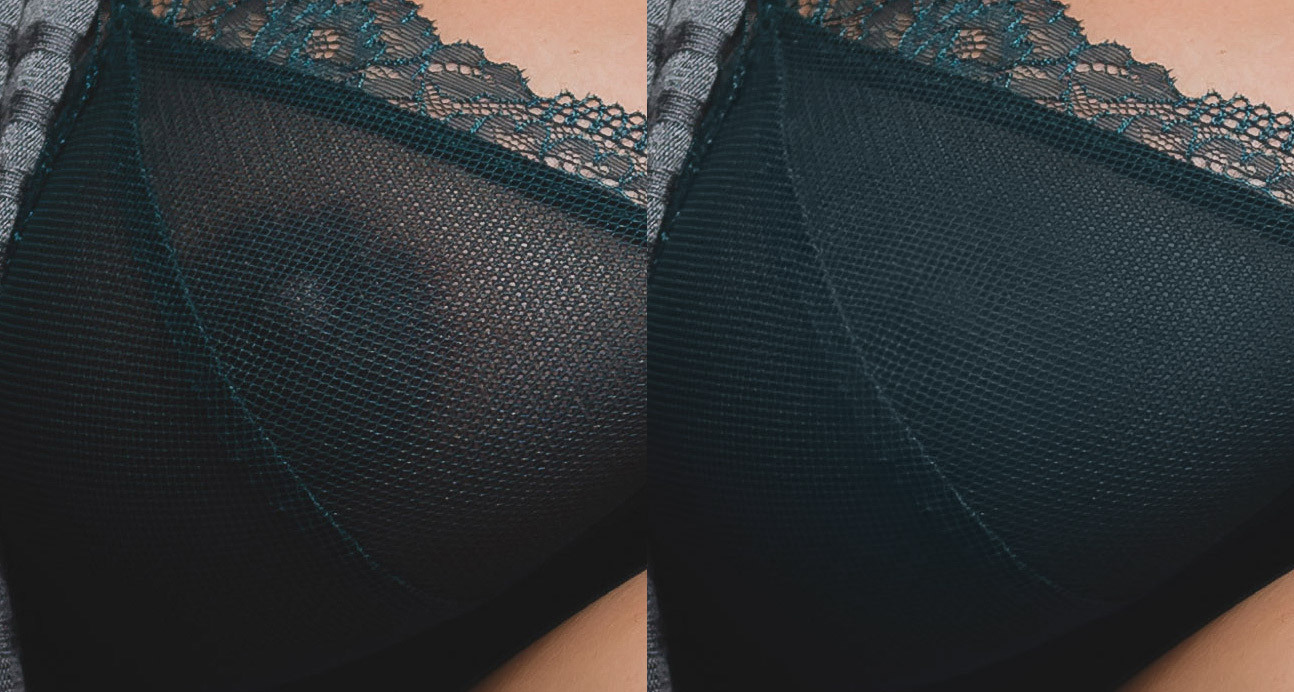
Isn't blue the colour of the lace? I know you said it was going to be black-and-white, and in that case you wouldn't need the colour layer, of course, but I wanted to show you how to handle it if you wanted to keep it in colour, just in case.
-
Ok, let me know how you go.
-
Gosh, that's such a good question. Generally I'd advise doing it early in the workflow, after pixel editing but before your Levels work. However, technically speaking, you could do it any time. If you forgot to do it early, and had to do it after Levels, that would be ok too.
-
I'm going to shut down shortly. If you like the edit, here is the file. You said there were other photos - I'm afraid I can't promise this approach will work for all of them. For example, if she's wearing another colour.
-
This is the best I can manage: Would it suffice?

-
Yeah, that does help a little.
-
Gosh, this is never easy. Did you take this crop from the SOOR, or have you done some Photoshop work to the photo?
-
Calibration
Damien Symonds replied to Haley bella rouge's topic in Monitor calibration questions or problems
Ok, first, can you do this for me? http://www.damiensymonds.net/2013/10/how-to-properly-re-install-spyder.html