Damien Symonds
-
Posts
211,993 -
Joined
-
Last visited
-
Days Won
3,482
Everything posted by Damien Symonds
-
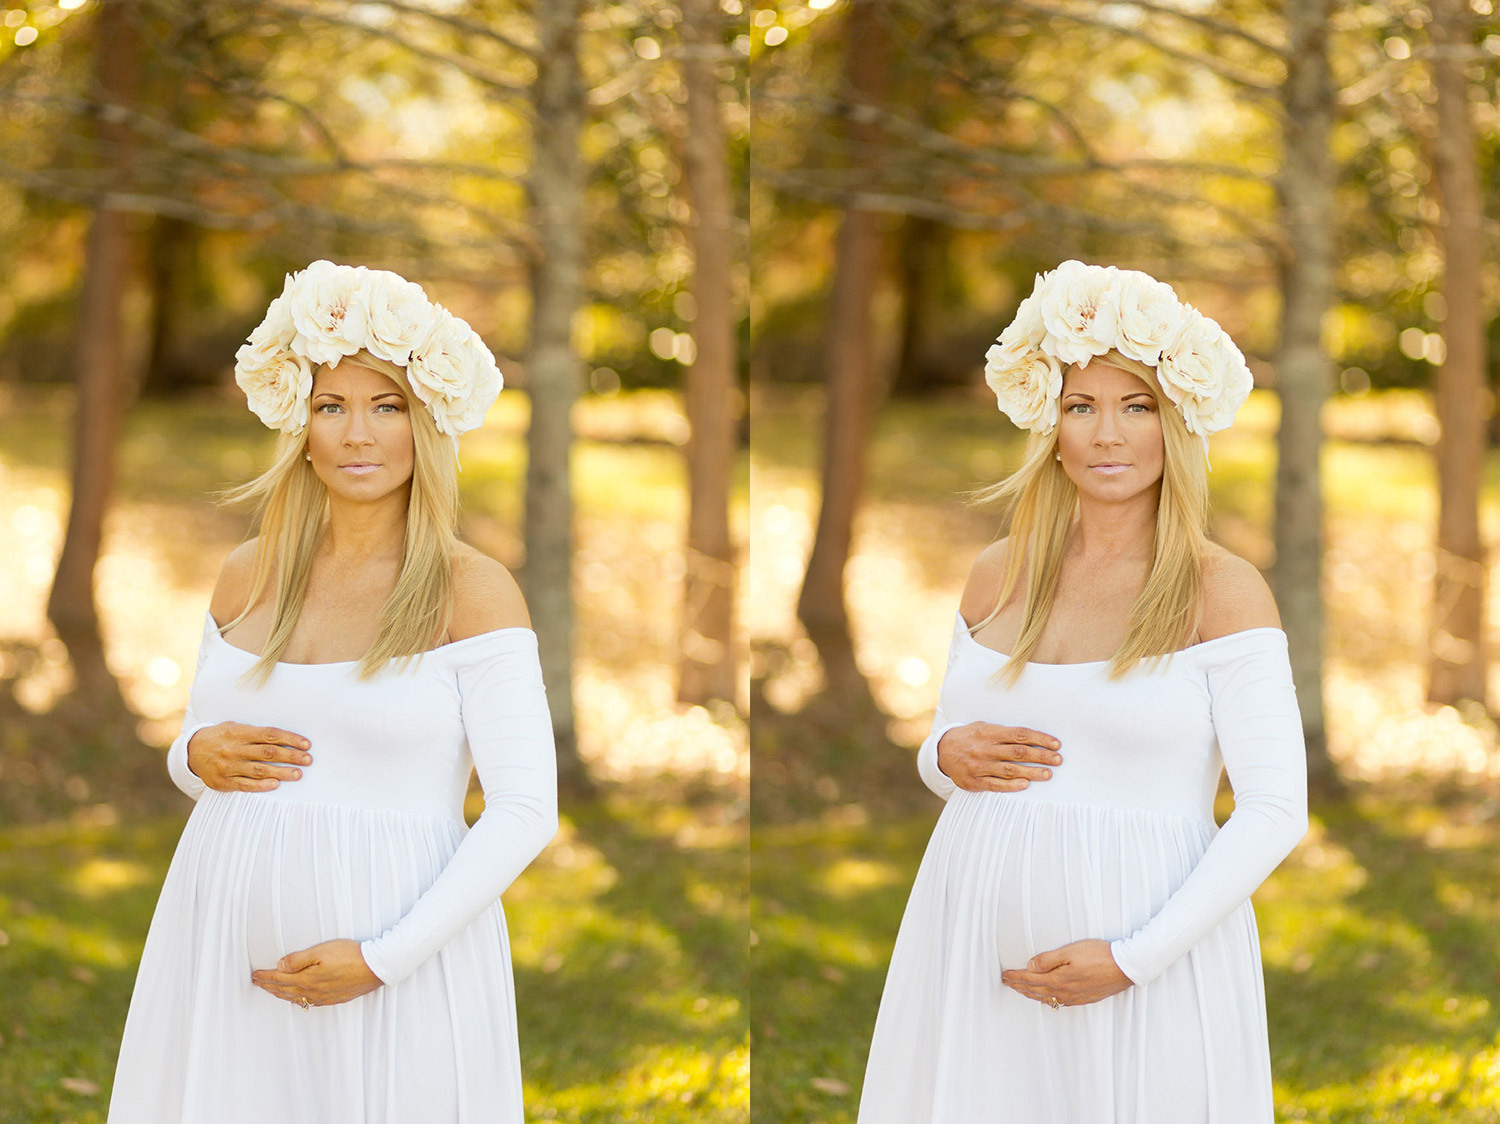
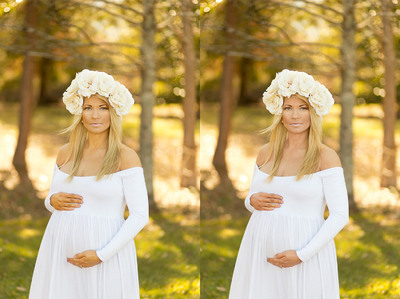
Well, gosh, I'd hope that you don't have to do it very often. This was a special case - a combination of the fake tan, and your decision to shoot her outdoors amid so much cast-throwing foliage.
-
 No, you're a bit confused here. The monitor calibration profile isn't sRGB, or Adobe RGB, or any other standard form of RGB. It's very unique to your screen, and it'll be whatever you named it. More info here. The one you're seeing at the bottom of Photoshop is the image profile. And yes, it must be sRGB. Use this troubleshooter if it's not.
 -
Let me know how it goes for you.
-
Can you see this one? http://www.damiensymonds.net/art_tscs2.html
-
It's looking a bit unnatural around the boy's hair.
-
This troubleshooter will help you decide that.
-
RAW
Damien Symonds replied to KelseyLynn's topic in Photoshop / Elements / Bridge / ACR questions or problems
I'll need some more information. Do you mean you can't open your raw files to open them? Or do you mean you can't even get them off the card? -
By using grids.
-
Oh gee, you must NEVER touch the Assign Profile menu item. Fix your colour space issues here.
-
Here's a file for you to download and see First, roughly clone the other eye across, then mask it more accurately. More information here. The other eye is a bit lighter, so the cloned area will need to be darkened a bit. So add a dodge and burn layer, and clip it (Ctrl Alt G) to the cloned layer, then burn as needed. More information here.
-
What is this? Will it show when printed?
Damien Symonds replied to justirma's topic in Help with editing
Well, maybe all the way back to the raw file. It depends where the clipping occurred. -
You STILL can't post photos?
-
Terrific! Now gently apply some Cooling Filter LBB.
-
Photos drained of color.
Damien Symonds replied to Sarynb's topic in Miscellaneous questions or problems
Yes, the troubleshooter should have guided you to this one? -
Photos drained of color.
Damien Symonds replied to Sarynb's topic in Miscellaneous questions or problems
To begin with, go through this. -
Wonderful! Much nicer already. There's more I wish I could discuss with you about the raw processing aspect of this photo, but I can't do so here, sorry. I urge you to get on the Raw Class waiting list as soon as you can (if you haven't already). So for now, I'll have to make do as best we can. Before we get to the colouring issue, I need you to brighten the hands and the face, so that they're more of a match for her chest/shoulders area. (A match in brightness, don't worry about the colour for now. Then post again for me.
-
Yep, we can do this. Can you take a close crop of her face for me?
-
Oh, I can't wait to hear how they turn out! I'll sit here fidgetting in the meantime
-
Are you referring to the fact that her right eye (our left) has two catchlights in it instead of one?
-
Oh heck no. The white balance must be correct in raw. NEVER look at skintone in raw, period.
-
What is this? Will it show when printed?
Damien Symonds replied to justirma's topic in Help with editing
Ok, that's good and bad news, I guess. Good news that you're in the correct colour space, but bad news because it means you can't blame incorrect colour space for your messed-up editing You might need to start over. -
No, I'm sure that's meant to be a white dress.
-
Extracting a background from hair
Damien Symonds replied to Nancy Jones's topic in Questions about tutorials and articles
Ok, could you post the SOOR for me? -
Very normal, yes, and nothing to worry about. Click "Don't show again". Now, next issue. You're in 16-bit, which is contributing to this problem also. Please don't do that. 8-bit is fine.
-
What is this? Will it show when printed?
Damien Symonds replied to justirma's topic in Help with editing
It's because you've got an awful lot of clipping in her face. Really badly blown out. First things first, can you do this for me?