Damien Symonds
-
Posts
212,182 -
Joined
-
Last visited
-
Days Won
3,493
Everything posted by Damien Symonds
-
Yes I would.
-
Well, that doesn't seem relevant.
-
No, that's just a flaw of your screen. Those lines aren't in the file.
-
Beats me. I'm living safely in PC land.
-
Oh crap!!! And Brian says you can't go any higher?
-
That's fine, go the DNG route then.
-
https://www.damiensymonds.net/2010/06/faq-help-my-raw-files-wont-open.html
-
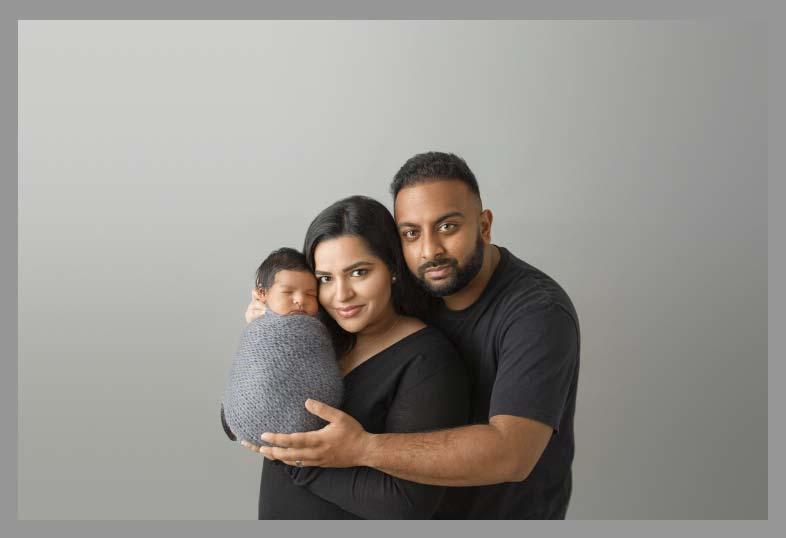
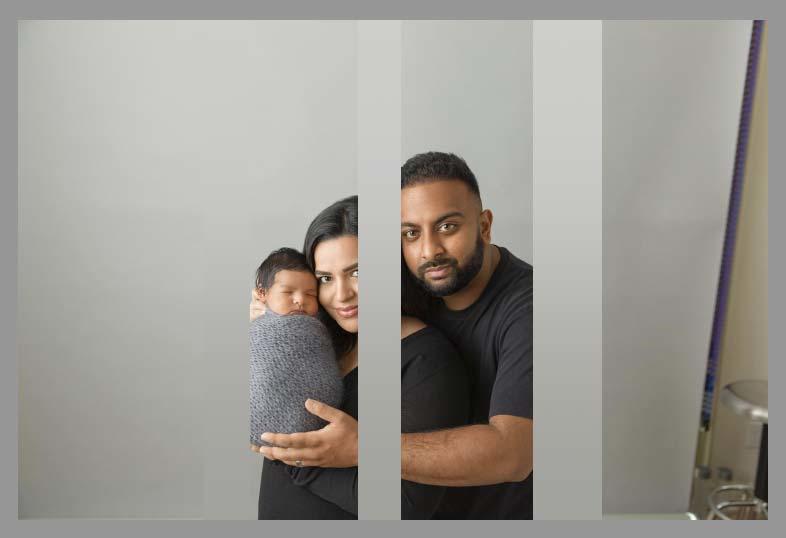
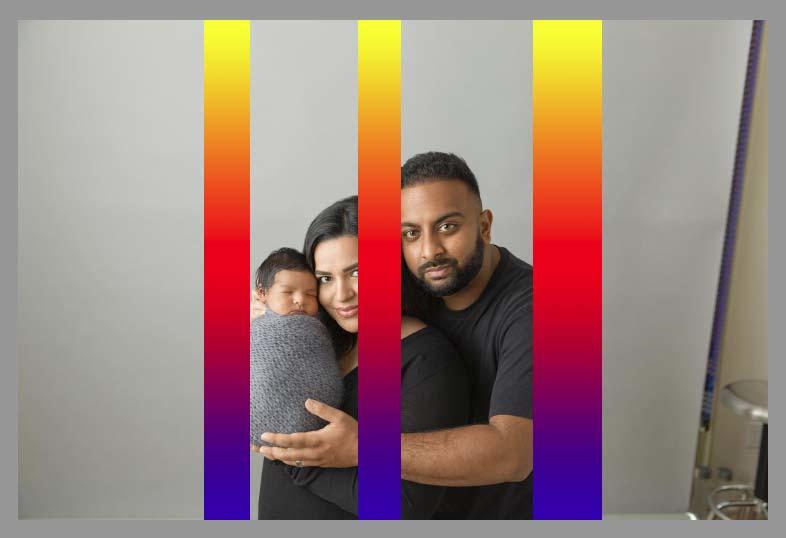
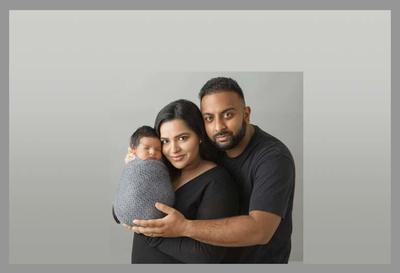
All of this is based on this method: https://www.damiensymonds.net/preventing-banding-in-backdrops/ This one is also very important: https://www.damiensymonds.net/2012/10/using-photoshops-gradient-layer.html
-
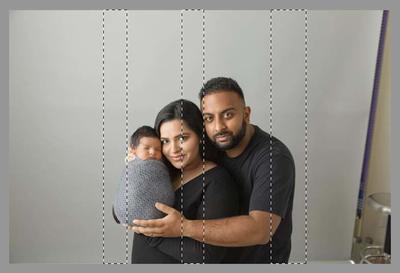
Download PSD First, I selected a few stripes with the marquee tool: Then added a gradient layer: Then modified the gradient layer to make the left-hand side as accurate as possible: Then loosely re-masked that layer all around them: Then added the second layer (clipped to the first one): Finally, masked the first layer for a smooth blend, and added the noise layer.


-
 Well, I'll be very interested to hear your analysis.
 -
Is that your observation too?
-
That function seems to assume that our screens are insanely bright, and it has to dim things to match prints. But of course we know better - our screens are already dim enough to match prints.
-
It's fair to say that at the time LR was first developed, there were VERY few screens showing greater than sRGB on the market.
-
I'm ashamed to say I can't remember what came first in this chicken-and-egg scenario; whether the fallacy of working in a wide gamut space was already circulating the community before LR and Adobe jumped on board, or whether they lead it.
-
Sommer
Damien Symonds replied to Sommer sweeney's topic in Output - print, websites, Facebook, email, client disk, etc
This is not uncommon. Some people choose 350 for this very reason. -
Sommer
Damien Symonds replied to Sommer sweeney's topic in Output - print, websites, Facebook, email, client disk, etc
Never mind, I got it, thanks. Enjoy the bonus module! -
Sommer
Damien Symonds replied to Sommer sweeney's topic in Output - print, websites, Facebook, email, client disk, etc
Just post it here if you like! -
Unless they can provide you with a bigger version of the photo, it won't look good I'm afraid.
-
Can you steer them towards a canvas print? Canvas is more forgiving of enlargements.
-
(Make sure you err a bit on the darker side for the subjects with your Levels work - that will help.)
-
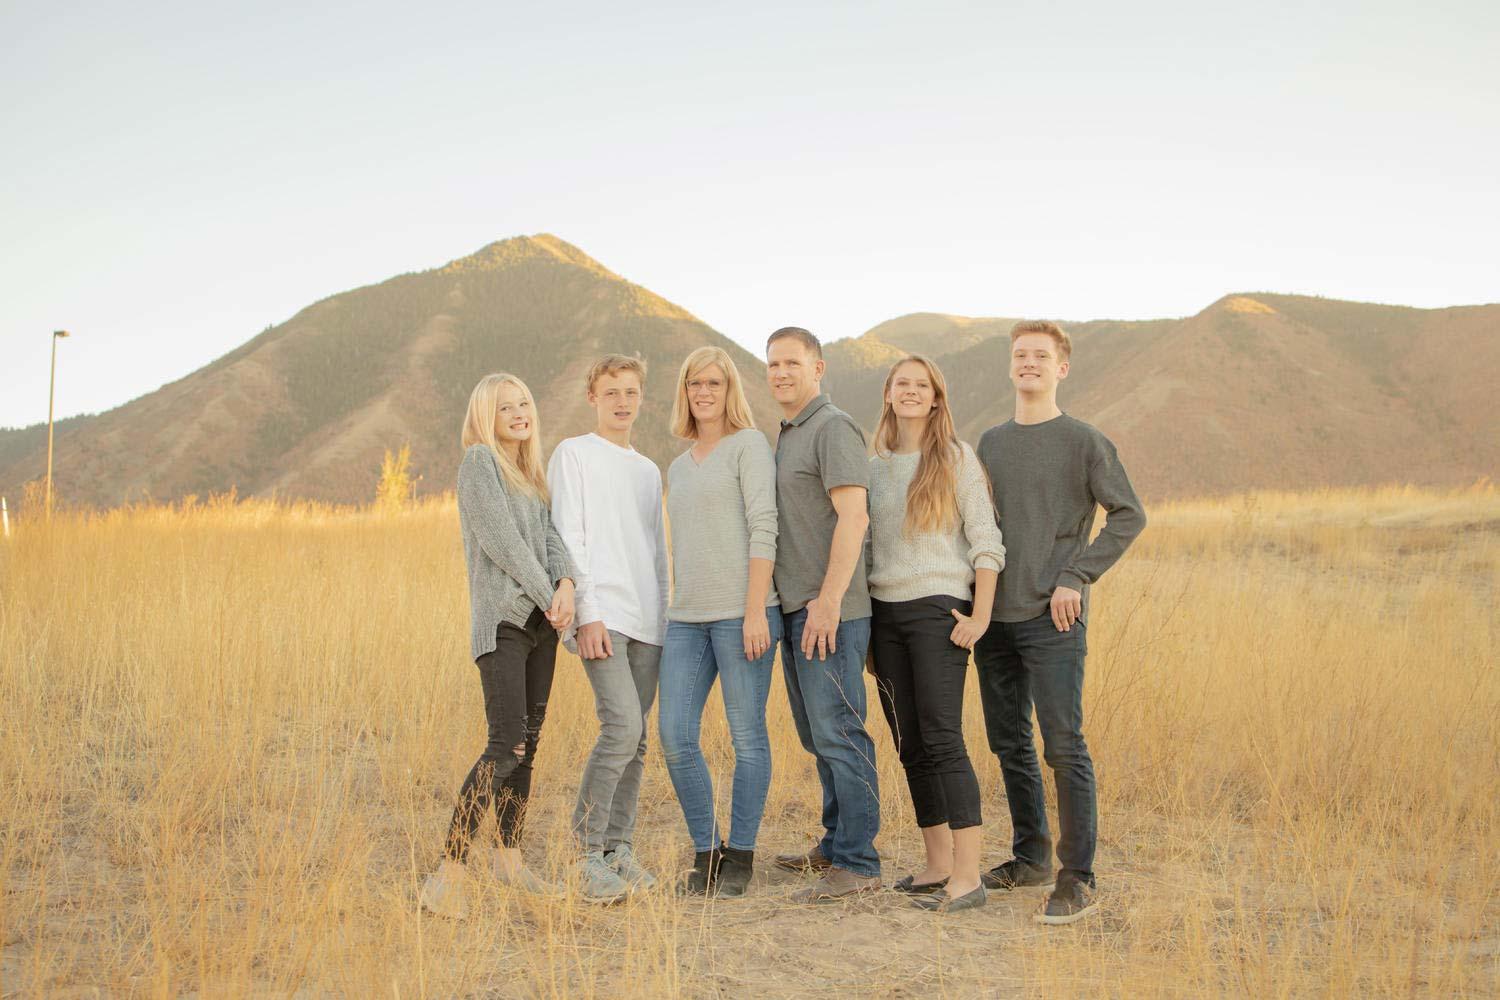
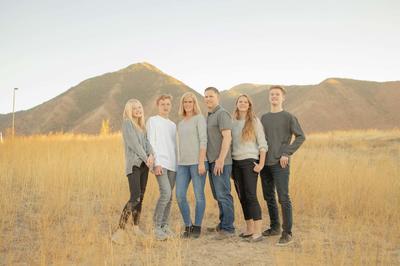
Yeah, that works. Slightly desaturating the yellows of the field, eh? And once you do your Levels work, the subjects will stand out well enough.
-
I don't know what you're asking either, sorry
-
Are you asking how to change the field grasses to a different colour?
-
I think it would be tricky to get rid of it altogether, but it can certainly be diminished. What do you think of this? Levels layer: R 66/0.90/255 G 49/0.97/255 B 29/1.00/255
-
Is this a recent problem, or has it always been this way?