Damien Symonds
-
Posts
212,209 -
Joined
-
Last visited
-
Days Won
3,496
Everything posted by Damien Symonds
-
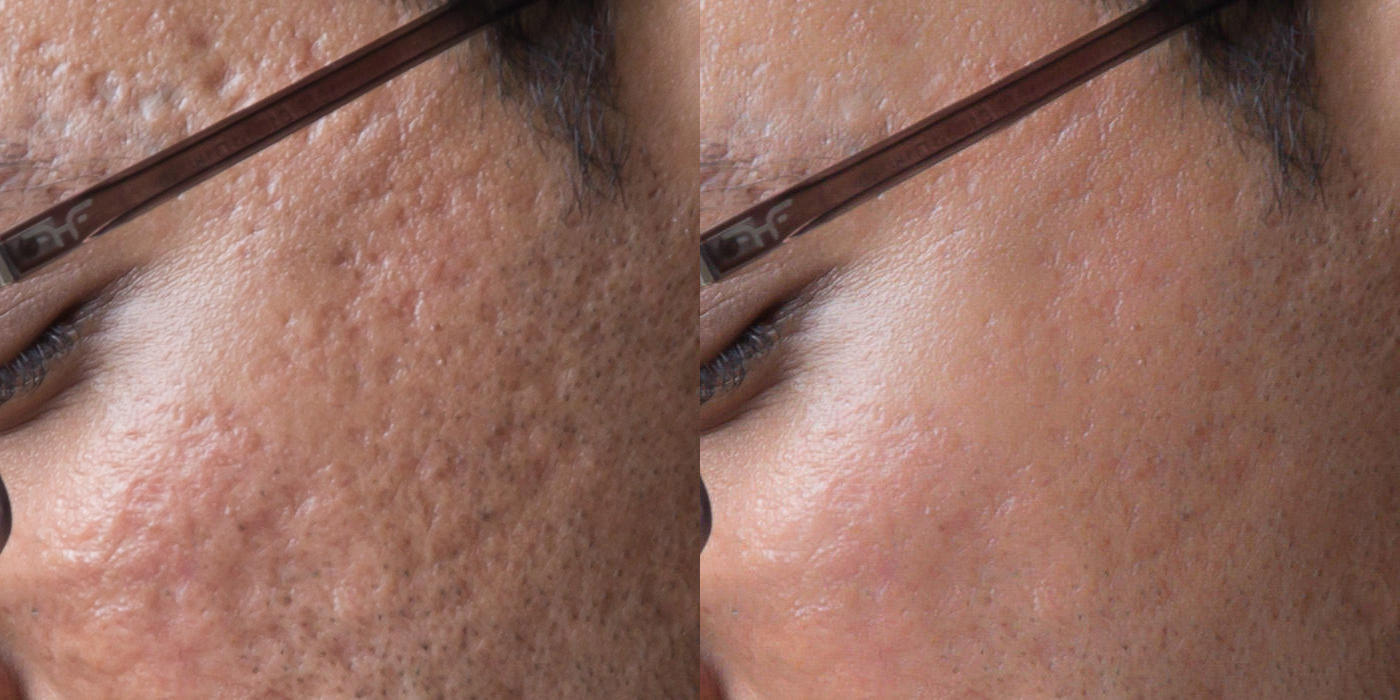
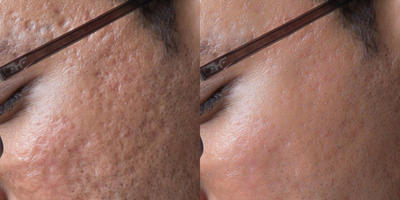
Thanks. This is either a job for Frequency Separation (google it), or my Cellulite action. If you use the latter, you'll need to add a blank layer above it, and low-opacity clone out some of the most stubborn scars. Remember, the goal is to reduce the scarring a flattering amount, not get rid of it altogether. Here is my play:
-
Have you considered simply buying a second monitor? There are plenty of advantages to dual monitors. You already have a good monitor for editing, so you could get a cheaper (but big) one to sit next to it for Netflix.
-
Of course Brian is still around. I'll move this post into his section. The BenQ does look like overkill. I'm pretty sure Brian will recommend sticking with Dell, and going for a larger UltraSharp, eg 27 or 30 inch. But I'll let him confirm that.
-
Wow! Amazing! I think the camera-left iris looks bigger, though?
-
May I also see a 100% crop?
-

Sharpening for fb
Damien Symonds replied to Falon's topic in Output - print, websites, Facebook, email, client disk, etc
Oh, duh! Everything looks pixelated at 200%, ya wally! If it looks bad at 100%, that's when you need to revisit your sharpening, and give it less. -
Sharpening for fb
Damien Symonds replied to Falon's topic in Output - print, websites, Facebook, email, client disk, etc
How are you zooming on FB? And in Photoshop, what percentage are you zooming to? -
Sharpening for fb
Damien Symonds replied to Falon's topic in Output - print, websites, Facebook, email, client disk, etc
As well? As well as what? -
Sharpening for fb
Damien Symonds replied to Falon's topic in Output - print, websites, Facebook, email, client disk, etc
Sorry, I don't understand the question. In what program are you viewing? -
Sharpening for fb
Damien Symonds replied to Falon's topic in Output - print, websites, Facebook, email, client disk, etc
Zoomed in how far? -
Ah. That shouldn't be. DNG files should be slightly smaller than their equivalent raw files. If yours are so big, it means that you checked the "Embed original raw file inside DNG file" checkbox when you did the conversions. If that is the case, you might be able to extract them again, and they might have the ratings still attached. I don't know know how, but a quick Google search will tell you.
-
This is madness. You shouldn't have kept the original raw files when you converted to DNG, nor should you keep them now.
-
Why does this photo look so... plastic(?)
Damien Symonds replied to Elliot's topic in Miscellaneous questions or problems
I'm so sorry, I know very little about how presets behave on jpeg files. In any case, I consider my area of expertise to be around making photos look good, not awful. -
Why does this photo look so... plastic(?)
Damien Symonds replied to Elliot's topic in Miscellaneous questions or problems
Yeah, it must have been either a really awful in-camera setting, or some kind of equally awful import preset applied, eh? -
Why does this photo look so... plastic(?)
Damien Symonds replied to Elliot's topic in Miscellaneous questions or problems
May I see one of the ones with "normal-ish" skin for comparison? -
And done.
-
Macbook Air Calibration
Damien Symonds replied to SHartland's topic in Monitor calibration questions or problems
Great. Which lab do you use? -
Macbook Air Calibration
Damien Symonds replied to SHartland's topic in Monitor calibration questions or problems
No, all calibrators do laptops and desktops just the same. As I said in that article, it comes down to how close your laptop screen is already. -
Yep, I just emailed you.
-
Well, if you can tell me your Facebook name, I can check for you.
-
You don't need to pay full price to take them again, by the way.
-
Yes ma'am. It's all there.
-
I'm so sorry, Julie. From the posting guidelines: Please consider the classes. They'll change your life.
-
Why does this photo look so... plastic(?)
Damien Symonds replied to Elliot's topic in Miscellaneous questions or problems
This might be relevant, actually. It looks to me like she's applied some kind of clumsy tone-mapping, which can look nice on landscape photos, but not on people. Or, maybe I'm overthinking it. It might be clumsy use of Photoshop's awful Shadow/Highlight function. -
I guess the first thing we need to accept is that we can never get rid of the glare altogether. Perfection is impossible. We just want an improvement. With what you've shown me, I think there might be enough detail available to slightly improve her left (our right) eye; then copy and flip that to help out the other one.