Damien Symonds
-
Posts
207,013 -
Joined
-
Last visited
-
Days Won
3,253
Everything posted by Damien Symonds
-

Moody Dark Edits
Damien Symonds replied to Amy Claire's topic in How to achieve a certain look or effect
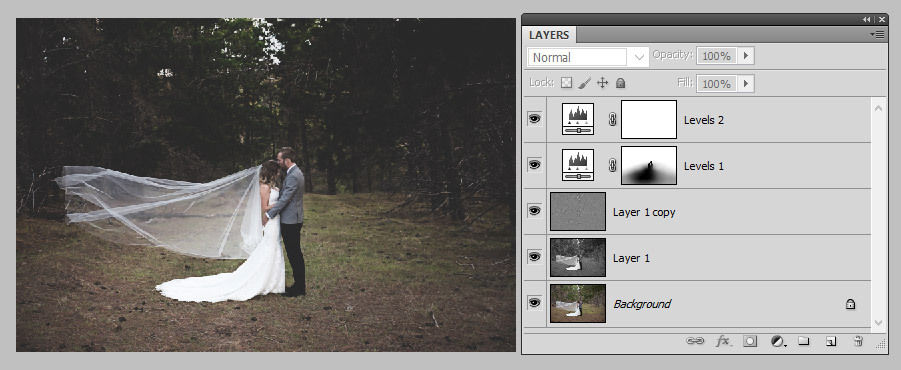
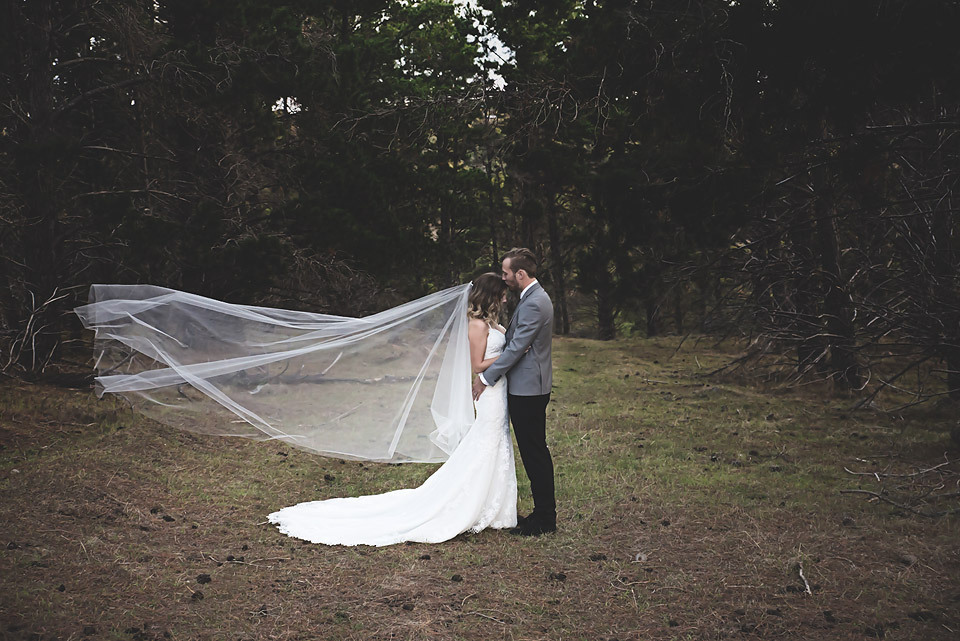
Ok, here we go ... Duplicate the Background layer. Immediately desaturate it by pressing Ctrl Shift U. Change its blend mode to Soft Light. This is "Layer 1" in my screenshot. Duplicate Layer 1 to make "Layer 1 copy", and run Filter>Other>High Pass. I used a radius of about 4 because I was working on the web sized version. On the full size, you'd use somewhere between 8 and 12, I'd say. This adds some "grunge" to the image. Add the first Levels layer. On the RGB channel, use these values: 0/0.40/255 and 0/230. This will make the whole image dark. Mask it off the people and the ground to your taste. You can see my mask in the screenshot. Finally, add another Levels layer and pull the black Output slider in to about 35 (or to your taste) for the matte effect.
-
Add an overall Levels layer ... Red channel 65/1.30/255 Green channel 40/1.30/250 Blue channel 30/1.30/230 Then do your normal Levels work after that.
-
Yes. That one should be good, I think. You should be able to clone her out of there ok.
-
Well, by painting on the mask with a low-opacity brush.
-
This is absolutely fine. I don't agree with Samantha about the focus being missed. I do, however, agree about the noise. Don't ever forget to remove it. Some important reading: http://www.damiensymonds.net/2010/07/raw-noise-removal.html http://www.damiensymonds.net/2015/10/noise-reduction-and-sharpening-leap-of.html http://www.damiensymonds.net/2010/08/what-you-see-when-you-pixel-peep.html
-
Moody Dark Edits
Damien Symonds replied to Amy Claire's topic in How to achieve a certain look or effect
Would you prefer more pronounced matte?
-
Did you ever try the kettle thing?
-
Moody Dark Edits
Damien Symonds replied to Amy Claire's topic in How to achieve a certain look or effect
Yes, and I added it to mine also. -
http://www.damiensymonds.net/2014/03/how-aggressively-can-i-crop.html
-
Do you think you could set it up (maybe on a couch or something) so it's a single curved flow of material the way you'd like it, the photograph it in the right light, and at the correct angle? It won't be easy, but I rate editing this photo as close to impossible. After taking it, you would attempt to put it into this photo, and mask it around the baby.
-
Moody Dark Edits
Damien Symonds replied to Amy Claire's topic in How to achieve a certain look or effect
Am I anywhere close?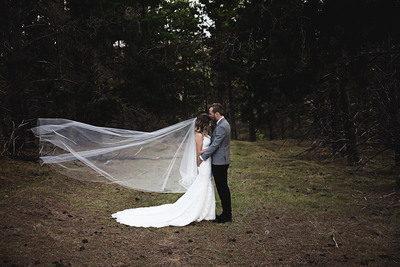
-
Moody Dark Edits
Damien Symonds replied to Amy Claire's topic in How to achieve a certain look or effect
That's right. And I'm happy to help you with that part, if you'd like to post your SOOR. -
Moody Dark Edits
Damien Symonds replied to Amy Claire's topic in How to achieve a certain look or effect
http://www.damiensymonds.net/2014/11/the-bldy-adjustment-brush.html -
Thanks!
-
First, I need to see a 100% crop from the SOOR.
-
-
Hi Jessica, I've moved this post into Brian's section, because he knows more about this stuff than I do. Is there anything in here that helps?
-
Thanks. What you've done is great, and I believe completely adequate. We wouldn't expect to see a catchlight in an eye down there near the ground, on either an animal or a person. If you like, just dodge the outermost part of the eye a bit, to lighten it a bit more.
-
A 100% crop!!!! 700x700 pixels, exactly as you did before. From the SOOR - that is, with the raw editing done, but no Photoshop work.
-
What on earth is the problem? You've already posted a 100% crop. I just want another one, from the SOOR.
-
Nope. Here or nowhere.
-
May I see the 100% crop from the SOOR?
-
Hmmm ... right-click on your black taskbar down the bottom, and choose "Task Manager". Look under both "Processes" and "Services" and quit any reference to Spyder or Datacolor you find there.
-
Make sure you do this.
-
Are you sure you didn't miss this part? http://www.damiensymonds.net/wp-content/uploads/2015/12/06s5elite02-1.gif