Damien Symonds
-
Posts
212,212 -
Joined
-
Last visited
-
Days Won
3,497
Everything posted by Damien Symonds
-
This is not a channel mixer issue, it's a mask issue. Please make haste to read the class.
-
Signing up for a class doesn't magically give you knowledge You have to actually read it. Have you done so?
-

warm blur
Damien Symonds replied to Jennifer Casalegno's topic in How to achieve a certain look or effect
Well, can you tell me exactly which one you'd like to mimic? It seems that you were going for the second bottom one, is that right? -
warm blur
Damien Symonds replied to Jennifer Casalegno's topic in How to achieve a certain look or effect
How do you feel about it? -
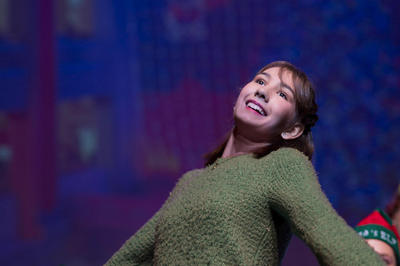
You wouldn't have posted if you didn't already know I was right. Sharpening exaggerates and enhances detail that is already there. It can't magically create detail that doesn't exist. Her lashes don't exist in this photo.
-
Mask? Neither layer needs a mask. There should be no masking involved here.
-
What? No, you should be using a 5% brush at most.
-
No, sorry. A bit too fuzzy.
-
Hmmm ...what opacity of brush were you using?
-
Yes, isn't the dark red area the problem?
-
No, no, it'll just be a handyman job. Very straightforward.
-
Geez you're scraping the bottom of the bullshit barrel here. The next time you have a photo which you think would benefit from premature cropping, post it for me and we'll discuss why you're wrong.
-
Yes, but why would you ever need that? Think it through.
-
"Delete Cropped Pixels" must ALWAYS be checked. Never uncheck it.
-
graphics tablet and banding
Damien Symonds replied to meris's topic in Miscellaneous questions or problems
May I see an example of the banding? I promise, it's nothing to do with your tablet. -
Yep, Handyman will work there too. Remember, it's not a quick fix. Use a low opacity brush, and patience.

-
I think that's a genius fix, well done! But that arm should be a bit darker, shouldn't it? So just add a Hue/Saturation layer, and clip it to the arm layer (Ctrl Alt G), then lower the Lightness slider a little.
-
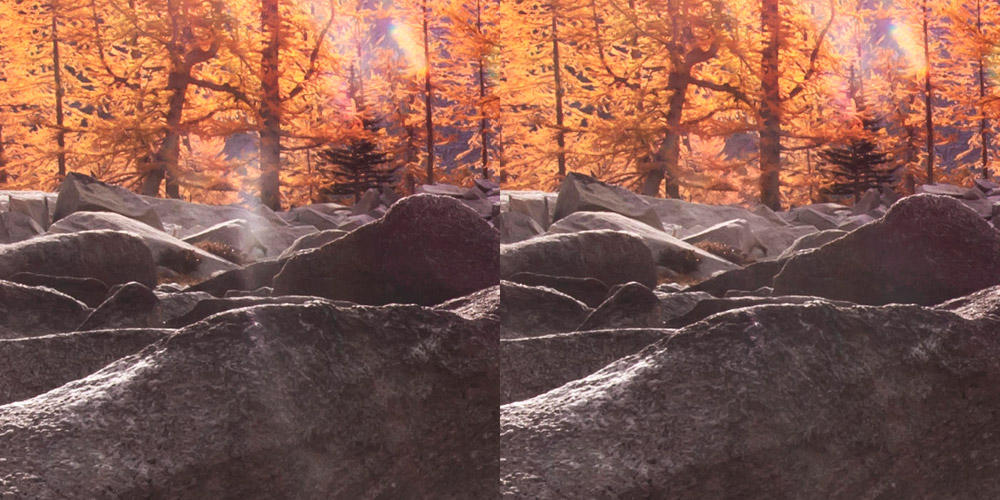
Hi Carly, Most of it looks like it will be fixed easily with the Handyman Method. But the bit on the top of the rocks, just below the trees, looks very strong, doesn't it? May I see a 100% crop of that area?
-
How did you go? Did you make it to 80?
-
warm blur
Damien Symonds replied to Jennifer Casalegno's topic in How to achieve a certain look or effect
I'd say you're already well on your way. There's some lovely warmth back there to begin with. Did you browse the files? This one and this one seem very relevant. -
Tricky one, but yes, I fear the motion blur will be too noticeable
-
You're welcome. Let me know if you have any trouble with applying it. Please consider the Channel Mixer Class. It's capable of endless magic.
-
Add a Channel Mixer layer, and enter these values: Red +80, 0, 0, +10 Green +70, 0, 0, 0 Blue +80, 0, 0, 0 Then mask it to the area.
-
Does this look ok? You'll be blown away by how easy it is
-
Yeah, sorry