Damien Symonds
-
Posts
211,768 -
Joined
-
Last visited
-
Days Won
3,474
Everything posted by Damien Symonds
-

REMOVE DIRT FROM BOTTOM OF BARE FOOT
Damien Symonds replied to amy weir's topic in Help with editing
Well, I figure a Levels layer, and move the middle sliders thusly: RGB channel: 2.50 Red channel: 1.80 Green channel: 1.10 The masking will need to be very patient. Don't rush it. -
You might find that 11/6 does a fair job to begin, but some manual cloning will still be required after that.
-
Ok, could you send me the raw file, so I can take a really good look?
-
I've never found D&S very good for wrinkles. May I see the problem?
-
New Imac 5k & Spyder5 Pro
Damien Symonds replied to haddoxmom's topic in Monitor calibration questions or problems
Hi Teresa, you mentioned that the iMac is new. Is the Spyder also new? -
two screens.
Damien Symonds replied to jeanniewoodruff's topic in Monitor calibration questions or problems
They all do two screens, except for the Spyder Express. You'll be fine -
Oh, another question - did you capture it in raw or jpeg format?
-
Hi Mary, is this the whole photo, or a part of it?
-
Gee, I dunno, mate. This looks a bit weird.
-
Gosh, that's pretty good!
-
@lkmlee?
-
Keep it faithful in raw. Add the cooling in PS.
-
Not silly at all. I fear that there are too many people NOT asking this question.
-
dell laptop calibration - new laptop
Damien Symonds replied to JulieE's topic in Monitor calibration questions or problems
No, as long as you have a match, everything's good in the world -
False Eyelashes Separating and Flipping
Damien Symonds replied to MirandaKat07's topic in Help with editing
Ok, as long as you're sure. PLEASE don't wait too long to take the Raw Class. Likewise, I would say "as long as you're sure" about the upper eyelid creases which you removed in your edit. Personally, I fear she looks weird and a bit alien now, but she's your model. I would say, however, that it's important to undo the liquifying of her left (our right) eyebrow, which is a little too fat now. -
False Eyelashes Separating and Flipping
Damien Symonds replied to MirandaKat07's topic in Help with editing
Um ... is that bad? -
Prints are MUCH cooler than screen
Damien Symonds replied to EmilyM's topic in Monitor calibration questions or problems
And the brightness should be accurate now? There's really never any reason for brightness not to match. -
I have had this problem too. I urge you not to mess around with dubious internet advice. Seek the professional advice of an occupational therapist. That's what I did, and it was WELL worth the money. Don't take risks with your health.
-
False Eyelashes Separating and Flipping
Damien Symonds replied to MirandaKat07's topic in Help with editing
Why is her colour so awfully dull now? -
How did it go?
-
How did you go?
-
False Eyelashes Separating and Flipping
Damien Symonds replied to MirandaKat07's topic in Help with editing
This is a really tricky job. Take your time with it. I can't wait to hear about your progress. -
False Eyelashes Separating and Flipping
Damien Symonds replied to MirandaKat07's topic in Help with editing
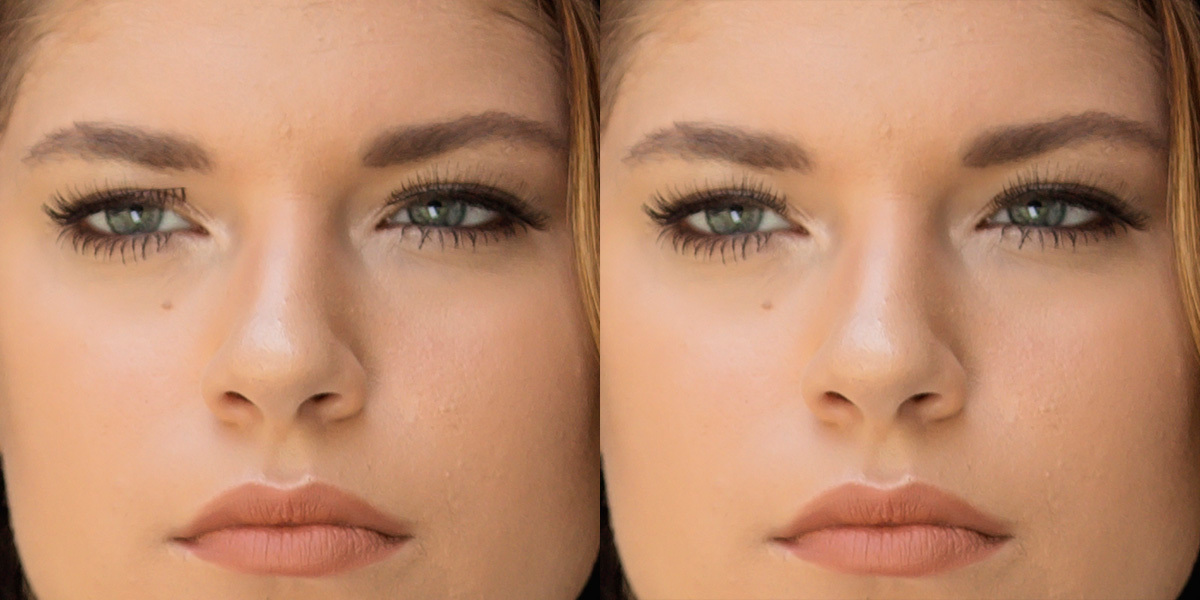
It's not easy, that's for sure. I'll show you the file, then try to explain the steps ... Download the PSD The strategy is to fix the easier (camera right) eye first, then copy that over to the other one. So first, I duplicated the Background layer and liquified the wayward lash down. Then added a mask to that layer to meld it in as best as possible. Then added the two layers of the Handyman Method, and very patiently worked to put the natural eye crease back in, and generally make everything look plausible. This took ages, don't rush it. Once I was completely happy with that eye, I added a new combined layer above all the other layers, by hitting Ctrl Alt Shift E. Then I flipped that layer horizontally, and converted it to a Smart Object. Then rotated and moved it until it roughly lined up where I wanted it. Then added a mask, and masked it in. That copied section was a bit too dark, so I clipped the Levels layer to modify it a bit. -
False Eyelashes Separating and Flipping
Damien Symonds replied to MirandaKat07's topic in Help with editing
Bummer. What works for one is unlikely to work for all the others. Anyway, how does this look?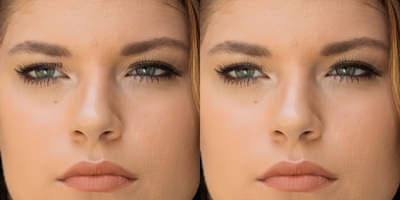
-
False Eyelashes Separating and Flipping
Damien Symonds replied to MirandaKat07's topic in Help with editing
That's great, thanks. Roughly how many photos do you have to fix with this problem? Oh crap, I just noticed a much worse problem than eyelashes. Please follow this troubleshooter all the way to the end.