Damien Symonds
-
Posts
212,208 -
Joined
-
Last visited
-
Days Won
3,496
Everything posted by Damien Symonds
-
Yes, we need some hints about your intention/vision for the result.
-
I agree with Crystal. Please don't attempt any Photoshop work until your raw processing is done.
-
Hi Ali, I'm sure I can help with this. But you have a much bigger problem to address first. Please follow every single step of this. Once you've got the colour space problem fixed, re-process the raw file with the noise removed correctly. Then post the close-up for me again, as well as the whole photo for context.
-
Download the PSD file
-
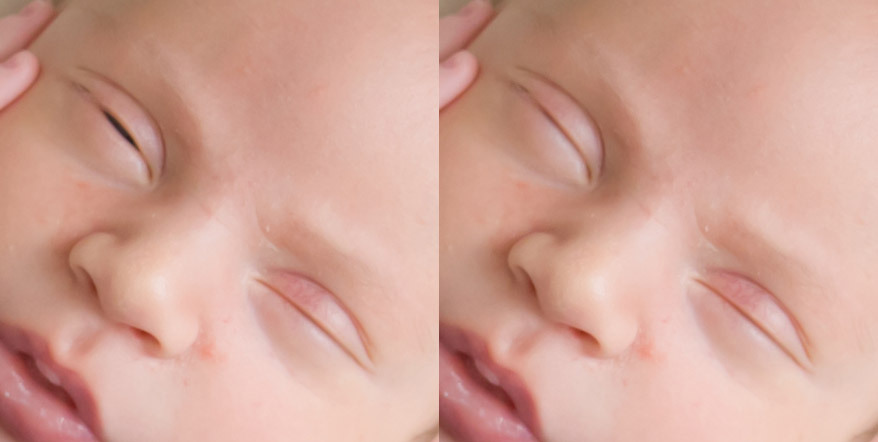
I don't think you should flip. Just copy the closed one. It's sure as heck not perfect, but is it passable?

-
 No, not as easy as that, sadly. Here's the file.
 -
Enlarging Image
Damien Symonds replied to 1digichick's topic in Output - print, websites, Facebook, email, client disk, etc
Just by using the Crop Tool to crop it to the exact size and resolution needed. http://www.damiensymonds.net/2011/09/cropping-tutorial.html -
Good job!
-
This is the best I can manage. I realise it's a fairly weak colour, but it's the strongest I can manage.

-
Enlarging Image
Damien Symonds replied to 1digichick's topic in Output - print, websites, Facebook, email, client disk, etc
Time for a new lab. That is appalling advice. Sharpening is vital when printing. Any size, not just enlargements. -
I'm so sorry, I've got nothing. Just really patient cloning.
-
It had me stumped for a while too. Glad we got there.
-
Native White Point
Damien Symonds replied to Jenny_11's topic in Monitor calibration questions or problems
Ok, see if the troubleshooting section of these instructions can help at all. -
The gamut warning is really unreliable. Never use it. Only use soft-proofing.
-
Yes, I can help with this. First, go ahead and re-do the raw processing properly, then post the section again, and we'll discuss those things.
-
Native White Point
Damien Symonds replied to Jenny_11's topic in Monitor calibration questions or problems
How many other prints do you have with you? -
Yay! Yep, leave it on Bicubic permanently.
-
That should be ok, but can you chance it to Bicubic, just to check?
-
That's perfect, I reckon. You should be able to use the left-hand side of that photo (or the right-hand side flipped) and rotate it a bit, and mask it in to the main photo.
-
No, it doesn't do it for me. Exactly the same after cropping as before. In Preferences>General, what is your "Image Interpolation" setting set to?
-
Can you re-do the raw edit, then post the closeup again?
-
Gee, don't feel bad. This is not easy. Do you have any other photos with nice bokeh, that you might be able to use?
-
Ok, let's work through this. It's very rare to crop before flattening. It certainly shouldn't happen in this case. So flatten first, then check for clipping. Then crop, and check again. Report what you see.
-
Are you sure you're viewing at 100% in both cases??
-
It matters a LOT. And those numbers are vague suggestions only. Please don't wait a moment longer to take the Print Sharpening Class. It will blow your mind.