-
Posts
210,655 -
Joined
-
Last visited
-
Days Won
3,423
Everything posted by Damien Symonds
-

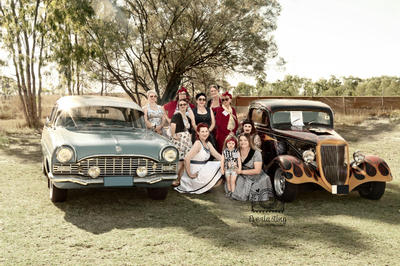
rockabilly car show
Damien Symonds replied to Falon's topic in How to achieve a certain look or effect
-

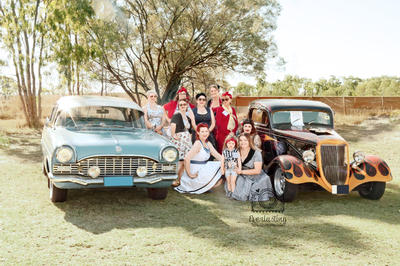
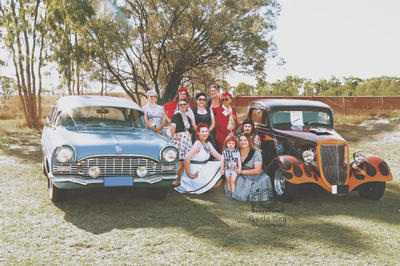
rockabilly car show
Damien Symonds replied to Falon's topic in How to achieve a certain look or effect
Do you mean that kinda polaroid look? Eg on this page? -

SRGB - Red not looking correct
Damien Symonds replied to Jennik's topic in Monitor calibration questions or problems
Then you'll have to re-install Photoshop, I'm afraid. There's no setting that can cause that. It's a flaw in the program itself. -

SRGB - Red not looking correct
Damien Symonds replied to Jennik's topic in Monitor calibration questions or problems
Bugger. Ok, how do they look in Bridge? Like ACR, or like Photoshop? -

SRGB - Red not looking correct
Damien Symonds replied to Jennik's topic in Monitor calibration questions or problems
Because of your small hard drive, 100 history states is way too many. Drop that to 50. And uncheck the "Use Graphics Processor" box. Then press OK, then restart your computer. -

SRGB - Red not looking correct
Damien Symonds replied to Jennik's topic in Monitor calibration questions or problems
ALL photos are RGB. I assume you mean Adobe RGB, and you must NEVER use that. Next step, in Photoshop, can you go to the Edit menu and choose Preferences>Performance, and take a screenshot of that window to show me? -

SRGB - Red not looking correct
Damien Symonds replied to Jennik's topic in Monitor calibration questions or problems
Ooh, that's not very much. I strongly urge you to do this to clear up some space. Brian always says that a hard drive should have at least 1/3rd free space; and your hard drive is very small to begin with, so 50% free space would be a better goal if possible. And I urge you to run this as well. This kind of behaviour sounds exactly like symptoms of a too-full hard drive. -

SRGB - Red not looking correct
Damien Symonds replied to Jennik's topic in Monitor calibration questions or problems
Obviously this can't be right. That's mathematically impossible. Can you check again? -

Clone tool behaviour
Damien Symonds replied to pbziegler's topic in Photoshop / Elements / Bridge / ACR questions or problems
But yeah, even 0% hardness doesn't make it bulletproof. You do have to gently clone at low opacity sometimes, to really get a good blend. Are you making an effort to get into your opacity shortcuts? It's well worth it. -

Clone tool behaviour
Damien Symonds replied to pbziegler's topic in Photoshop / Elements / Bridge / ACR questions or problems
Ah. -

Clone tool behaviour
Damien Symonds replied to pbziegler's topic in Photoshop / Elements / Bridge / ACR questions or problems
Hi @pbziegler, I've moved this into Ask Damien since it's not a class-related question. Were you near the edge of the image at the time? Remember to go to the View menu and turn off "Snap" if it's a bit jumpy. I suppose it's too late to show me a screenshot of that problem? Your tool should already be 0% Hardness (in the Options Bar) just like every brush-style tool. Is that not the case? -
You're welcome!!
-

SRGB - Red not looking correct
Damien Symonds replied to Jennik's topic in Monitor calibration questions or problems
Hmmm ... do you mind doing this for me, @Jennik -
Ok. Send me all the photos that need fixing, as well as some "good hair" ones that I can use, via this page: https://spaces.hightail.com/uplink/BellePhotography And if you would like to learn how to use Photoshop, this is where to start: https://www.damiensymonds.net/trainingialm.html
-
Oh. Yeah, if you don't have a base level of Photoshop knowledge, these fixes might be beyond you. They're not technically too difficult, but they do assume a working knowledge of layers and masks. Anyway, you can download this file and open in Photoshop: Download file here See if you can understand it. Otherwise, give me a couple of weeks, I guess. The edits shouldn't be more than $10-15 each. Add a few more dollars if there are things like sweaty skin to fix.
-
https://ask.damiensymonds.net/topic/20402-its-here-the-advanced-levels-class/
-
I'm afraid I'm too busy to take on any new editing work for a couple of weeks. Are you sure you wouldn't like to try it yourself? What's your level of Photoshop experience?
-
Ok, can you go to your Masks panel on one of these files and show me a screenshot of that too? Maybe the Density slider isn't at 100%?
-
-
This usually happens because you're painting with dark grey, not black. Press D then X to make extra sure you're painting with black, then try again.
-
Ok, yes, we might be able to make the first one work for us. Now, can you check and confirm that you have the rights to edit these photos?
-
Yes I know, but your hair isn't big enough in that photo. I want to see the photo where your good hair is the biggest available.
-
Oh boy, this'll be hard. What's the closest view you have of the good hair? I mean, do you have any head-and-shoulders portraits of yourself with your hair just the way you like it?
-

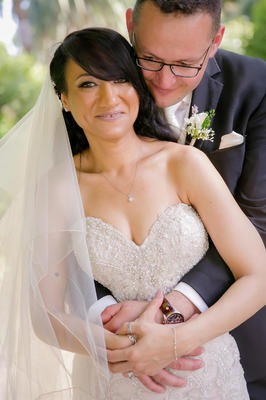
Paulina Duczman style
Damien Symonds replied to Nuria's topic in How to achieve a certain look or effect
Hi @Nuria, please familiarise yourself with the posting guidelines. -
Hi @Phoebe, may I see one or two of the problem photos?


