Damien Symonds
-
Posts
212,112 -
Joined
-
Last visited
-
Days Won
3,487
Everything posted by Damien Symonds
-

Calibrating in the dark!?
Damien Symonds replied to Jaimie.taylor10's topic in Monitor calibration questions or problems
Yes. Or at least dim light. -
And while on that setting, you tried calibrating to both "Native" and "5000K"?
-
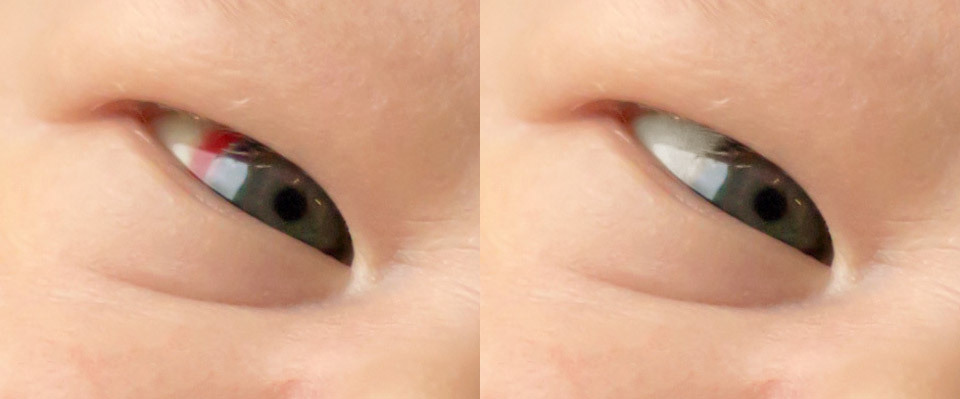
Is this sufficient? There's still a tiny bit of red I can't shift.
-
With a photo filter. Gently apply magenta filter anywhere you see green.
-
Ok, so you've got the Asus scren set to its warmest available setting?
-
Um ... what is the question, exactly?
-
The main trick is patience. It takes a while, working with a low opacity brush.
-
Yep, that's absolutely fine.
-
http://mbf.cc/4tDPGy
-
This is the best I can manage. Do you think it would be passable?

-
Which is the more desired, the "correct" skin tone?
Damien Symonds replied to Lisa E's topic in Help with editing
The second one is terrible. The first one is much better. -
Did you fix the colour space problem?
-
Try this for me ... add a Channel Mixer layer, and use these values: Red 0, +86, 0 Green 0, +96, 0 Blue 0, +115, 0 Mask it on loosely and see what you think.
-
Glowy and shadowy images
Damien Symonds replied to JayneM's topic in Miscellaneous questions or problems
This is not uncommon at all. Different cameras behave differently, and of course Adobe's interpretation of different cameras' raw data varies quite a bit. You could play with this if you wish. But honestly, it's no big deal, you'll just find you tend to edit with lower midtone contrast than you used to. -
May I see a closer crop of that area? Well, it should be as simple as moving the Hue slider of the Master channel to the left a bit. I'm not sure that Colorize will be necessary in this case.
-
Ok, what about if you go Window>Workspace>Photography?
-
Turning a photo into a pen drawing
Damien Symonds replied to Hiswife's topic in Miscellaneous questions or problems
No, sorry I'll move this to the GenDisc area to see if anyone else knows a good method. -
In-camera noise reduction
Damien Symonds replied to Gera's topic in Miscellaneous questions or problems
Raw noise removal -
There is a great deal of fiddling to get the stops right. It starts with a rough lasso selection. Have you read this one?
-
By the way, did you see this thread?
-
The Handyman Method will work fine for this.
-
Turning a photo into a pen drawing
Damien Symonds replied to Hiswife's topic in Miscellaneous questions or problems
Those ones are actually drawn that way. -
Have you gone to Window>Workspace>Reset Workspace?
-
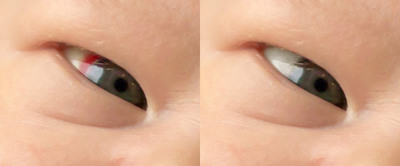
Hi Silvia, can you post it bigger? This is very tiny.