Damien Symonds
-
Posts
212,218 -
Joined
-
Last visited
-
Days Won
3,497
Everything posted by Damien Symonds
-
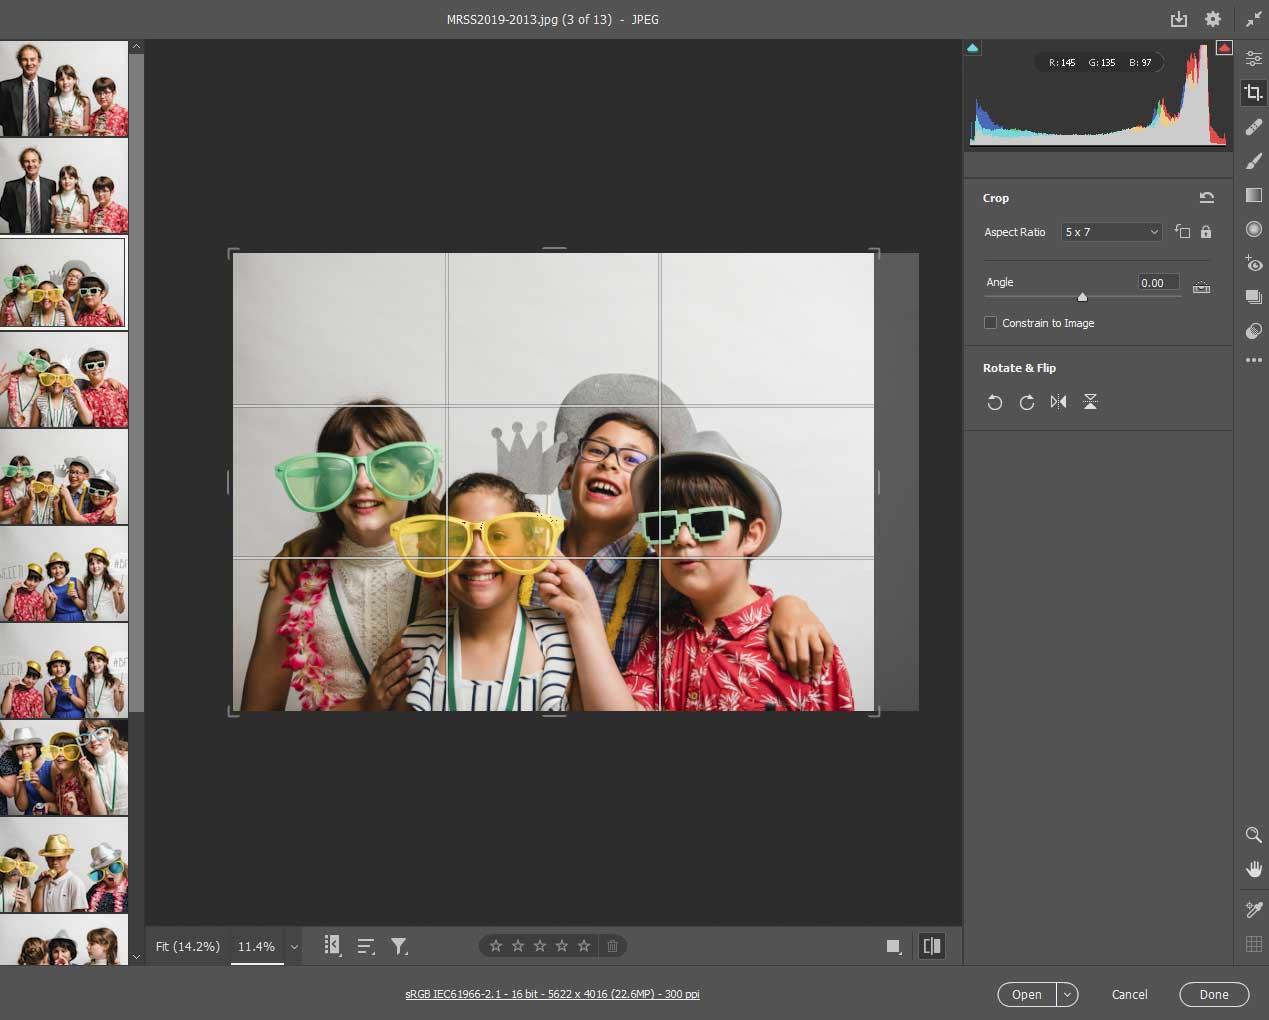
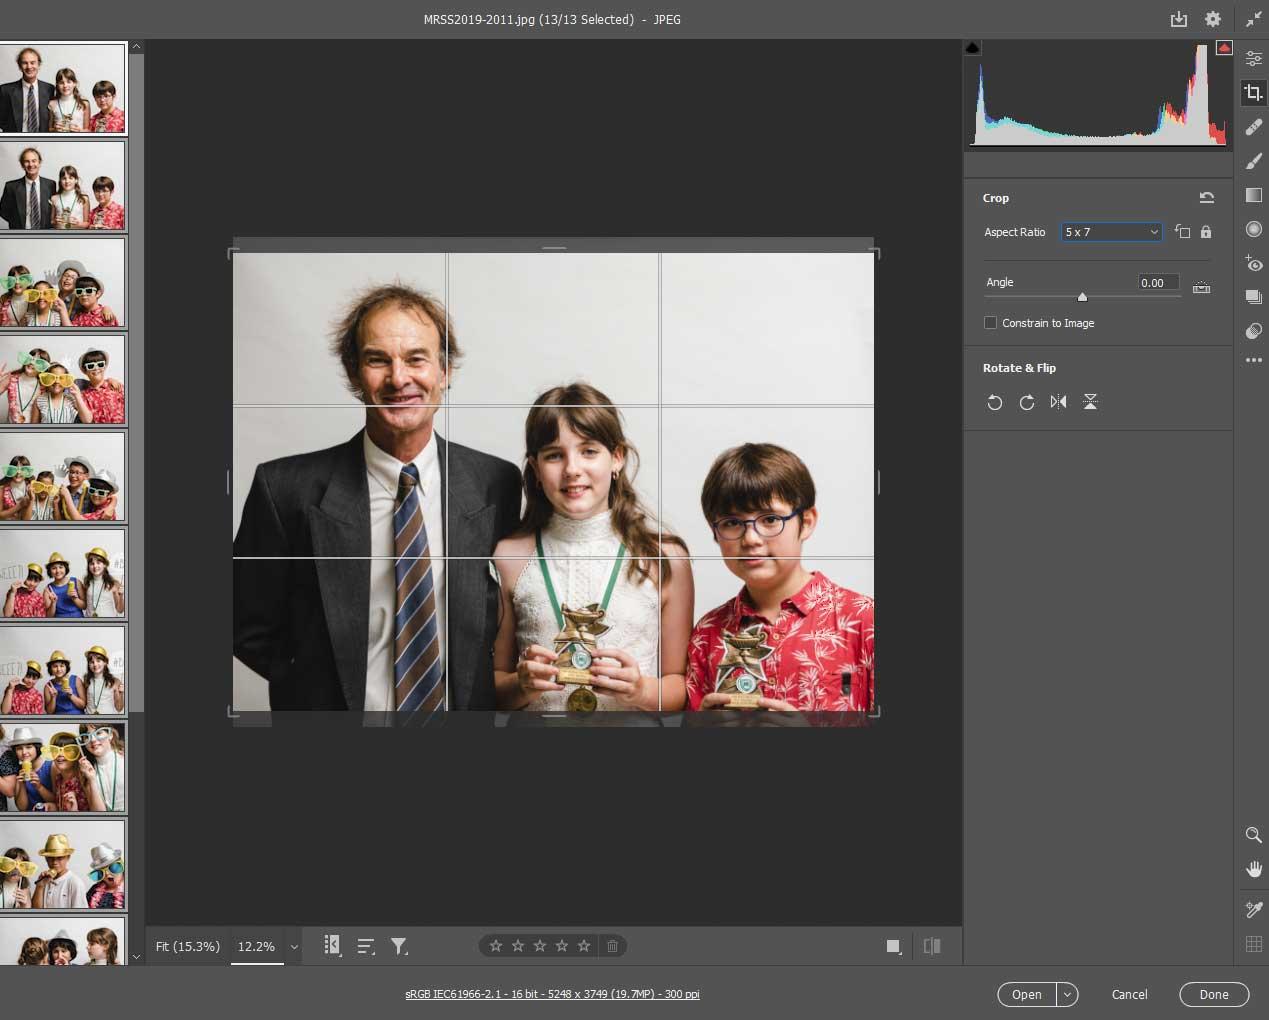
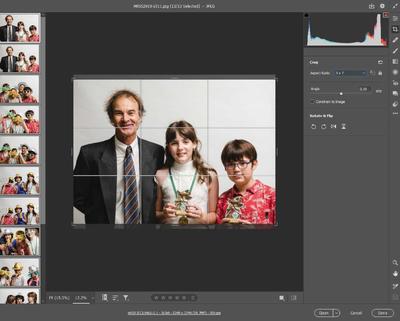
 Here it is, step by step. First, open a whole lot of jpegs into ACR (as many as your computer can handle, this varies from computer to computer. Hit Cmd A to select all of them: Then go to the Crop Tool, and choose 5x7 in the drop-down. Immediately this crops ALL of the images to 5x7: Then quickly click on them one by one to check that you're happy with the crops, and modify if you're not: It's SO much faster than the old way of manually dragging the crop marquee for each photo.
-
I already told you how it works in ACR2021! How do they know?
-
It's incredibly foolish and short-sighted, but yes, it would work.
-
Look, it's really easy. You just open your batch of files into ACR (either jpegs or raws) then select them all, go to the crop tool and choose "5x7". It crops them all at once, but of course crops them all with a generic central crop. So then you quickly click through the whole set, adjusting the crop location for each one. It honestly could NOT be any faster. It's definitely no slower than the old version.
-
Who is imposing this stupid rule? Can you explain the problem some more?
-
Oh geez, that's REALLY dangerous. Don't do that.
-
Of course it is.
-
While the files are where?
-
Also, in Photoshop, go to File>Open, and try to open two raw files together. Do they open in ACR that way?
-
No, no, that's ok. Desktop is fine. Can you tell me the resolution of your Macbook screen? Camera Raw won't open if the screen resolution is too low, but it seems unlikely to be the culprit here.
-
Can you conduct the experiment with raw files on your internal hard drive please?
-
Wait a minute ... you're not trying to open these files from Dropbox, are you??
-
@Lorie?
-
What happens when you try?
-
OH!!!!! Yes, Bridge can't open jpeg files in ACR unless your version of Bridge exactly matches your version of Photoshop. That's just how it is, I'm afraid.
-
No, don't confuse the stupid Camera Raw Filter with the real Camera Raw. They are definitely NOT the same thing. Forgive me for asking the obvious question - are you SURE you're working with raw files? You camera hasn't been switched to jpeg accidentally?
-
You mean in ACR, right?
-
PLEASE dive back into class. I've covered the new interface, you'll be comfortable with it in no time. In the meantime, there are two ways to open raw files from Bridge. One is Cmd R, the other is Cmd O. Have you tried both?
-
Indoor Sports Bad Lighting and Fast
Damien Symonds replied to Bellasmama's topic in Help with editing
@Bellasmama please don't wait any longer to dive into your Raw Class! -
Yeah, definitely worth trying.
-
There isn't a better procedure, sorry
-
Gretchen, you're not ready to be doing full edits yet. PLEASE dive back into class, hurry.
-
Corrupt File in Photoshop
Damien Symonds replied to CMSPhotographs's topic in Photo Gear & Equipment
@CMSPhotographs I'm sure Brian will want to know exactly which camera you have (and how old it is etc), and also what brand and type of cards. Sorry, never mind. -
What did you decide?
-
I would give them both 4 out of 5. Easily good enough to use, but neither of them utterly perfect. The second one has a tiny bit of motion blur.