Damien Symonds
-
Posts
212,155 -
Joined
-
Last visited
-
Days Won
3,492
Everything posted by Damien Symonds
-
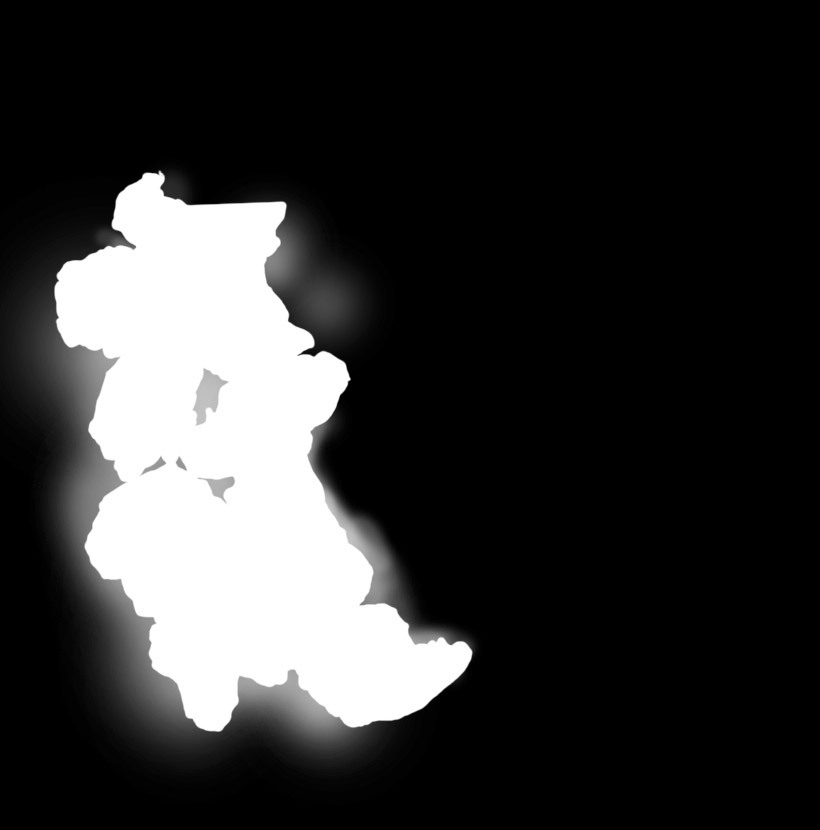
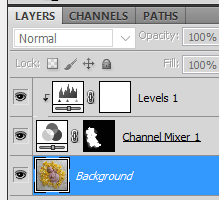
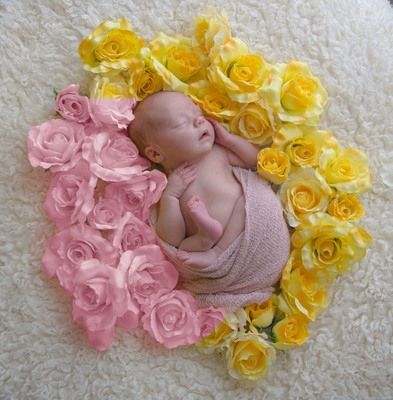
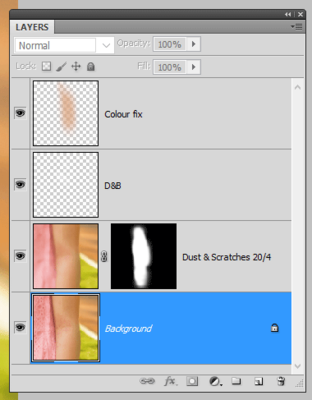
Yay! Ok, here's what the layers panel looks like: The setup is easy, but the masking is as tedious as hell. (That's why I didn't do much of it!) Let me take you through the steps: 1. Add a Channel Mixer layer, check the "Monochrome" checkbox, and enter 0% for the Red and Blue values, and +100% for the green value. This will turn the photo black-and-white. 2. Then add a Levels layer, and immediately clip it to the Channel Mixer layer. On the Red channel of the Levels layer, move the middle slider to 2.00. Then on the Green channel, move the middle slider to 0.85. (You can tweak these values to your taste, if you prefer a different shade of pink). At this point, the whole photo will be pale pink. 3. Click on the mask of the Channel Mixer layer and invert it to black. 4. Zoom way in, and choose a small 100% opacity white brush, and start the very tedious process of masking onto the flowers. This will take ages. Pour a drink to help you through. 5. Once you've finally finished masking, all the flowers will be pink. However, you'll see that the rug and baby will still have yellow cast on them from the original flower colour. So, drop the brush opacity to 10%, and enlarge the brush a bit, and start gently painting on those yellow casty areas to turn them into pink casty areas. This will also take a while. Here's why my mask looks like: See how there's the solid white area of the flowers, then the gentle painting for the casty areas around? 6. Finally, return to 100% opacity with the brush, and switch to black, then zoom in and check all the little green leaves. Your 10% painting might have started to turn the green leaves pink, or at least greyish. So you have to restore them to their proper green. Good luck!

-
Something like this colour? Be as critical as you like. If you want it a different shade, please don't hesitate to ask.
-
Ok, the clipping is still there - bummer. Never mind, it just means we have to take the harder route. It's still feasible. I need you to guide me on what colour pink you'd like - pale, medium, or really rich. Maybe if you could google "pink flowers" or something, and link me to a shade of pink you'd like?
-
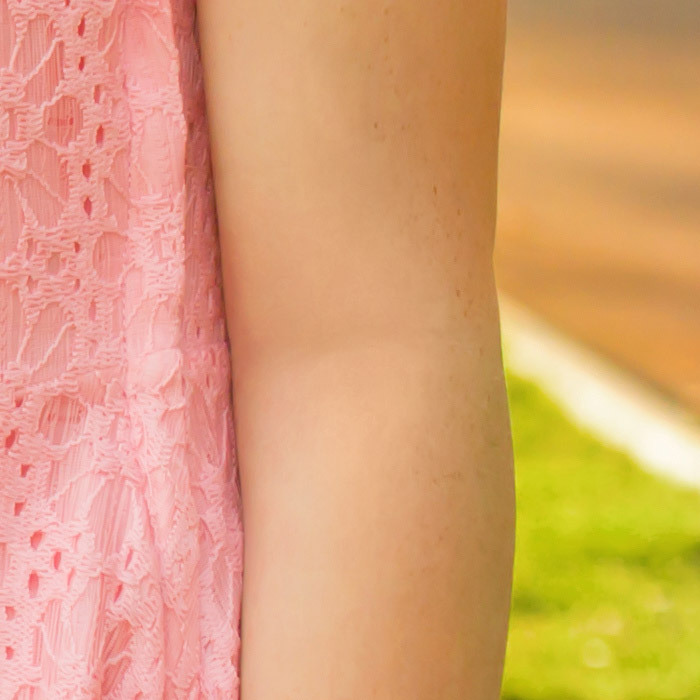
Ok, so I started by duplicating the arm, then running Dust on it (I settled on 20/4). I masked that on. Then I used the Handyman method to even it out some more.
-
Do you reckon this might be good enough?

-
Am I right in thinking you want to remove the eczema but keep the freckles if possible?
-
Whoa!!!! Crap!!! I just noticed that your file is Adobe RGB!!!!!!!!!!
-
I'll need the 100% crop.
-
I don't understand the question. I just told you, it needs no clipping at the shadow end of the histogram.
-
 Interesting. Ok, thanks.
 -
Adobe 1998
Damien Symonds replied to sla453's topic in Output - print, websites, Facebook, email, client disk, etc
Right at the very end, at the same time as sharpening (after flattening). -
Are the other tools (eg the clone tool) doing the same thing? Or is it only the brush tool? Also, is it the same if you paint on a layer, rather than a mask?
-
Hmmm ... 2700 is a very big brush, of course. If you take it down in size, is it still the same? Has this additional problem cleared itself up since the restart?
-
What about before that? How long had it been? Got a screenshot for me?
-
Can you do this for me? http://www.damiensymonds.net/thread1.html
-
Black Luminance in Calibration
Damien Symonds replied to Ambrotype's topic in Monitor calibration questions or problems
I've read that 400 is considered a good contrast ratio - roughly 0.25 black to 100 white. However, I've never thoroughly explored this myself. And you need to own a REALLY expensive screen (such as an Eizo) to be able to properly control black luminance. With your screen? Forget it. -
That's ok, I don't need to see the cursor in the screenshot. I want to see everything else - the image, the layers, the toolbar, etc.
-
http://www.damiensymonds.net/2011/01/cursor-preferences.html
-
I'm so sorry, I have no idea what you mean by a hide/reveal brush. Maybe a screenshot would help me understand? Is it doing this on every photo you try, or only one?
-
You still have CS5 installed? And it still prints fine?
-
Generally, this has something to do with "Let Photoshop manage colors" vs "Let printer manage colors" in the print dialog. Which is yours set to; and do you know if it's the same as you had it in CS5?
-
This is not my area of expertise by any means, but I do know that icc profiles for printing are meant to fine-tune the results. They're not meant to fix "terrible". If your colours are terrible, there's something else at play. In what way are they terrible, exactly?
-
Black Luminance in Calibration
Damien Symonds replied to Ambrotype's topic in Monitor calibration questions or problems
No, there must be some mistake. You're not following my instructions. My instructions don't talk about black luminance. Anyway, it's irrelevant. You're demanding precision that your screen just isn't capable of. Just live with the best possible result for now, and put "new screen" at the very top of your next purchase list. -
Gee, it might be tricky. First, can you see if you can process the raw file with NO clipping at the shadow end of the histogram? Presently the blue channel is badly clipped in the flowers.
-
That's not ideal, but it will sharpen passably.